A cobblestone driveway lives or dies on the material line of the plan. Granite cobblestone, reclaimed antique stone, concrete pavers, and natural setts each change what comes next: excavation depth, base layers, and installed cost per square foot. They also determine whether the surface holds for decades or shifts within two seasons.
It is one of the highest-impact choices for curb appeal and long-term value, but only when the planning matches the ambition.
This guide covers how to choose the right stone for a driveway, what realistic installed costs look like by stone type and labor, how site prep and base layers drive long-term performance, and when hiring a crew makes sense. Expect honest pricing context, material comparisons, and sourcing tips you can use now.
What to Choose Before the First Excavation
Your material choice locks in your budget, your installation method, and the long-term look of the driveway. Making this decision before any dirt moves saves you from costly mid-project changes and wasted lead time.
Cobblestone vs Paver Driveway Surfaces
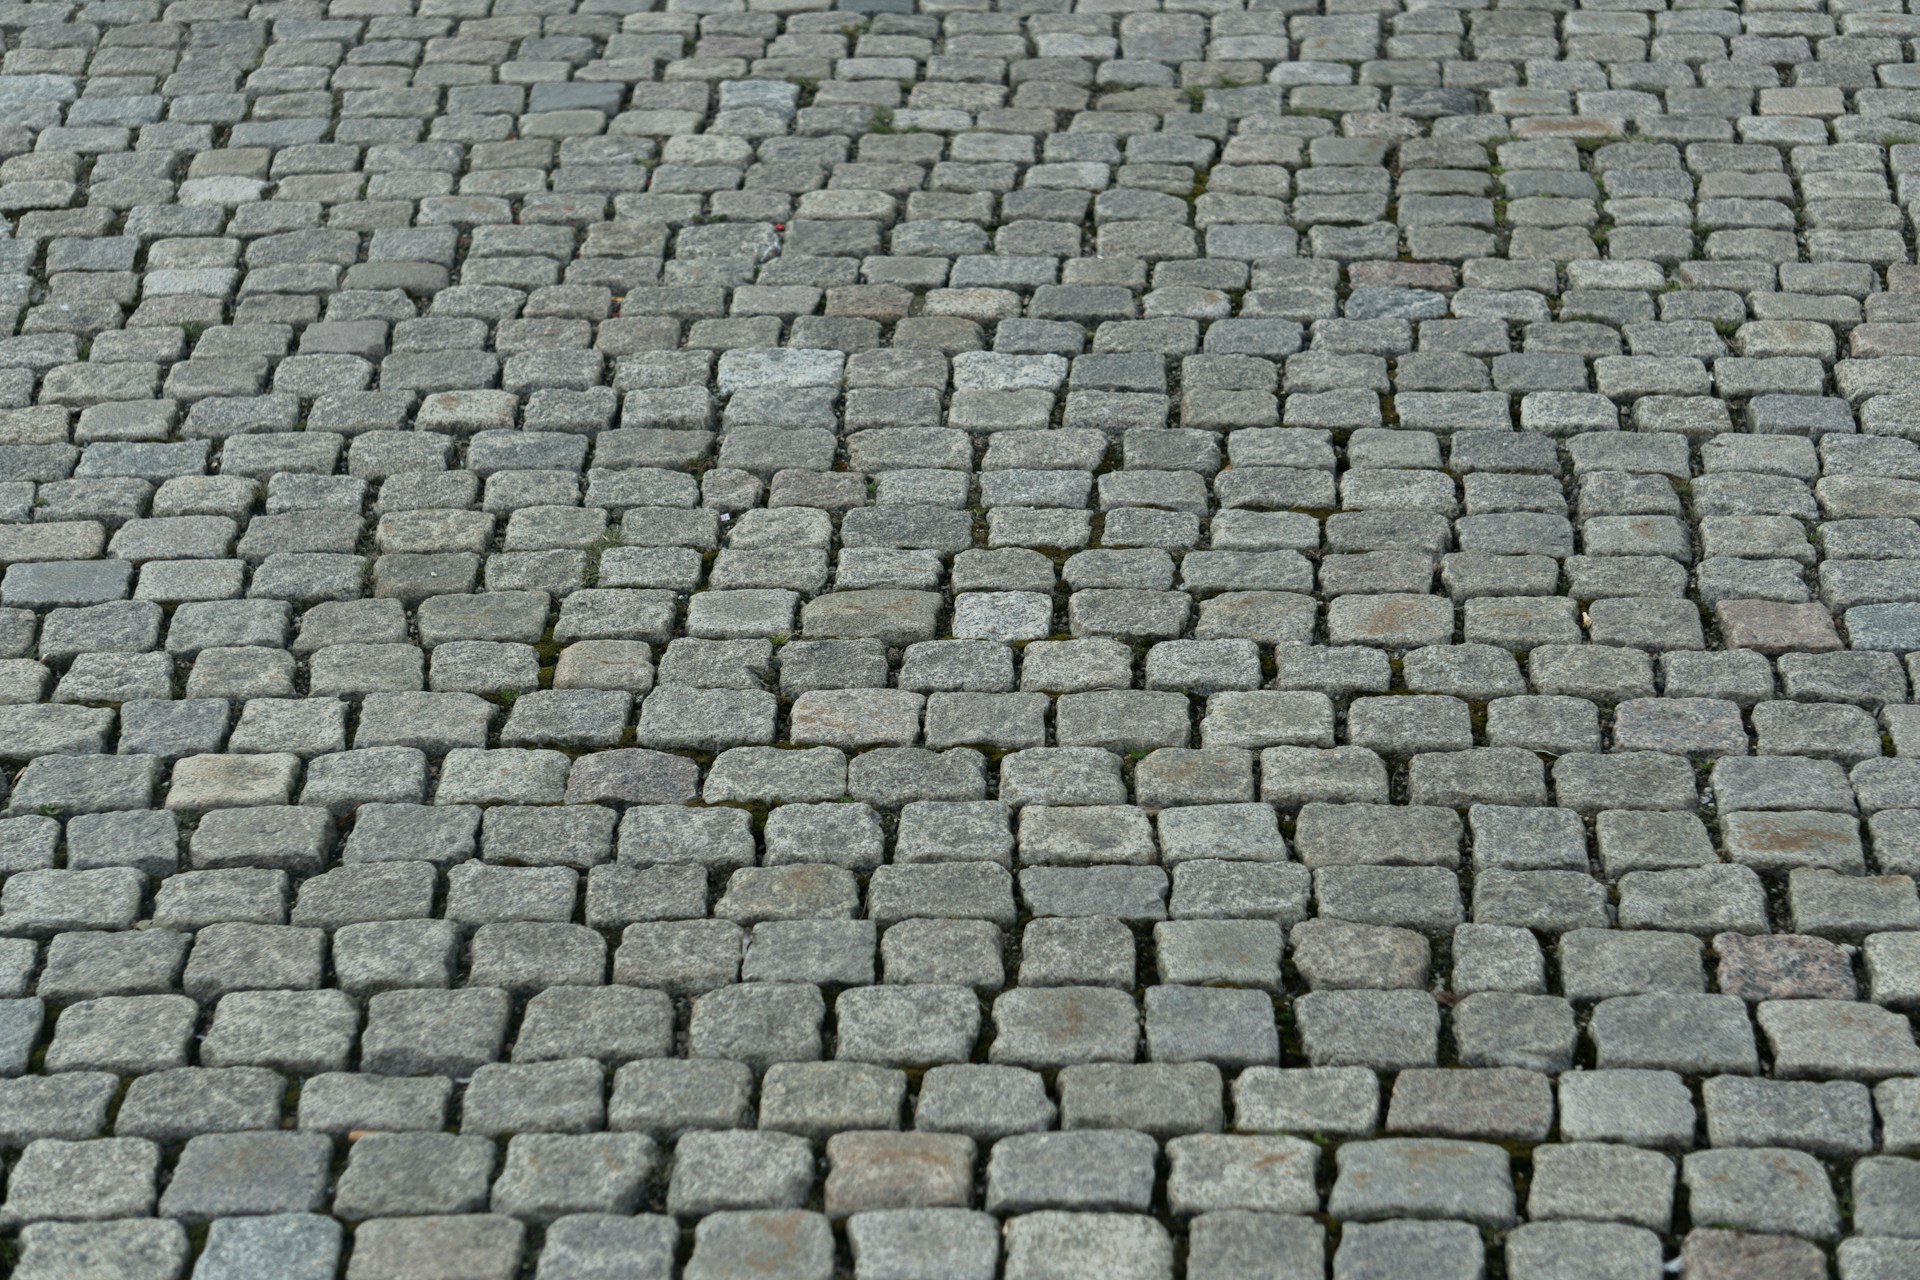
True cobblestones are natural stones, usually granite, basalt, or sandstone, shaped by hand or quarry-cut into roughly uniform sizes. Concrete pavers and brick pavers are manufactured to mimic that look for less money. The difference shows up in texture, color variation, and how the surface ages over decades.
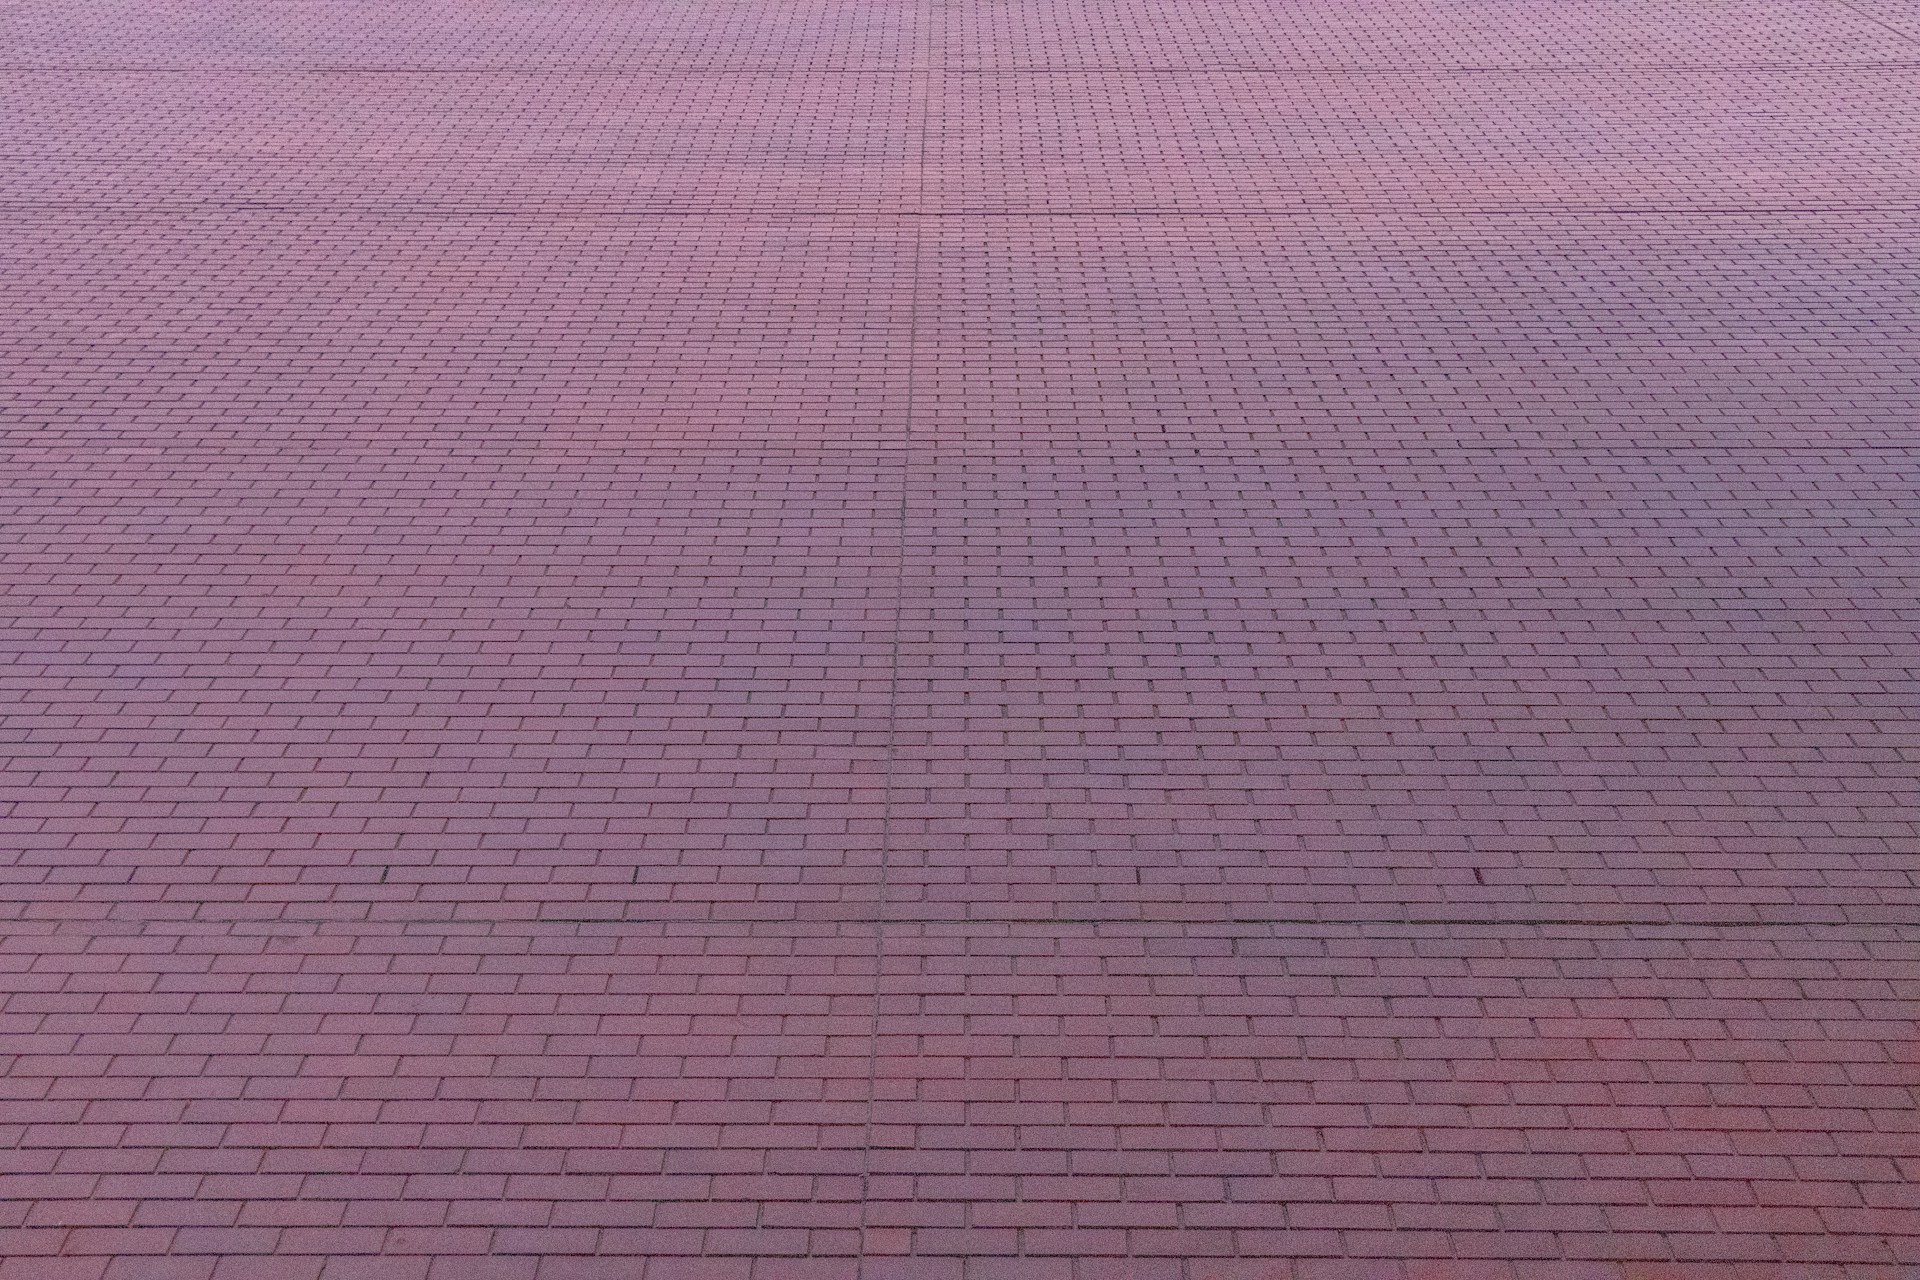
Concrete paver driveways cost less upfront, but fade and chip faster under the sun and tire wear. Cobblestones develop a deeper patina as they age and carry loads that would split a concrete paver.
Belgian blocks and setts, which are smaller cut-stone units, fall between rough cobblestones and uniform pavers in both price and appearance.
If you want a surface that looks better at year twenty than year one, natural cobblestone or reclaimed stone is the stronger bet. If the budget is tight and you do not mind replacing sections in fifteen years, concrete pavers can work for lighter-traffic areas.
Natural Stone, Granite, and Reclaimed Material Options
Granite cobblestones are the most common driveway choice because they are tough, usually rated above 19,000 PSI. Sandstone and limestone cobbles give warmer tones but wear faster in freeze-thaw climates.
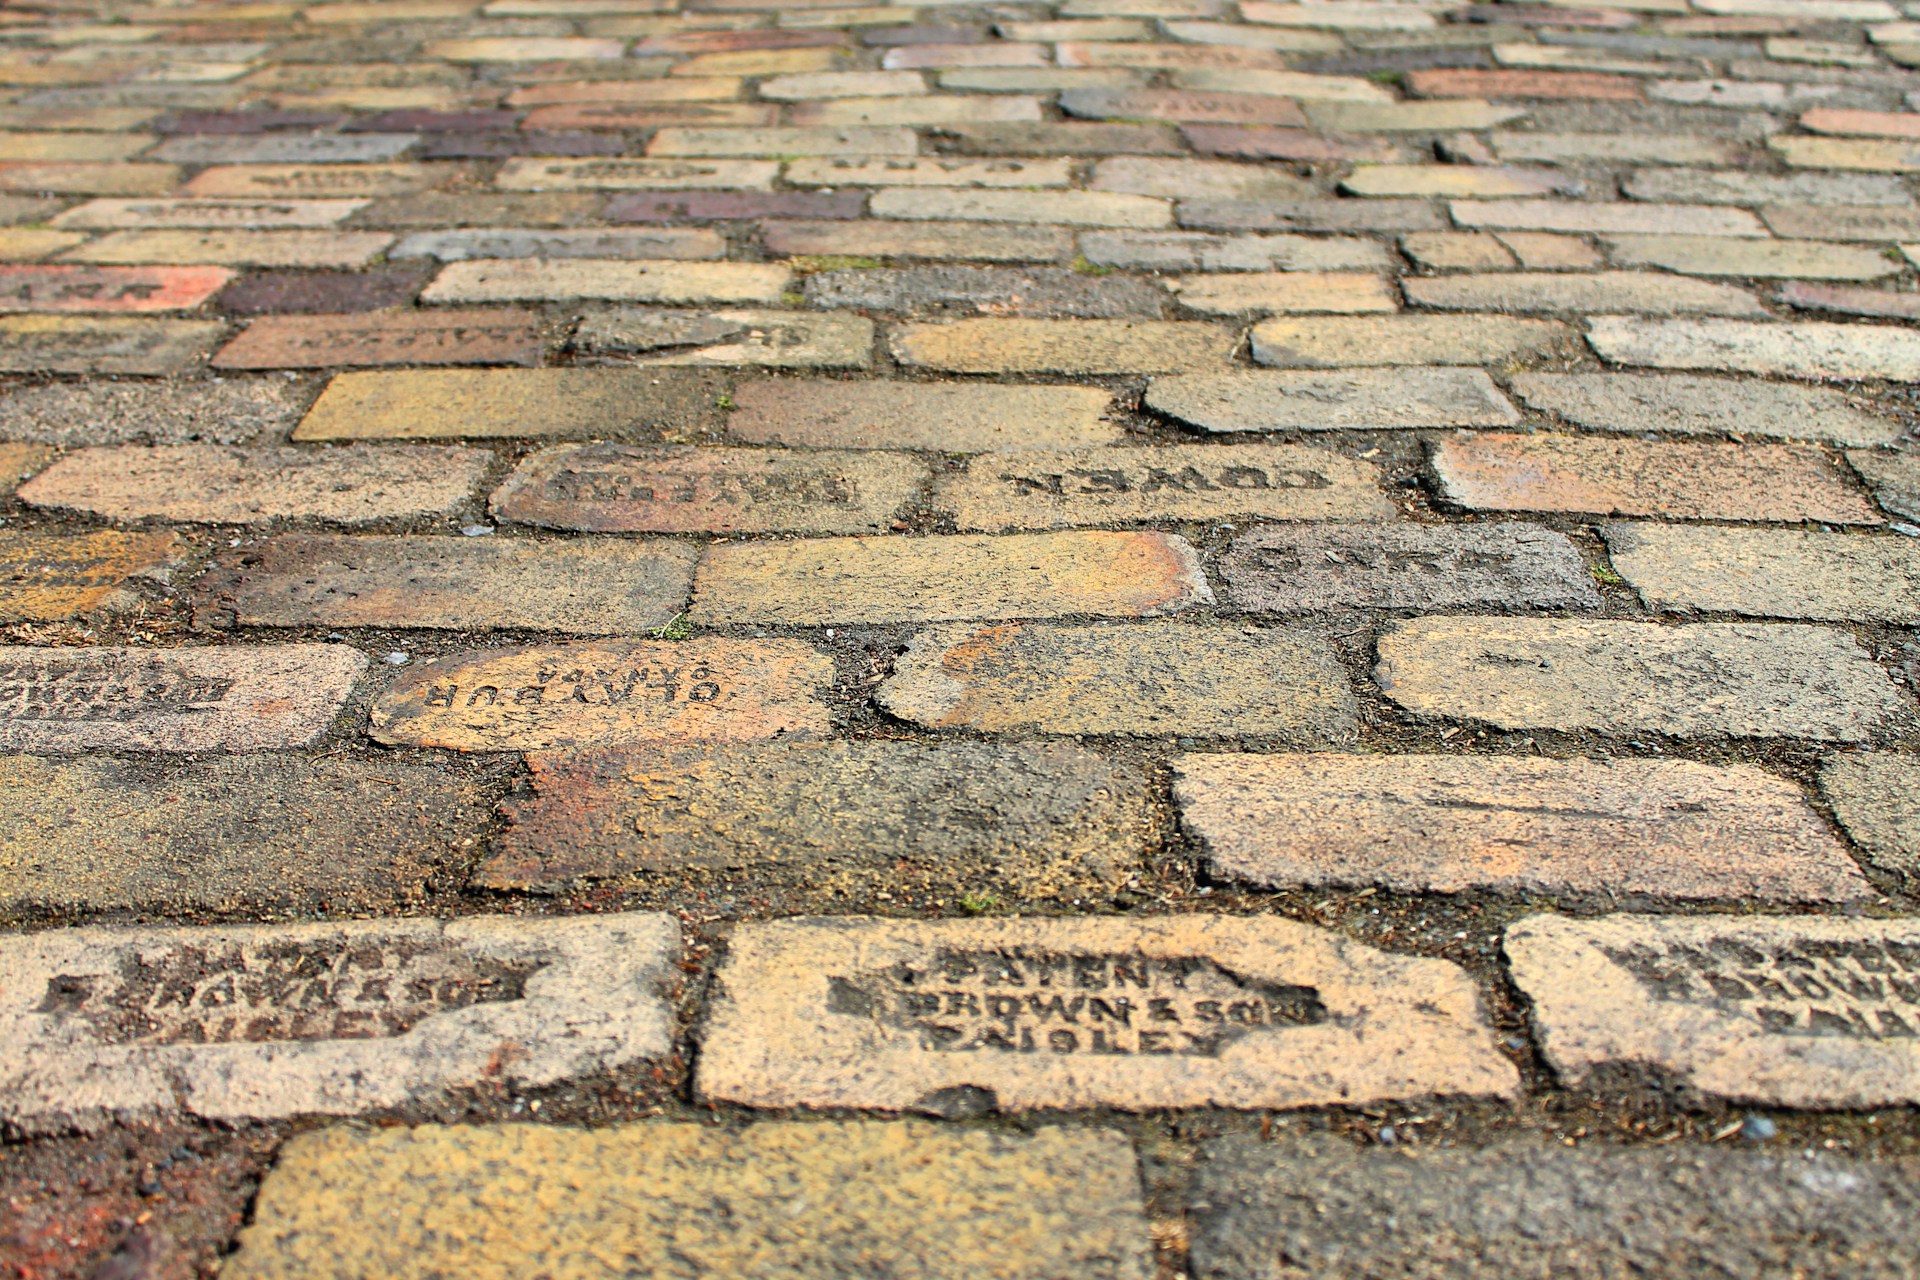
Reclaimed cobblestone, salvaged from old European streets or demolished industrial yards, brings character that new quarry stone cannot fake: rounded edges, mineral stains, and a surface that has already survived a century of use.
- New granite cobblestone: $8 to $15 per square foot for material only
- Reclaimed European cobblestone: $12 to $22 per square foot, depending on size and condition
- Sandstone cobblestone: $6 to $12 per square foot, softer and best for dry climates
- Basalt cobblestone: $10 to $18 per square foot, dense and dark-toned
Reclaimed antique stone pairs well with reclaimed brick pavers for borders and transition zones, giving the design a layered, historically grounded look.
Where Brick Accents and Edging Make Sense
Brick edging defines the border of a cobblestone field and keeps stones from drifting. As This Old House's cobblestone edging installation guide shows, a soldier-course brick border set in concrete adds both structure and a visual frame that sharpens the design.
Reclaimed brick accents work especially well at the driveway apron, along walkway transitions, and around landscape islands. Varieties like Old Chicago brick bring warm, earthy tones that contrast against gray granite cobblestone. The key is choosing a brick that matches the period and patina of your stone so the combination reads as intentional rather than patchwork.
With your materials narrowed down, the next question is what all of this costs once labor, base work, and site conditions enter the picture.
Cost Ranges and What Actually Drives the Price
A cobblestone driveway installation generally runs between $20 and $70 per square foot, fully installed, depending on the stone type, your site, and local labor rates. That range is wide because the variables are real, not because the numbers are vague.
Reclaimed stone pricing changes with availability and source. The factors behind reclaimed stone pricing shift with salvage supply, so confirm what is actually in stock before finalizing a budget.
Labor, Base Work, and Site Conditions
Labor for cobblestone paving usually falls between $10 and $30 per square foot in most U.S. markets. The range depends on pattern complexity, stone irregularity, and whether your site needs serious grading or drainage fixes.
A flat, well-drained lot with good soil compaction costs less to prep than a sloped clay site that needs French drains or retaining walls.
Base work, including excavation, gravel delivery, and compaction, adds $3 to $8 per square foot. If you need to rip out asphalt or concrete first, demolition and haul-off add another $2 to $5 per square foot before you lay any stone.
When Full Coverage Is Worth It and When Borders Are Smarter
Full cobblestone coverage on a 600-square-foot driveway at $45 per square foot installed reaches $27,000. That is a serious number. If budget is a concern, a hybrid approach helps: cobblestone borders with a gravel or compacted-stone center, or cobblestone apron strips with a simpler paver field.
A cobblestone border with brick edging can deliver most of the visual impact at a fraction of the cost.
Site Prep and Base Layers That Keep the Surface Stable
A cobblestone surface is only as solid as the base beneath it. Skip the base work, and you will be resetting stones within two years.
Excavation Depth, Drainage, and Grading
Excavation for a cobblestone driveway usually runs 10 to 14 inches deep, making room for the crushed-stone base, setting bed, and stone thickness. Grading should slope at least 1 percent away from any structure.
Poor drainage is the main reason stone driveways fail, so aim for at least a 2 percent cross-slope on wider driveways.
If your soil is heavy clay, you may need a geotextile fabric between the subgrade and gravel base to keep the layers from migrating. Sandy or loamy soils compact better and drain more naturally.
Crushed Stone Base and Compactable Gravel Requirements
Lay a 6 to 8-inch crushed-stone base for driveways that see daily car traffic. Use angular crushed stone, typically 3/4-inch minus, because it locks together under compaction. Round river gravel does not interlock and will shift under load.
Compact the base in 2-inch layers with a plate compactor. Moisten and tamp each lift to about 95 percent compaction. A cubic yard of crushed stone covers roughly 100 square feet at 3 inches deep, so plan your order accordingly.
Setting Bed, Edge Restraints, and Joint Planning
The setting bed sits on top of the compacted base, usually 1 to 1.5 inches of coarse sand or stone dust. Screed it level with guide pipes and a straight board, then lay stones directly into the bed and avoid stepping on screeded areas ahead of placement.
Edge restraints hold the field together. Use concrete curbing, aluminum paver edging staked into the base, or a mortared brick soldier course. Without restraints, perimeter stones creep outward, and the surface loosens over time.
Plan joint widths at 1/4 to 1/2 inch for cobblestone, since tighter joints need more precise stone sizing.
How the Installation Process Typically Unfolds
Cobblestone installation follows a reliable sequence: layout, placement, cutting, filling, and compaction. Rush any step and problems are shown in the first season.
Layout, Pattern Selection, and Stone Placement
Start by dry-laying a test section to lock in your pattern and check joint spacing before committing any stone to the bed.
Common patterns include running bond, fan, and random ashlar. Fan patterns look dramatic but need more cuts and skilled labor. Running bond is the most forgiving if your reclaimed cobblestones are irregular.
Press stones firmly into the bed by hand. Work from one corner outward so you are always setting into the screeded bed, never stepping on it. Keep a string line or laser level running across the field to maintain a consistent surface grade.
Cutting, Tapping, and Joint Filling
Use a diamond-blade masonry saw for clean cuts at edges, curves, and around drain fixtures. A rubber mallet taps stones to the final grade, while a steel hammer chips the surface. Tap each stone until it sits flush with its neighbors and firm against the setting bed.
Fill joints with polymeric sand, which hardens when misted and helps prevent weeds and insects. Sweep the sand over the surface, vibrate it into the joints with a plate compactor on low, then mist lightly. Do not overwater, since too much washes the binder out before it cures.
Final Compaction and Early Curing Expectations
Run a plate compactor with a rubber pad over the entire surface after joint filling. This sets the stones into the bed, locks the polymeric sand, and creates a unified surface plane. Make two to three passes in overlapping rows.
Keep traffic off the driveway for 24 to 48 hours so the polymeric sand can cure, and avoid heavy rain during this period. Once everything settles, check for low spots or stones that did not settle correctly, and reset them before you use the driveway.
It looks straightforward on paper, but a driveway is not a weekend walkway. The next section covers when the work is realistic to do yourself and when it is not.
Professional Install vs DIY: What Homeowners Should Realistically Expect
Building a cobblestone driveway takes more precision than setting a herringbone brick patio or a garden walkway. The loads are heavier, tolerances are tighter, and a failed base shows faster.
Why Driveway Work Is Different From a Walkway or Patio
A walkway sees foot traffic. A driveway carries 4,000-pound cars rolling over it every day. That changes the base depth, the compaction, and the stone thickness. Patio pavers, usually about 2.5 inches thick, cannot handle car tires and will crack and shift. A driveway needs cobblestones at least 3.5 inches thick to avoid flexing.
Drainage raises the stakes, too. Water pooling on a walkway is minor, but a driveway that collects water near the garage risks foundation problems over time.
Common Failure Points in First-Time Installs
- Not enough base depth, so the driveway settles after one season
- No edge restraints, letting perimeter stones drift out
- Round gravel instead of angular crushed stone for the base
- Uneven compaction, which creates soft spots where cars drive
- Polymeric sand is applied in wet weather, so it never cures properly
Even one of these mistakes can mean tearing out and redoing the surface. Fixing a failed DIY driveway usually costs more than hiring a crew up front.
When Hiring a Mason or Paver Crew Pays Off
If your driveway is over 300 square feet, a professional crew with the right tools, including a plate compactor, laser level, and masonry saw, will finish faster and more accurately than weekend labor can. Plan on $10 to $30 per square foot for labor, depending on your region and project complexity. That investment buys a surface that lasts decades without rework.
Long-Term Performance, Maintenance, and Material Sourcing
Done right, a cobblestone driveway can last 75 to 100 years with little maintenance. The condition is that every base layer, joint, and edge restraint has to be done correctly from the start.
Routine Cobblestone Maintenance and Joint Upkeep
Sweep the surface every season to keep debris out of the joints. Plan to reapply polymeric sand every three to five years, since rain and traffic wear it down. For deep cleaning, use a pressure washer with a 25-degree fan tip, but keep it off the joints so you do not blast the sand out.
With polymeric sand installed correctly, weeds rarely appear. When they do, they usually sprout in surface debris, not the joints. A stiff broom and an occasional spot treatment handle them without harsh chemicals.
Repairing Settling, Loose Stones, and Washed Joints
If a stone settles or rocks, lift it, add setting-bed material underneath, and tamp it back into place. It is a quick fix, not an all-day job. Where rain has washed sand from a joint, sweep in fresh polymeric sand and mist it.
If a larger area settles, the base likely failed. Pull up those stones, recompact the base, and reset them. Catching this early, ideally in the first year, keeps the problem from spreading.
Checking Material Availability Before You Commit
Reclaimed cobblestone and antique stone supplies change constantly. What is in stock today may be gone next month. Before you lock a driveway design around a specific reclaimed stone, confirm your supplier has enough to cover your square footage, plus an extra 10 to 15 percent for cuts and waste.
Eco-friendly reclaimed building materials lower manufacturing demand and keep good stone out of landfills. A nationwide reclaimed supplier with freight shipping can deliver almost anywhere, so do not limit your search to local yards when you are after something specific.
Frequently Asked Questions
What Should the Base and Drainage Look Like So the Stones Do Not Shift or Sink?
Use 6 to 8 inches of angular crushed stone, compacted in 2-inch layers, topped with 1 to 1.5 inches of coarse sand or stone dust as the setting bed. Slope everything at least 1 percent away from structures, and add a 2 percent cross-slope on wider driveways to move water off the surface.
What Is a Realistic Installed Price per Square Foot, and What Drives It Up?
Budget $20 to $70 per square foot installed, depending on the stone and local labor rates. Clay soils that need geotextile fabric, sloped sites that need drainage work, and tearing out old pavement all push your price toward the higher end.
What Thickness and Size of Stone Holds Up Best to Daily Car Traffic?
Use cobblestones at least 3.5 inches thick. Granite cobbles sized 4-by-4 inches to 6-by-6 inches balance stability with being manageable to set by hand. Thinner or smaller stones tend to rock or shift under tire loads.
How Do You Handle Edging So the Field Stays Tight at the Borders and Apron?
Concrete curbing, a mortared brick soldier course, or staked aluminum paver edging all work. Anchor the restraint into the compacted base, not just the setting bed. Without solid edge restraints, the outer stones creep outward and loosen the whole field.
Your Cobblestone Driveway Starts with the Right Materials
Planning a cobblestone driveway pays off when you get honest about materials and details up front. The stone you pick, the base you build, and the crew you trust are what make the driveway look better at year twenty instead of needing a redo at year five.
Reclaimed cobblestone and antique stone bring a character and patina that cannot be faked, and they have already stood the test of time.
If you are planning a driveway and want to review reclaimed stone or brick for borders and accents, call New Orleans Brick Co to see what is in the yard and get a truck rolling within 48 hours of a paid invoice. One conversation with someone who has handled these materials beats a week of scrolling through catalogs.