The brick is the decision that shapes a patio, and it is easy to leave for last. What you lay across a prepared base sets the look, the lifespan, and the cost of every square foot.
Between new concrete pavers and genuine reclaimed brick, the differences run well past color: weight, freeze-thaw performance, and whether your supplier can deliver before the mason is ready to start.
This guide walks through the full process of building a brick patio, from choosing the right material and planning the layout to setting brick, cutting edges, and locking the field.
Expect specifics on reclaimed types like Soft Reds, Hard Tans, and Old Chicagos, plus pricing context, base-prep detail, and sourcing notes most guides skip.
Choose the Right Brick Before You Start Digging
The brick you choose sets the tone, durability, and maintenance of your patio for decades. Wait until after you have dug and compacted a base, and you will likely compromise on thickness, joint spacing, or pattern.
How Reclaimed Brick Pavers Compare With New Concrete Pavers
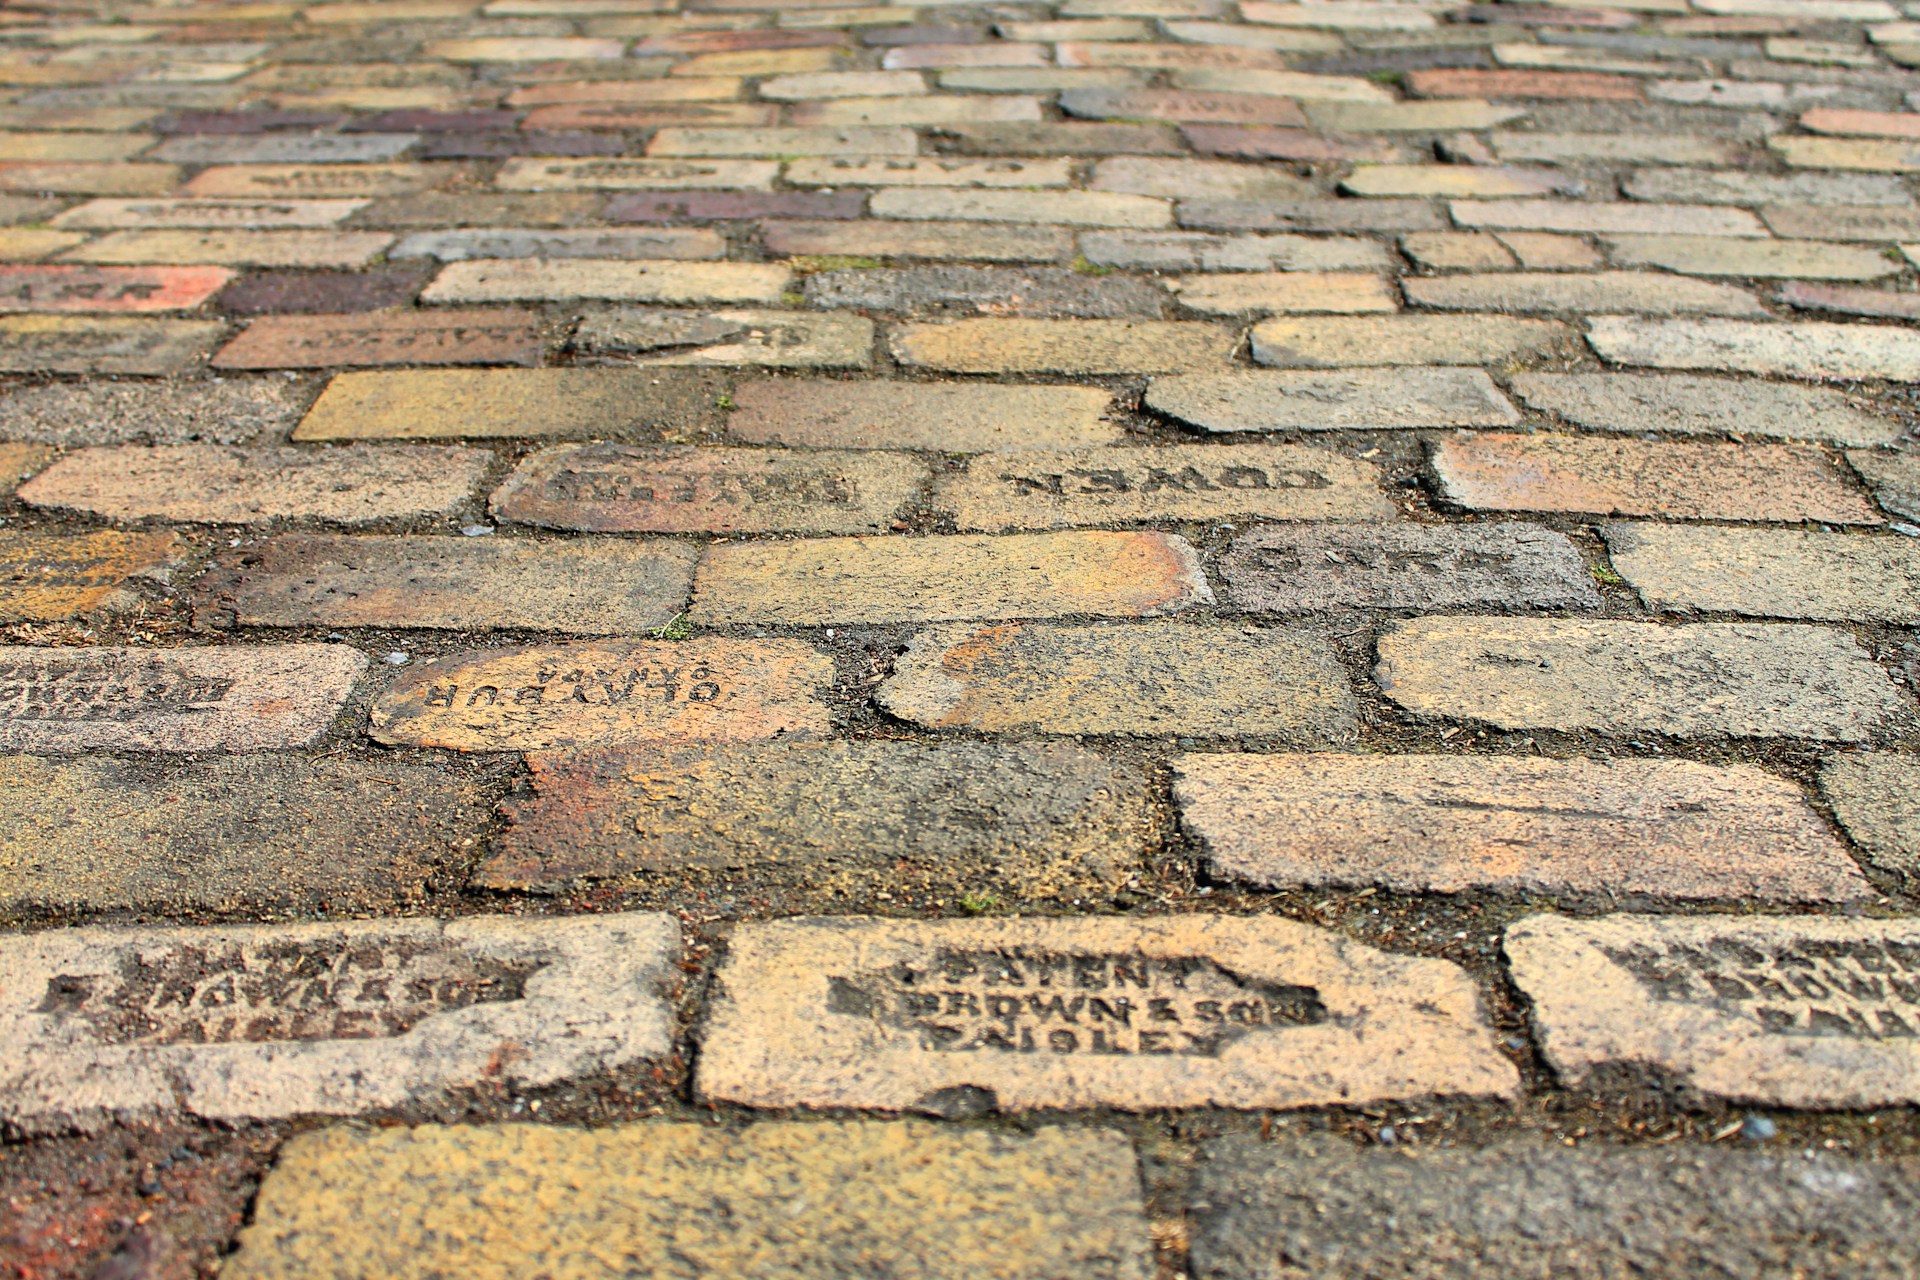
Reclaimed brick pavers bring natural color variation, weathered edges, and the dense, fired feel of materials salvaged from old buildings. New concrete pavers are molded and pigmented, but their color tends to fade within a few years of sun exposure.
The difference between reclaimed and new brick is whether you want a surface that grows richer with age or one that loses its original shade over time.
Concrete pavers usually measure 2-3/8 inches thick, with uniform sizing, and are stacked at big-box stores. Reclaimed brick pavers vary slightly in size, mostly close to modular, with the subtle irregularity of old-school firing. That irregularity is what gives a finished patio its depth and warmth.
When Clay Bricks Work Best for Patio Use
Clay bricks rated for exterior paving, sometimes called paving bricks, handle moisture and freeze-thaw cycles far better than common building brick. In a climate with hard winters, look for bricks that meet ASTM C902 standards for pedestrian and light-traffic use.
Reclaimed clay bricks from century-old buildings have already survived decades of weather, a durability test you can trust.
Soft, salmon-colored common brick is not cut out for ground-contact paving. It soaks up water and spalls when it freezes. Stick with dense-fired clay, reclaimed or new, that rings when you tap two bricks together.
What to Know About Soft Red, Hard Tan, and Old Chicago's
Soft Reds bring a warm, earthy palette with subtle kiln-fired variation. Hard Tans run from buff to golden brown and pair well with limestone or neutral-toned homes. Old Chicago brick leans into deeper reds and rusts, with more pronounced surface texture.
Each type is reclaimed from different regions and eras, so the character changes from batch to batch.
St. Louis Reds are another favorite for patios, known for rich color and consistent density. Pricing for reclaimed patio brick usually starts around $0.75 to $1.50 per brick, depending on type, quantity, and prep. Call to check what is available, since specific lots move fast.
The price gap shrinks once you factor in longevity. A reclaimed brick cost breakdown shows that materials proven over a century often outlast pavers with a 25-year rating. With a brick chosen, the next step is the layout and how much space you need.
Plan the Layout, Size, and Drainage First
A patio that does not drain or feel cramped is one you will regret. Lock in the spot, size, and pattern before ordering any brick.
Picking a Patio Location That Drains Well
Water should always move away from your foundation. Choose a spot where the ground naturally slopes away from the house, or plan to create that slope when you dig. This Old House recommends a patio drainage slope of 1/8 inch per foot across the width to prevent pooling and keep the base from eroding.
Avoid low spots where rainwater collects. If your only option sits in a natural drainage path, you may need a French drain or channel drain at the low edge. Plan for it early so the base handles it.
Setting the Finished Size Around Furniture and Circulation
People often build too small. A good rule is 25 square feet per person for a seat and space to move. Lay out your table and chairs on the lawn and measure before you commit to a size.
Add at least 18 inches of clearance around furniture edges. A 10-by-12-foot patio fits a four-person dining set comfortably. A 12-by-16 layout gives room for a grill or a couple of lounge chairs. Mark the corners with stakes and measure with a tape.
Choosing a Simple Pattern Such as Running Bond
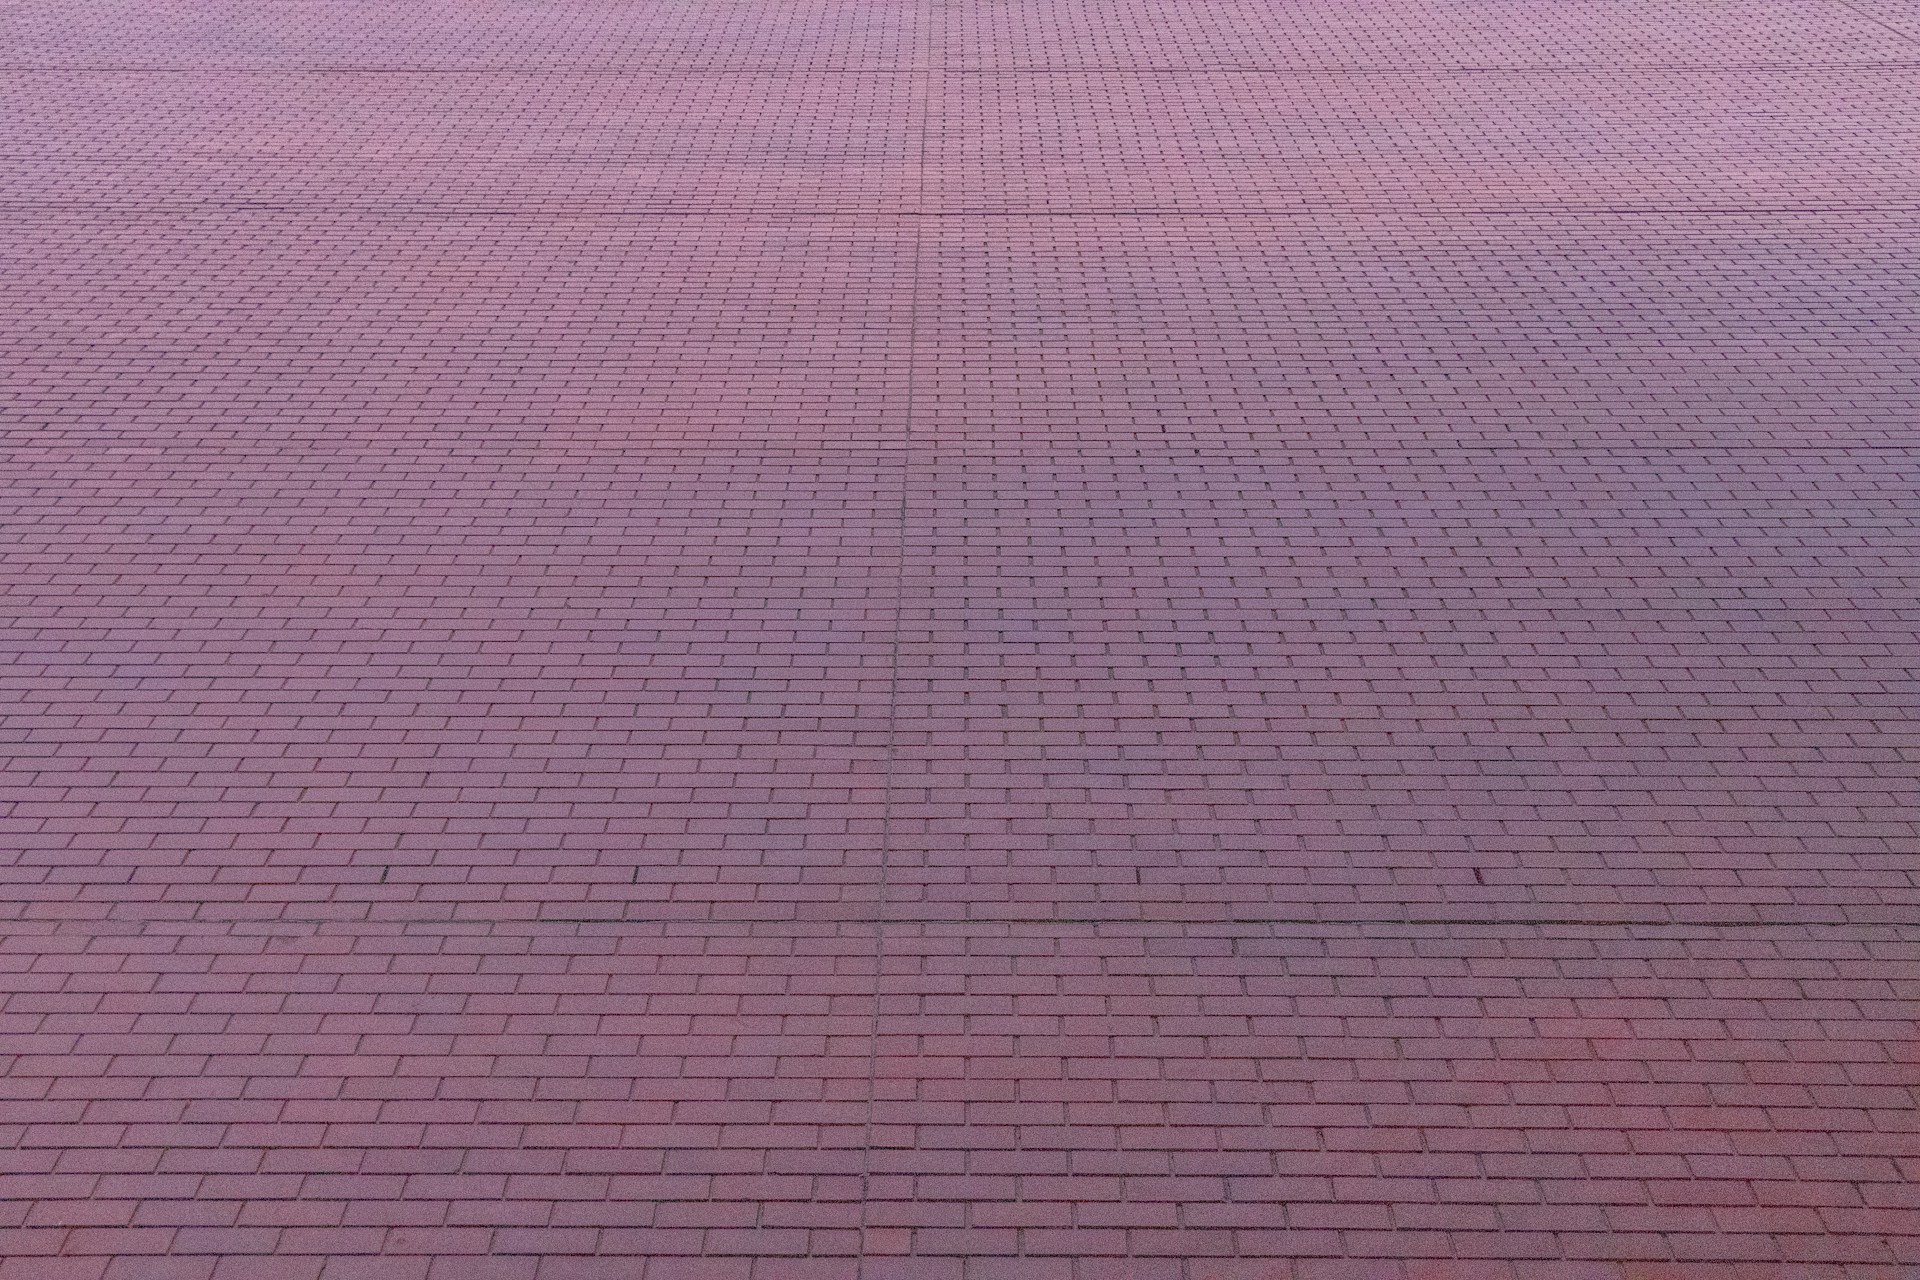
Running bond staggers each row by half a brick length. It is the easiest pattern to lay, needs the fewest cuts, and interlocks well without mortar. For reclaimed brick with some size variation, running bond is forgiving, since the stagger hides minor size differences.
A herringbone field creates a tighter interlock and handles heavier loads, but you will make more cuts at the edges. Basketweave is another low-cut option, alternating pairs of bricks in a checkerboard. Pick your pattern before you order so you can estimate waste accurately.
Marking Straight Lines and a Proper Drainage Slope
Drive stakes at each corner and stretch the mason's line between them. Measure diagonals to confirm the layout is square. Use a line level or a long straightedge with a spirit level to set the string at finish height on the high side, then drop it 1/8 inch per foot toward the drainage side.
Those string lines guide every layer below the brick. If they are off, the finished surface will be off. Take your time here, since the excavation step gets easier when your lines are right.
Build a Stable Base That Will Not Shift
Most wobbly patios, with rocking pavers, sunken corners, and weeds in the joints, come down to a base that is too thin, too loose, or missing a layer.
Excavation Depth and Subgrade Preparation
Dig down to undisturbed subsoil, usually 7 to 8 inches below finished grade. That allows for 4 inches of compacted gravel, 1 inch of leveling sand, and your brick's thickness. Remove all topsoil and roots, since they hold water and heave when frozen.
For small patios, a flat shovel and wheelbarrow will do. For anything over 100 square feet, rent a skid steer. Check the bottom of the hole with a long level and fill low spots with compacted subsoil before adding gravel.
When to Use Gravel Base, Sand Base, and Landscape Fabric
- Gravel base (crushed stone, 3/4-inch minus): Provides drainage and structural support. Use 4 inches, compacted, as the main base.
- Sand base (coarse bedding sand): Screed a 1-inch layer over compacted gravel as the setting bed for brick.
- Landscape fabric: Lay it between subsoil and gravel to keep soil from working up into the base. It will not block weeds from above, but it keeps the gravel clean.
Do not skip the gravel. Sand by itself shifts under load and washes out in heavy rain. The gravel is the structural backbone.
Compacting Each Layer With the Right Tools
For anything over 50 square feet, use a plate compactor. Run it in overlapping passes across the gravel until it stops visibly settling, usually three or four passes. For small patios, a hand tamper works, though it is hard labor.
Compact in lifts. If you need 4 inches of gravel, spread 2 inches, compact, then add and compact the rest. Compacting it all at once leaves soft spots deep in the layer.
Keeping the Surface Level Without Trapping Water
After compacting the gravel, set screed rails, such as 1-inch steel pipes, on the surface. Check them against your string lines for the right slope. Spread bedding sand over the gravel, drag a straight 2x4 across the rails, and pull off the excess for a smooth, even bed.
Pull the rails as you go and fill those channels with sand. Any dips or humps here will show up in the brick surface. Once the base is solid and sloped, you are ready to set the brick.
Set the Brick, Cut the Edges, and Lock the Field
Your first brick sets the whole patio's alignment. Drop it straight onto the sand bed rather than sliding it, which would disturb the surface underneath.
Starting the First Course and Holding Consistent Joints
Start at the corner nearest the house or a fixed straight edge. Place each brick snug against the last, leaving a joint gap of about 1/16 to 1/8 inch. With reclaimed brick pavers, slight size variation means the joints will naturally fluctuate, which is part of the look.
Work outward from the starting edge. Kneel on a piece of plywood set on top of bricks you have already laid, since it spreads your weight and keeps the sand bed from shifting. Check your lines every few rows to stay straight.
Tapping Patio Bricks Into Place With a Rubber Mallet
After you place each brick, give it a couple of light taps with a rubber mallet to seat it into the sand bed. Do not hit so hard that you crack the brick or push it lower than its neighbors. Aim for firm, level contact with the bedding sand.
Check for rocking by pressing each corner. If a brick moves, lift it, adjust the sand, and reset. This takes seconds per brick and saves trouble later.
Making Clean Edge Cuts With a Masonry Saw
At borders or around obstacles, measure the gap, mark the brick, and cut it with a masonry saw and a diamond blade. Always wear eye and hearing protection. Cutting reclaimed brick raises a lot of dust, so work outside on a stable surface, away from the finished area.
For a full patio, rent a 14-inch masonry saw. For smaller trims, a 4-inch angle grinder with a diamond blade works, though keeping cuts straight is harder.
Filling Joints With Sand and Final Surface Checks
Sweep fine polymeric sand or dry mason's sand over the finished surface, working it into every joint with a push broom. After filling, lightly mist with water to activate polymeric sand, or let the dry sand settle on its own. Repeat until joints are packed tight.
Run a plate compactor over the whole surface one last time, using a protective pad to avoid scratching the bricks. This locks in the sand and seats everything evenly. After that, the patio is ready for furniture, though a little maintenance goes a long way over the years.
Know the Limits of DIY and the Maintenance That Follows
Building a dry-laid brick patio is within reach for most DIYers, but certain mistakes during installation turn into problems later.
Common Installation Mistakes That Cause Uneven Settling
The most common cause of a wavy or uneven patio is an under-compacted base. Skip the plate compactor, or compact all the gravel in one thick layer, and dips will show within the first year. Using topsoil or organic fill under the gravel is another misstep, since it holds water and heaves when it freezes.
Even a half-inch variation in the sand bed can show as a visible dip or hump. Fixing it means pulling bricks, re-screeding, and relaying.
When a Dry-Laid Surface Makes More Sense Than Mortar
For most home patios, dry-laid on sand and gravel works better. Individual bricks flex slightly if the ground moves, so they do not crack as mortared patios do. Mortar joints are rigid, and when the base shifts, they break and need patching.
Dry-laid patios drain better, too. Water slips through the sand joints into the gravel below instead of pooling on top. With a dry-laid surface, you can swap out a single brick if it chips or spalls, without ripping up a whole section.
Seasonal Cleaning, Weed Control, and Joint Sand Touch-Ups
Sweep the patio every few weeks to clear leaves and debris that trap moisture and encourage moss. Once a year, pressure wash on low or scrub with a stiff broom and water. Avoid harsh chemicals, which can wear away the patina of old brick.
Top off joint sand every year, especially after big storms or freeze-thaw cycles. Polymeric sand holds up better than plain sand, but you will still reapply every couple of years. Pull weeds by hand when you spot them, since herbicides can stain the brick.
How Reclaimed Brick Ages Outdoors Over Time
Reclaimed brick comes with a century of character, so you will not see the sharp color fade that new concrete pavers get. Over time, expect the surface tones to deepen, with maybe a little moss in shady spots. Most owners see that as a benefit.
Dense-fired reclaimed brick handles ground contact well. Eco-friendly reclaimed building materials also cut the carbon footprint of new manufacturing, so the patio starts with a lighter impact. With your material and plan set, the next step is confirming your supplier can deliver what you need, when you need it.
Source Brick With Confidence and Confirm Lead Times
A clear plan means little if your supplier cannot deliver on time. Ask the right questions before you place an order.
What to Ask a Supplier About Inventory, Origin, and Prep
Find out exactly where the brick came from, including region, era, and building type. Ask whether the brick has been cleaned, sorted by size, and checked for cracks or spalling. A nationwide reclaimed supplier should have those answers ready.
Check whether they have enough of the specific type you need. Reclaimed brick comes in batches, so if you need a couple thousand, confirm they have enough from the same lot for a consistent look.
Why Freight, Palletization, and Delivery Details Matter
Reclaimed brick ships on pallets by freight, not in small boxes. Each pallet weighs about a ton, so you need a flat, accessible spot for delivery. If your driveway is tight or the site is tricky, arrange liftgate service or equipment ahead of time.
Freight cost depends on weight, destination, and delivery details. Always ask for a shipping estimate before you commit. Good suppliers can quote the same day.
Your Brick Patio Starts With the Right Material
Building a brick patio comes down to a few steps: pick a dense, durable brick, plan the layout and drainage, build a solid base, set and cut with care, and fill the joints tightly. Each step sets up the next, and you cannot fix a bad base by laying bricks better.
Reclaimed brick gives a patio a warmth and depth that new material does not match. The color, the texture, and the fact that it has already stood the test of time all carry into the finished surface.
Call New Orleans Brick Co to check what is on the yard, including Soft Reds, Hard Tans, and Old Chicagos, and get a truck rolling within 48 hours of a paid invoice. One conversation confirms the type, quantity, and freight for your project.
Frequently Asked Questions
What Base Prep Keeps a Brick Patio From Settling or Rocking?
Start with at least 4 inches of compacted crushed gravel, topped with 1 inch of screeded bedding sand. Compact the gravel in 2-inch layers, and dig down to undisturbed subsoil before adding anything. Skipping the gravel or under-compacting it is the main reason patios settle.
Can You Lay Pavers Straight Over Grass, or Do You Need a Proper Base?
Laying brick directly on grass or topsoil leads to uneven settling, drainage problems, and weeds fast. You need to dig out the organic layer, reach solid subsoil, and build a proper gravel-and-sand base. There is no shortcut that holds up past the first winter.
When Do You Use Sand-Set Brick Versus Mortar?
Sand-set, dry-laid patios flex slightly and let water drain through. Mortared patios are rigid and crack if the base moves. For most ground-level home patios, sand-set is the standard. Mortar is usually used for overlays on concrete slabs or when you need a fixed joint for a specific look.
How Much Extra Brick Should You Order for Cuts and Repairs?
Order 10 to 15 percent extra for running bond or basketweave. Herringbone needs more, closer to 15 to 20 percent, because of the angled cuts. Keep a few matching bricks on hand for future repairs, especially with reclaimed lots that may not be available again.