You are staring at a bare patch of dirt where your patio should be. You have already decided that concrete slabs look too cold and that stamped concrete will crack and fade before the decade is out.
What you really want is a surface that feels like it has been there for generations, the kind of brick patio you see in old courtyards across the South, where every paver carries a slightly different hue and the whole surface seems to breathe with age.
That is where knowing how to lay brick pavers with the right materials and the right method makes all the difference.
Reclaimed brick pavers offer something new manufactured pavers simply cannot replicate. The natural patina, the subtle fire marks, and the dimensional variation from hand-molding or a century of weather give a patio instant depth and warmth.
Because reclaimed pavers pulled from buildings over 100 years old can ship from standing inventory within 48 hours, your project timeline stays on track instead of waiting months for a special order.
Keep reading to learn how to plan your layout, build a base that will not shift, set pavers cleanly, and finish with restraints and joint sand that lock everything in place. Every step below reflects the kind of practical, field-tested guidance that a builder or homeowner can follow with confidence.
Choose the Right Brick and Plan the Layout
Your paver choice determines the look, the durability, and the long-term maintenance of the entire patio. Pick the wrong material, and you will fight color fading, crumbling edges, or a surface that looks generic from day one.
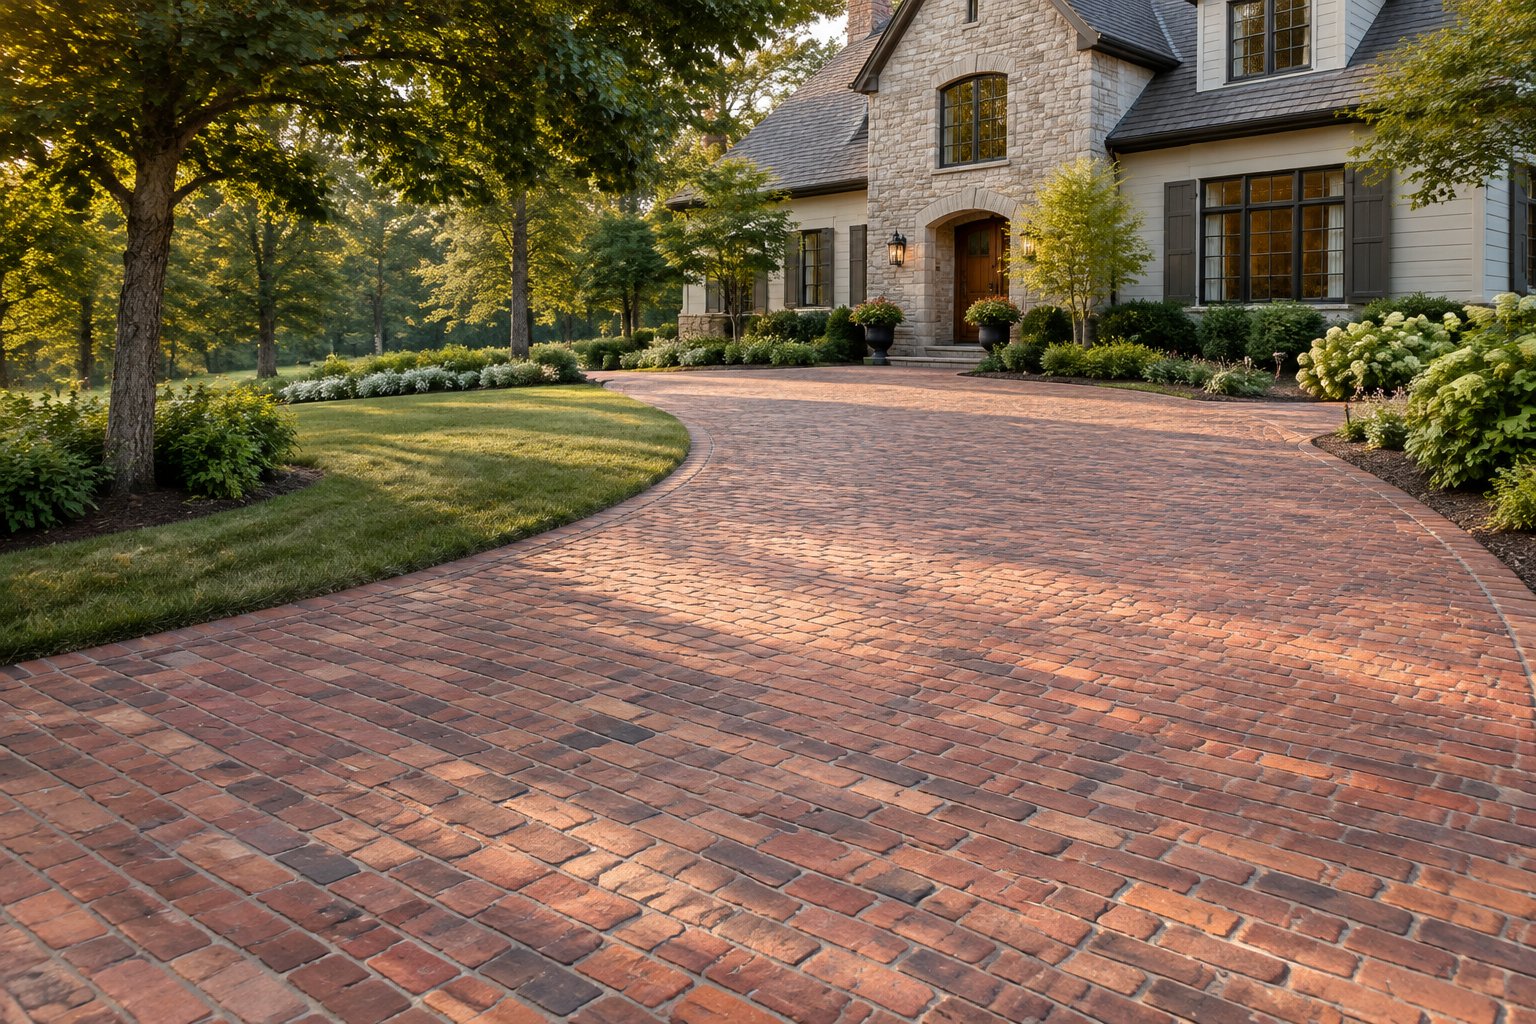
When Reclaimed Brick Makes Sense for Patios, Walkways, and Driveways
Reclaimed brick pavers earn their place on any project where you want authentic texture and color that new concrete pavers or factory brick cannot deliver. A handmade reclaimed paver pulled from a pre-industrial building carries irregular edges, fire-kissed surfaces, and mineral-rich tones that shift gently from unit to unit.
Those characteristics come from slow kilning and a century of exposure, not from a tumbling machine at a modern plant.
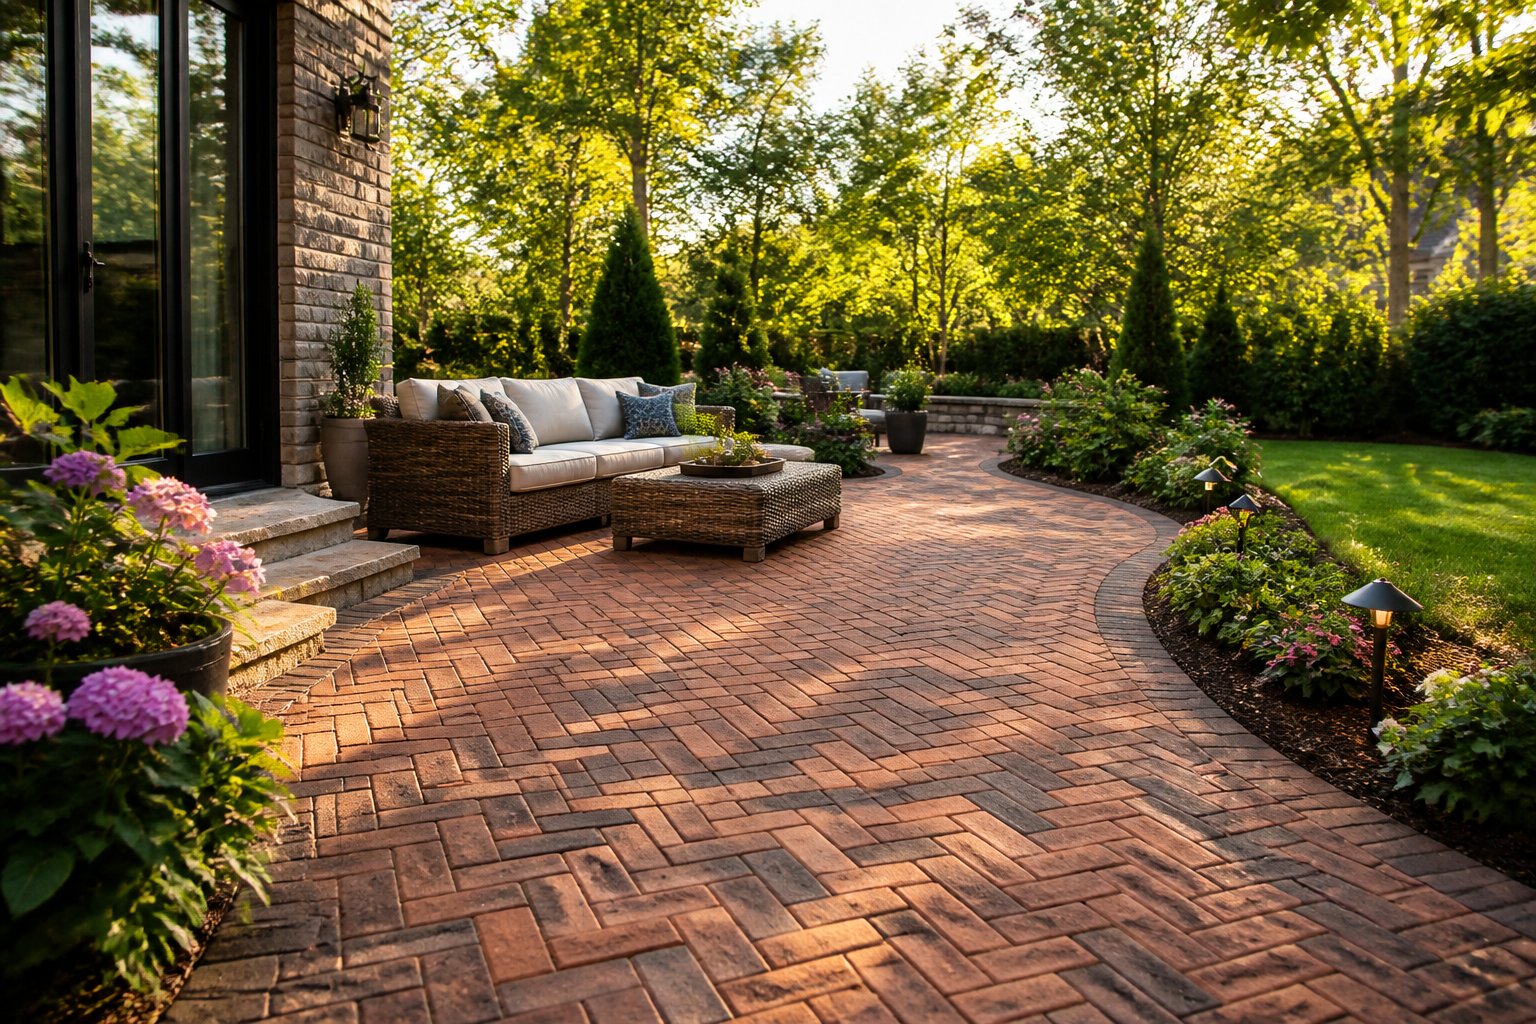
If you are building a herringbone brick patio, restoring a historic walkway, or laying a driveway that needs to handle vehicle loads without looking sterile, reclaimed pavers are the stronger aesthetic and structural choice.
Machine-made reclaimed pavers offer more uniform sizing while still carrying genuine aged character. They suit projects where tight joints and consistent coursing matter, such as long walkway runs or pool surrounds. For applications where you want maximum variation and artisan feel, handmade varieties like handmade Soft Reds or reclaimed St. Louis Reds deliver color depth that manufactured pavers spend marketing dollars trying to imitate.
Measuring the Area and Estimating Waste
Measure your patio footprint in square feet. Multiply length by width, and add 10 to 15 percent for cuts and breakage. Reclaimed brick has natural dimensional variation, so a few units per pallet may be slightly undersized or chipped beyond use. That extra percentage covers border cuts, waste at curves, and a small reserve for future repairs.
For driveways and high-traffic areas, bump the overage to 15 percent. Reclaimed pavers are unique by nature; matching a batch later is difficult once the same lot is sold.
Ordering enough material up front avoids project delays and color mismatches that undermine the finished look. Detailed guidance on reclaimed paver costs helps you budget accurately before you commit.
Selecting a Paver Pattern for Reclaimed Material
Pattern choice affects both the visual impact and the structural interlock of the field. Running bond is the simplest to lay and works well for walkways and narrow patios. Herringbone, set at either 45 or 90 degrees, provides maximum interlock and handles lateral loads better.
This makes it ideal for driveways. Basket weave creates a quieter, more formal surface that suits courtyard patios.
- Running bond works best with uniform-width reclaimed pavers and minimizes cutting.
- Herringbone hides dimensional variation because alternating angles draw the eye across the field.
- Basket weave requires pairs of pavers in the same dimension, so pre-sort your delivery carefully.
When you work with reclaimed material, dry-lay a 4-by-4-foot test section before committing. The slight size differences between handmade units can widen or tighten joints in a pattern. Seeing it firsthand lets you adjust spacing before the full field is set. With a pattern locked in, the next step is making sure the ground beneath it is ready.
Prepare the Site for Drainage and Stability
Proper site prep prevents every problem that shows up later: pooling water, sinking corners, and pavers that shift underfoot. Skipping this step is the fastest way to ruin good material.
Mark the Perimeter With Stakes and a String Line
Drive wooden stakes at every corner and at 6-foot intervals along straight runs. Tie a mason's string line between stakes at the planned finished height of the paver surface. This line is your constant reference for slope, depth, and alignment through the entire build.
Check diagonals to confirm the layout is square. For a rectangle, both diagonal measurements should be equal within a quarter inch. If your patio has curves or radiused corners, set additional stakes to define the arc and keep the string tight along each segment.
According to a brick paver walkway guide, using a laser level at each end of the run is the fastest way to establish height control across long distances.
Set Slope Before You Dig
Every patio needs a slope of at least 1/8 inch per linear foot to move water away from the house. Adjust your string line downward on the low side to reflect that grade. A 10-foot patio, for example, should drop roughly 1.25 inches from the house wall to the outer edge.
Do not rely on eyeballing. Use a 4-foot level with a shim or a laser to confirm the drop at multiple points. Reclaimed brick has a naturally porous surface that absorbs and sheds water differently than glazed concrete pavers. Good slope protects both the material and the base beneath it.
Excavate to the Right Depth for the Project Type
Dig out the full footprint plus 6 inches on each side for edge restraints. Depth depends on the project.
- Patios and walkways: 7 to 8 inches below finished grade (4 inches base, 1 inch sand bed, 2 to 2.5 inches paver).
- Driveways: 10 to 12 inches below finished grade (6 to 8 inches base, 1 inch sand, 2.5 inches paver).
Compact the exposed subgrade soil with a plate compactor before adding any aggregate. Soft or recently filled soil should be compacted in two passes. This is the foundation for everything above it. It determines whether your base layer will stay flat or slowly settle. With the hole dug and the subgrade firm, you are ready to build the base.
Build a Base That Will Not Shift
A well-built base is the difference between a patio that stays flat for decades and one that develops ruts in the first winter. Every layer below the paver does real structural work.
When to Use Geotextile Fabric Over Soil
Lay geotextile fabric over the compacted subgrade whenever the soil is clay-heavy, poorly draining, or recently backfilled. The fabric prevents fine soil particles from migrating up into the stone base and weakening it over time.
It also distributes load more evenly. Roll the fabric 6 inches past the excavation edges and overlap seams by at least 12 inches.
On sandy, well-draining soils, you can skip the fabric. When in doubt, include it. The cost is minimal, and the insurance against base contamination is worth it, especially beneath reclaimed pavers whose slight dimensional variation makes them more sensitive to base settlement.
Spread and Compact the Stone Base in Lifts
Use a crushed stone blend of 3/4-inch stone mixed with stone dust for the base layer. As recommended in a paver walkway installation, spread and compact the material in lifts of 2 to 3 inches rather than dumping the full depth and compacting once. Each lift gets a pass with a plate compactor and then a check with a straightedge.
Build up lifts until the base reaches the correct subgrade, a distance below your string line equal to the thickness of the paver plus 1 inch of sand.
A hand tamper works along edges and near walls where the plate compactor cannot reach. When the top of the base is firm enough that you can walk on it without leaving footprints, it is ready for the sand bed.
Screed a Consistent Sand Bed
Spread coarse bedding sand, not play sand or stone dust, over the compacted base to a depth of 1 inch. Set two metal conduit pipes or screed rails on the base, parallel and spaced about 4 feet apart. Pull a straight screed board across the rails to level the sand, then carefully remove the rails and fill the grooves with sand by hand.
Do not compact the sand bed before laying pavers. You want the reclaimed brick to settle into it slightly during final compaction. With the sand screeded flat and the base solid beneath it, the next step is placing the pavers themselves.
Set the Pavers and Keep the Surface Square
Once your base work is right, laying brick pavers on a properly screeded sand bed is the fastest phase of the project. Each unit drops into place without pounding or forcing.
Start From a Straight Edge or Corner
Begin placing pavers along the longest straight edge of the patio or against an existing wall or foundation.
Set the first row tight to the edge restraint or string line. Place a few pavers along the perpendicular edge to form an L shape, then fill in the triangle between the two legs. This triangle anchors the entire field and keeps it square as you work outward.
When laying reclaimed brick, pull from multiple pallets at once. Mixing units from different sections of the delivery blends color variation naturally across the surface. A patio laid from a single pallet at a time often shows visible color bands where one batch ends and another begins.
Adjust Height and Spacing as You Go
Set each paver by hand onto the sand bed. Use a rubber mallet to tap any high units down to the string line. If a unit sits low, lift it and add a pinch of sand beneath it. Keep joints between reclaimed pavers around 1/8 to 3/16 inch.
The slight irregularity of handmade brick means some joints will be wider or narrower. That variation is part of the character.
Check level across the field every 3 to 4 feet with a straight board. Small corrections now prevent visible waves in the finished surface. For more detail on working with dimensional variation, this guide on red brick paving tips covers joint management and layout techniques specific to aged material.
Cut Border Pieces Cleanly
A masonry saw or angle grinder with a diamond blade handles border cuts. Measure each piece individually because reclaimed brick varies slightly in length. Score the face first, then cut through. Wet cutting reduces dust and gives a cleaner edge.
Wear eye protection and hearing protection. Reclaimed brick is dense and well-fired, which makes it harder to cut than soft new pavers but also gives it superior durability in the finished surface. Once border pieces are fitted, the field is complete and ready for restraints and joint fill.
Lock Everything in With Restraints, Joints, and Finishing
Edge restraint, joint fill, and compaction are what turn a field of loose pavers into a unified surface that holds up under foot traffic and weather.
Install Edge Restraint Before Final Compaction
Set plastic edging or aluminum paver edging tight against the outer row of pavers on all sides. Secure it with 10- or 12-inch landscape spikes driven through the edging tabs and into the compacted base. Place a spike every 12 inches on straight runs and every 6 inches on curves.
Edge restraint keeps the paver field from creeping outward over time. Without it, the border pavers shift, joints open, and the surface loses interlock. For design ideas on incorporating reclaimed pavers into outdoor spaces, explore these reclaimed paver patio ideas.
Fill Paver Joints With Sand
Spread polymeric sand or coarse jointing sand over the surface and sweep it into the joints with a push broom.
Work in two directions to fill completely. Run a plate compactor over the surface to vibrate the sand down and seat the pavers into the bedding layer. Then sweep and add more sand until the joints are full to within 1/16 inch of the paver face.
- Polymeric sand hardens when misted with water and resists washout, ant intrusion, and weed growth.
- Regular coarse sand is cheaper and easier to replace but requires periodic topping off.
For most reclaimed brick patios, polymeric sand is the better long-term choice because it locks the joints without restricting the natural drainage that porous, aged brick provides.
Decide Whether to Seal the Surface
Sealing is optional. A paver sealer darkens the surface slightly and adds sheen, which can enhance the color depth of reclaimed brick. It also provides some stain resistance. On the other hand, many builders and homeowners prefer the raw, unsealed look that lets the original patina of reclaimed brick age naturally.
If you choose to seal, wait at least 48 hours after jointing and make sure the surface is completely dry. Apply a breathable, penetrating sealer rather than a film-forming type. A film-forming sealer can trap moisture inside the brick and cause spalling in freeze-thaw climates.
With restraints set, joints filled, and the surface compacted, the installation is done. The last step is making sure you ordered correctly from the start.
What to Check Before You Order Materials
The best installation starts with the right order. Getting material specs, quantities, and delivery logistics right up front saves you time, money, and rework.
Match the Brick Type to the Use and Look
Reclaimed brick pavers come in multiple types. Your choice depends on where the pavers will go, how much traffic they will handle, and what look you want. Review the reclaimed paver options to compare by color family and hardness.
- Handmade reclaimed pavers deliver maximum texture, color variation, and artisan character. Best for patios and accent areas.
- Machine-made reclaimed pavers offer tighter dimensional consistency. Ideal for driveways and long walkway runs.
- Specialty architectural pavers include molded or shaped pieces suited for borders, medallions, or historic restoration.
Order Extra for Cuts, Breakage, and Future Repairs
Order 10 to 15 percent more than your measured square footage. Reclaimed brick cannot be reordered in an exact match once a lot sells. Holding a small reserve means you can replace a cracked unit years from now without a visible mismatch.
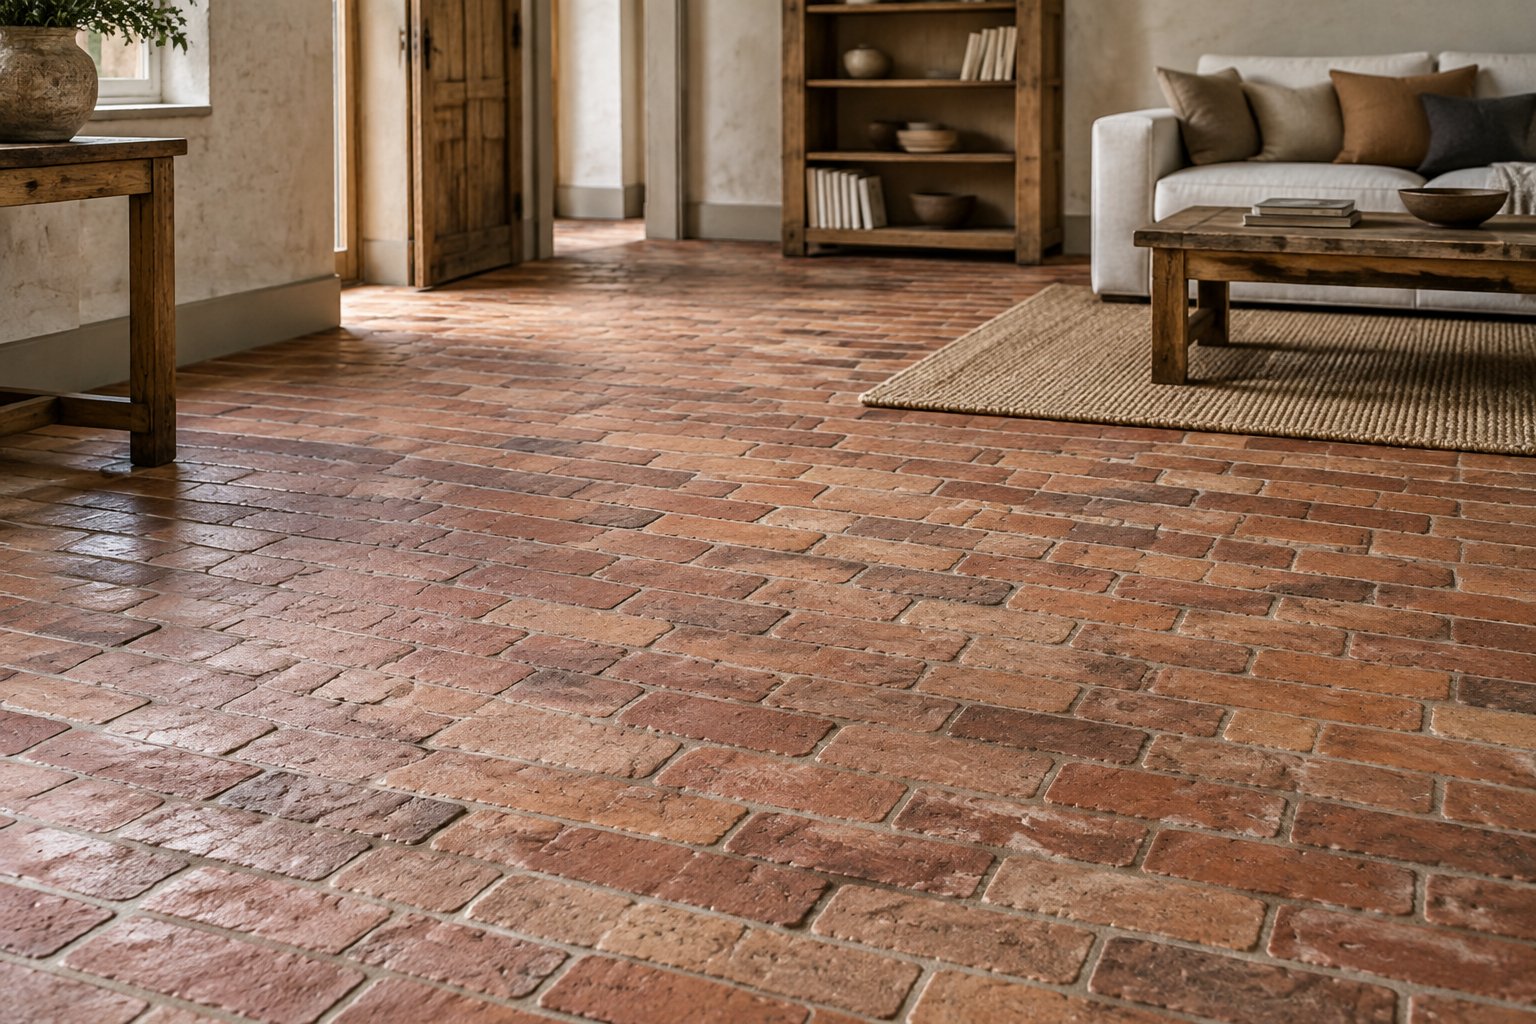
If your project includes reclaimed brick floors or a connected walkway, calculate the total across all areas and order in one batch.
Confirm Lead Time, Freight Delivery, and Site Access
All brick ships on pallets via freight carrier with curbside delivery. Confirm that your site has a flat, accessible area where the truck can unload. If you need a forklift or liftgate, arrange that before the order ships. Inspect every pallet at delivery and note any visible damage on the receipt before the driver leaves.
Look for reclaimed brick shipped nationwide from inventory on hand, where response time matters more than catalog size. Knowing what is available right now, not what can be ordered in six months, is what keeps your project on schedule.
Frequently Asked Questions
How do you prep the ground so a brick paver patio doesn't settle or rut?
Excavate to 7 or 8 inches below the finished paver height and compact the exposed subgrade soil with a plate compactor. Lay geotextile fabric on clay or fill soils, then build up a crushed stone base in 2 to 3 inch lifts, compacting each one before adding the next.
What base and bedding layers go under brick pavers, and how thick should each be?
For patios and walkways, use 4 inches of compacted crushed stone topped with 1 inch of coarse bedding sand. Driveways need 6 to 8 inches of compacted stone base plus the same 1-inch sand bed. The paver itself adds another 2 to 2.5 inches.
When do you lay brick pavers on sand versus setting them in mortar for a walkway?
Sand set installation suits most outdoor patios, walkways, and driveways. It allows for drainage, minor ground movement, and easy repairs. Mortar set installations work best over an existing concrete slab where you need a permanent bond and the slab handles drainage independently.
What's the right way to install brick pavers over an existing concrete slab without trapping water?
Confirm the slab slopes away from the house at 1/8 inch per foot. Apply a thin 1/2 inch sand bed or use a paver adhesive system directly on the slab. Do not seal the perimeter in a way that traps water under the pavers. Leave weep gaps or use edge details that allow drainage.
How do you keep brick pavers straight, tight, and level across long runs and curves?
Use a string line at the finished paver height and check every 3 to 4 feet with a straightedge. Start from a fixed edge and build outward in an L-shaped triangle to anchor the field square. Tap high units with a rubber mallet and shim low spots with sand.
What joint sand should you sweep in, polymeric or regular, and when do you compact and seal?
Polymeric sand is the better choice for most reclaimed brick projects. It resists washout, weed growth, and insect intrusion. Sweep the sand in, compact the surface with a plate compactor, then mist with water to activate the polymeric binder. Wait at least 48 hours before applying any sealer.
Ready to Start Your Paver Project
A brick paver patio built on the right base, with the right material, and finished with proper restraints and joint fill will look better with each passing year. Reclaimed pavers bring a warmth and depth that new manufactured brick simply cannot match. The installation steps are well within reach for a prepared builder or homeowner.
If your project is ready and your timeline matters, call New Orleans Brick Co at the number on the site. Ask what reclaimed pavers are in stock for your square footage, get a straight answer on pricing and freight, and have material on a truck within 48 hours of payment.
The Bourgeois family picks up the phone and gives you a real answer, not a form submission and a two-week wait.