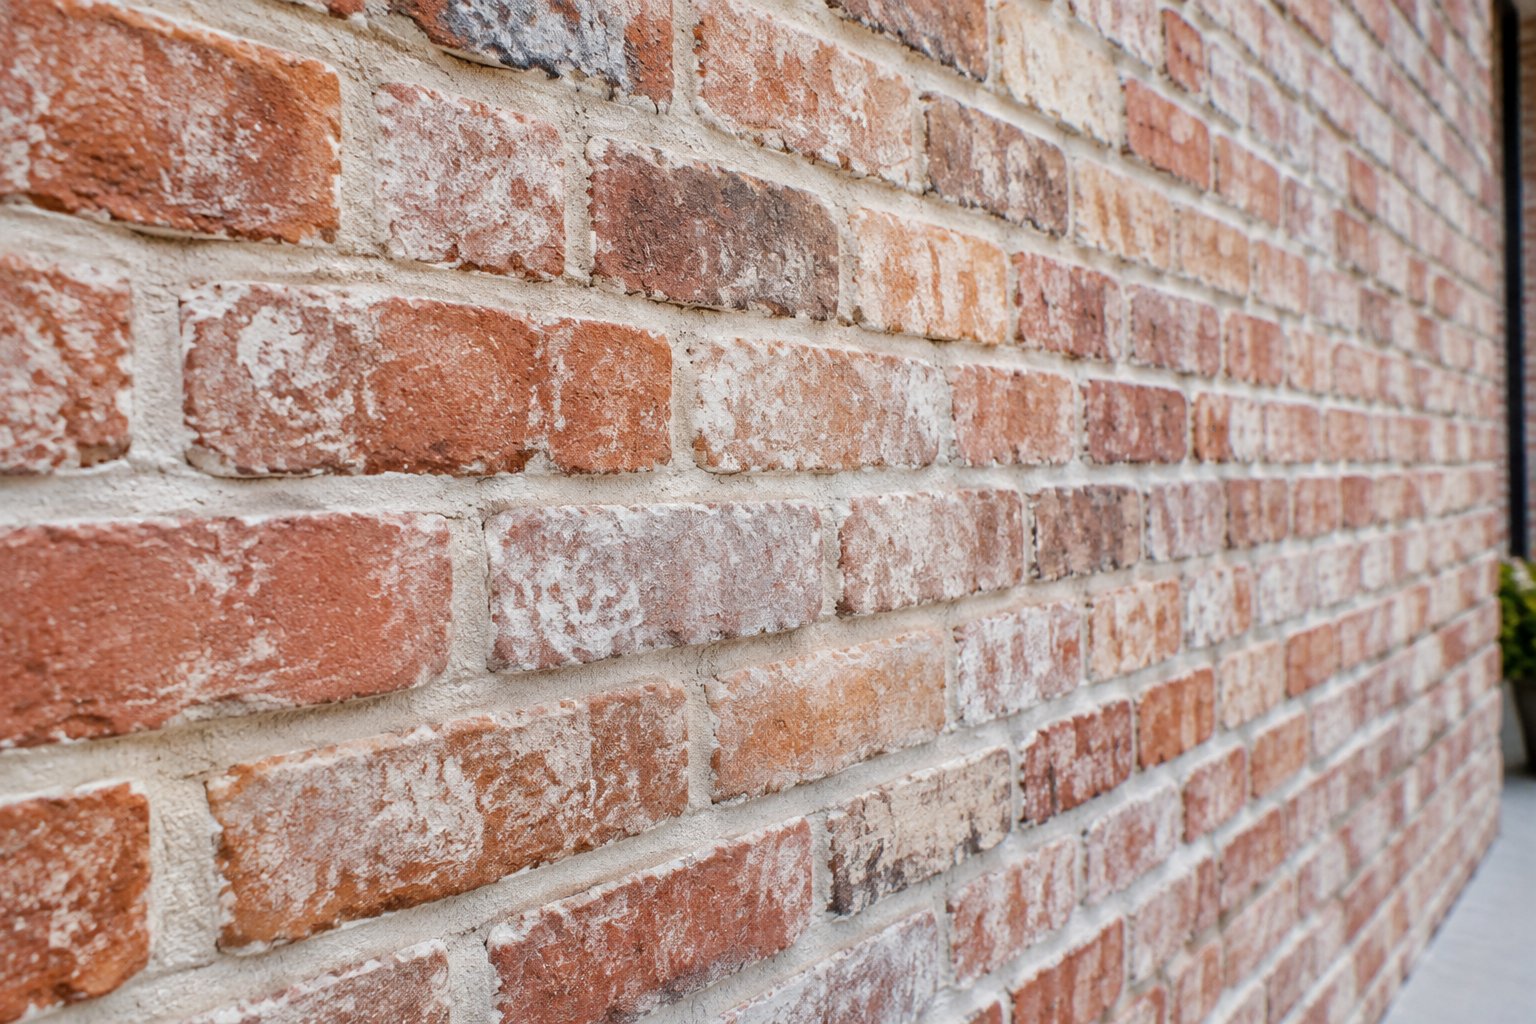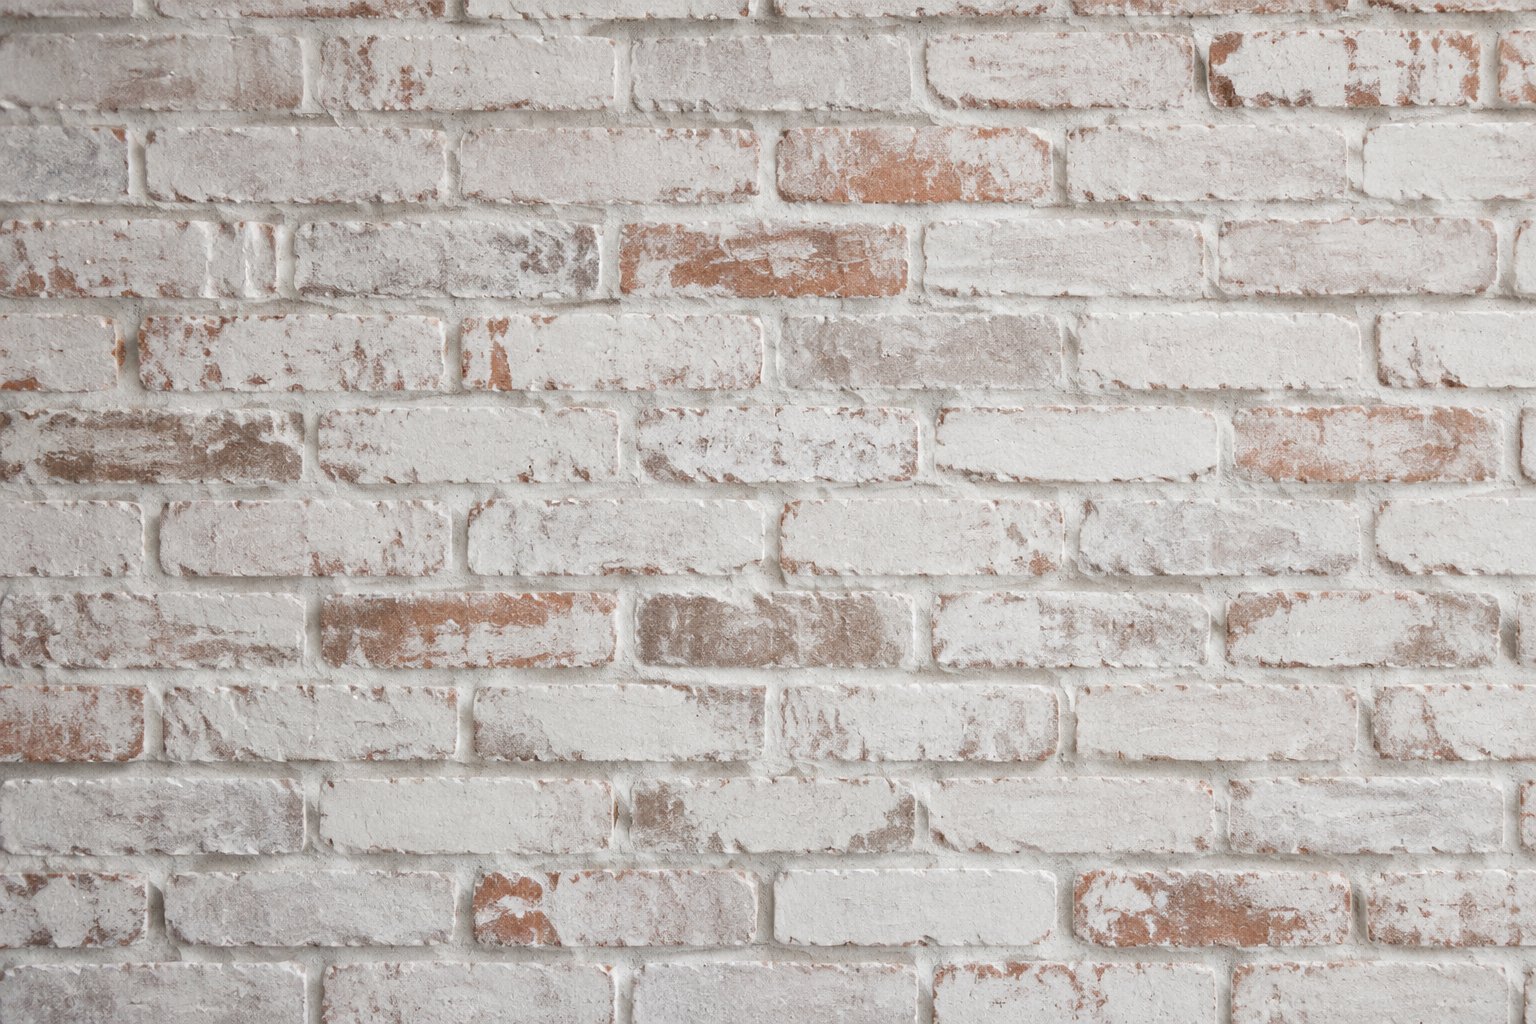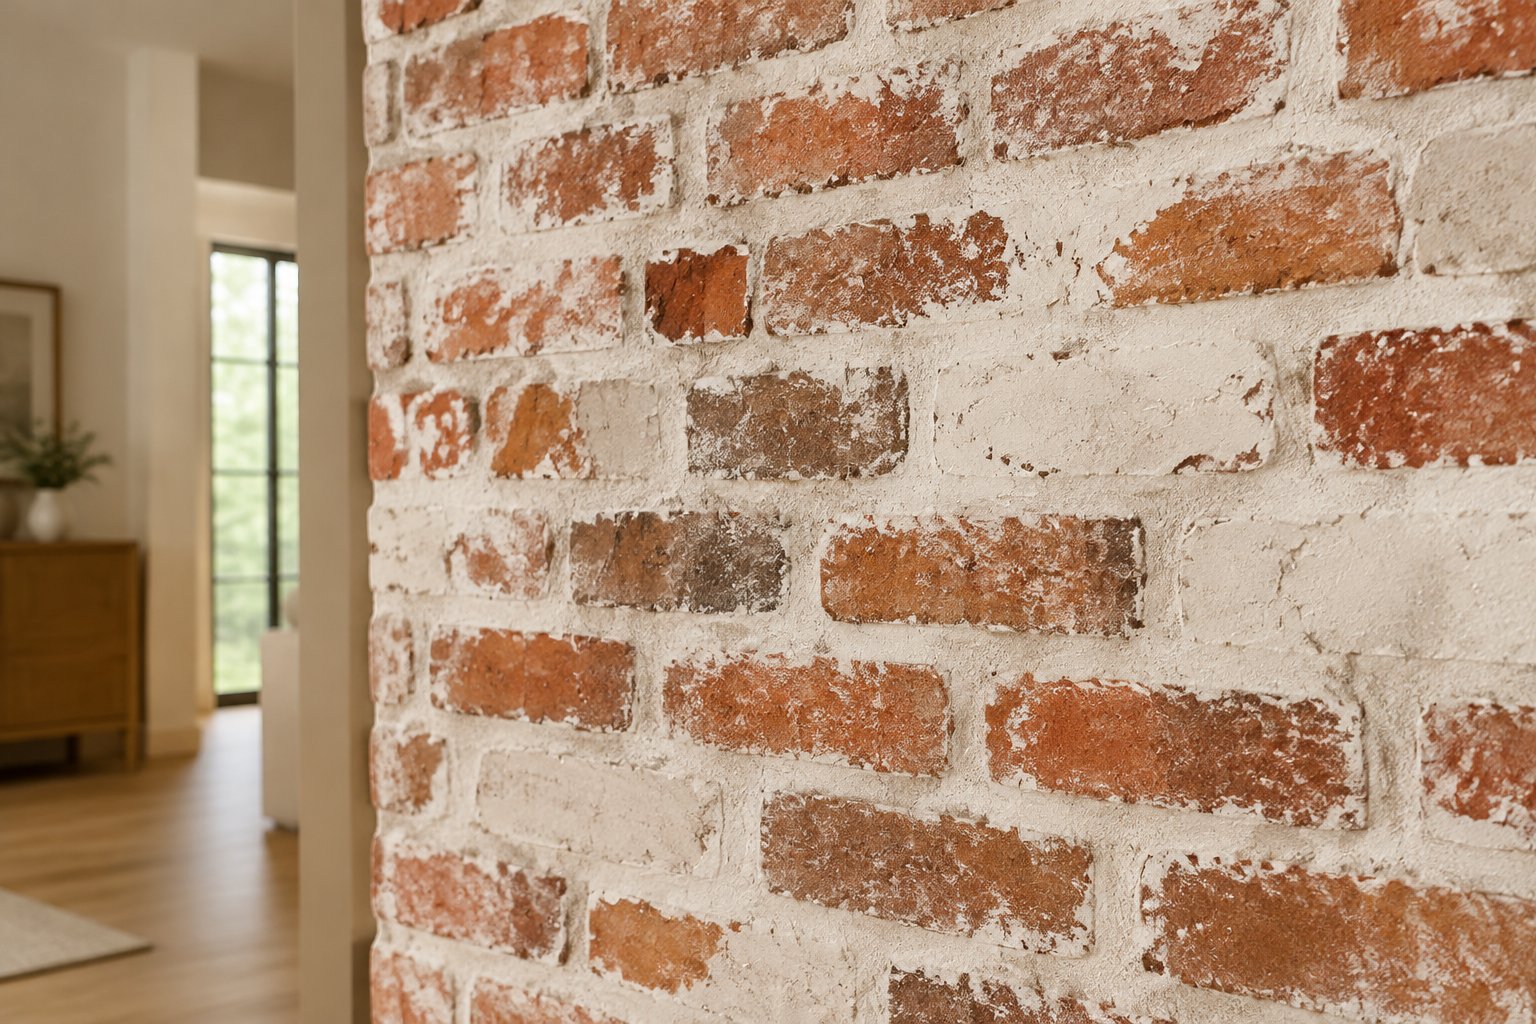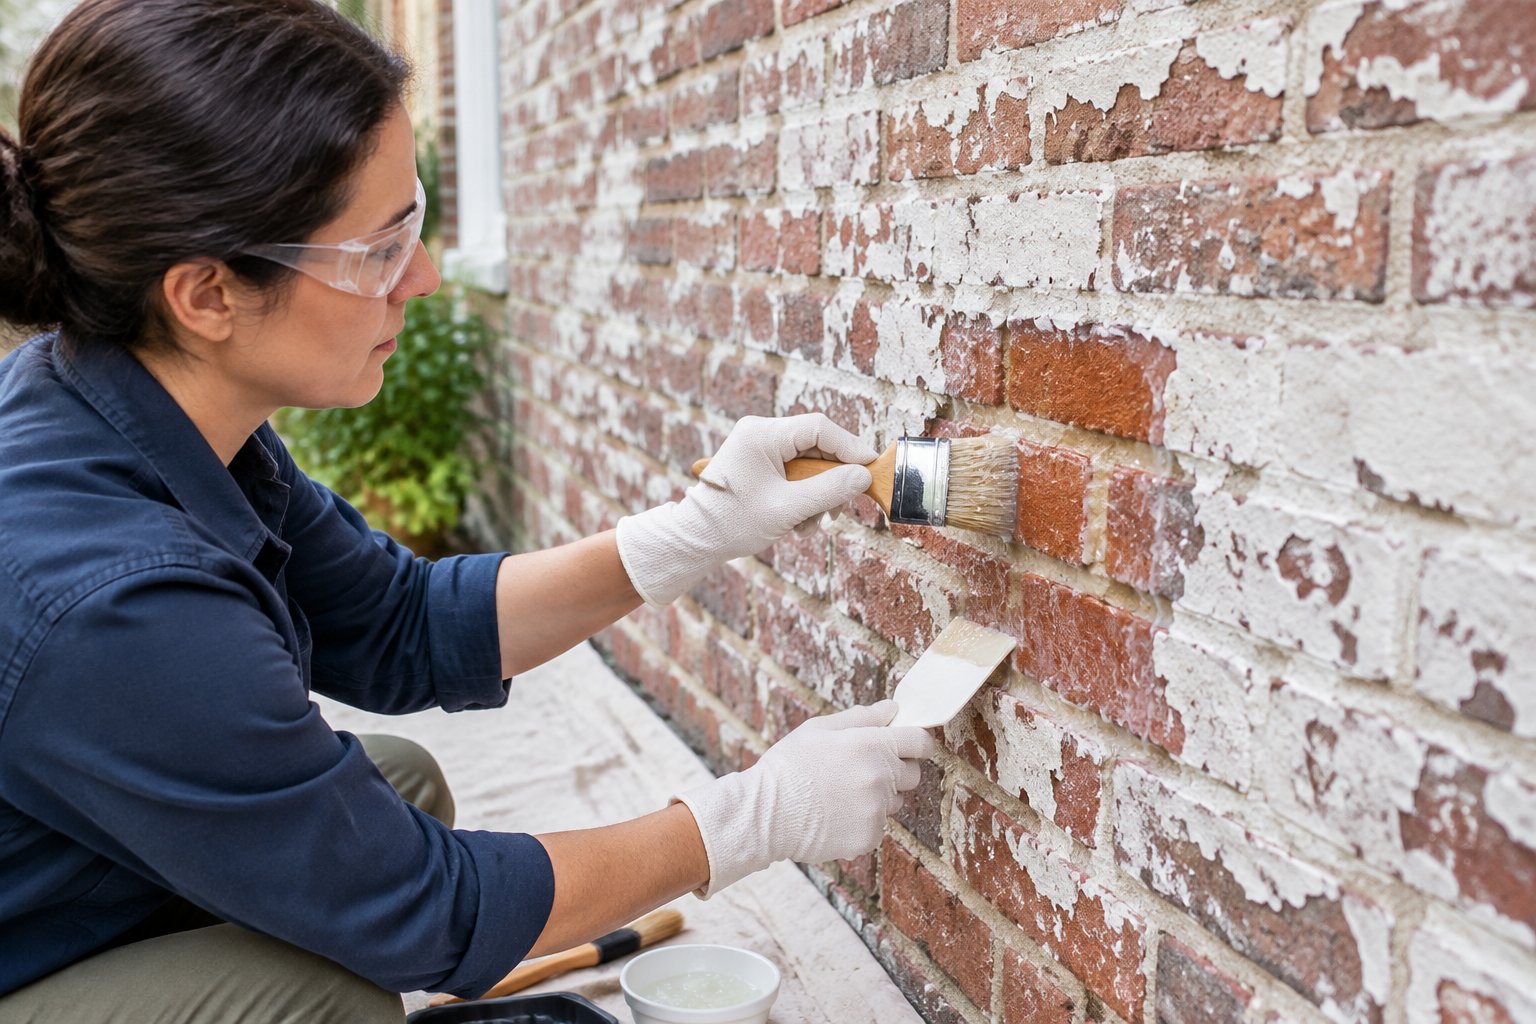
Start with a masonry-compatible chemical poultice, test it somewhere nobody looks, and lift the softened paint with hand tools and a great deal of patience. Gel strippers come next. Steam belongs with a specialist. Anything abrasive sits at the very bottom of the list, and sandblasting and hard pressure washing should not be on it at all, because they strip the fired skin off the brick and that damage is permanent.
The stakes are higher than most people realize when they start. The color and texture you are trying to uncover live in a surface layer a few millimeters thick that took a kiln and a century of weather to produce. Once it is gone, no sealer and no stain brings it back.
This job is winnable. It needs you to read the wall first, choose the gentlest method that works, and know when to stop.
Is your wall safe to strip?
Some walls are ready for it and some will come apart if you try.
Look hard at the brick faces before any product touches them. Spalling, where the face has flaked or popped off leaving a sandy pit, means the brick is already weak and stripping will finish the job. Paint hides this, and it also hides blisters and salt pushing through the coating, which tell you moisture is trapped behind it. People have been painting brick to conceal damage for a very long time, so expect to find some.
Check the mortar too. Tap the joints: a soft thud suggests lime, a sharp ring suggests cement. Scrape one with a key, and if it crumbles to sand it needs a mason before anything else happens. This matters because pre-1900 brick is softer and less regular than modern modular and was laid in lime, with the joint meant to be the weak link that lets moisture out. If someone later repointed in hard Portland cement, the water is already being forced out through the brick face, and what old brick buildings teach a modern crew is largely about spotting that.
Lead comes before everything
Any house built before 1978 may carry lead-based paint. Test before you scrape, heat or strip anything. Home kits give a quick answer, a certified inspector gives a definitive one.
If it comes back positive, this becomes a job for a certified lead-safe contractor rather than a weekend. Heat guns are out entirely, because heat releases toxic fumes from lead paint. Dry scraping and sanding are out too, because they put lead dust into the air and the soil around the house.
Test, then wait
Pick a back corner or a hidden elevation, never the front of the house. Strip a patch about two feet square with the product you intend to use, following the label exactly.
Then wait, because wet brick hides damage. Let it dry for several days and look again in daylight. You are checking for a color change in the brick, softened or washed-out mortar, a powdery face that rubs off on your finger, and paint ghosting left deep in the pores. Any of those means change product or stop.
Sometimes stopping is the answer. Leave the paint where it is if the brick beneath is soft, spalled or badly scarred, if the test patch damaged the face, or if lead is present and a lead-safe crew is not an option. Some brick was painted precisely because it was cheap, porous and never meant to be seen, and late-1800s antique brick in particular soaks paint deep into its pores. In those cases a breathable mineral paint or limewash over the existing coat is genuinely kinder to the wall than stripping it.
Methods, gentlest first
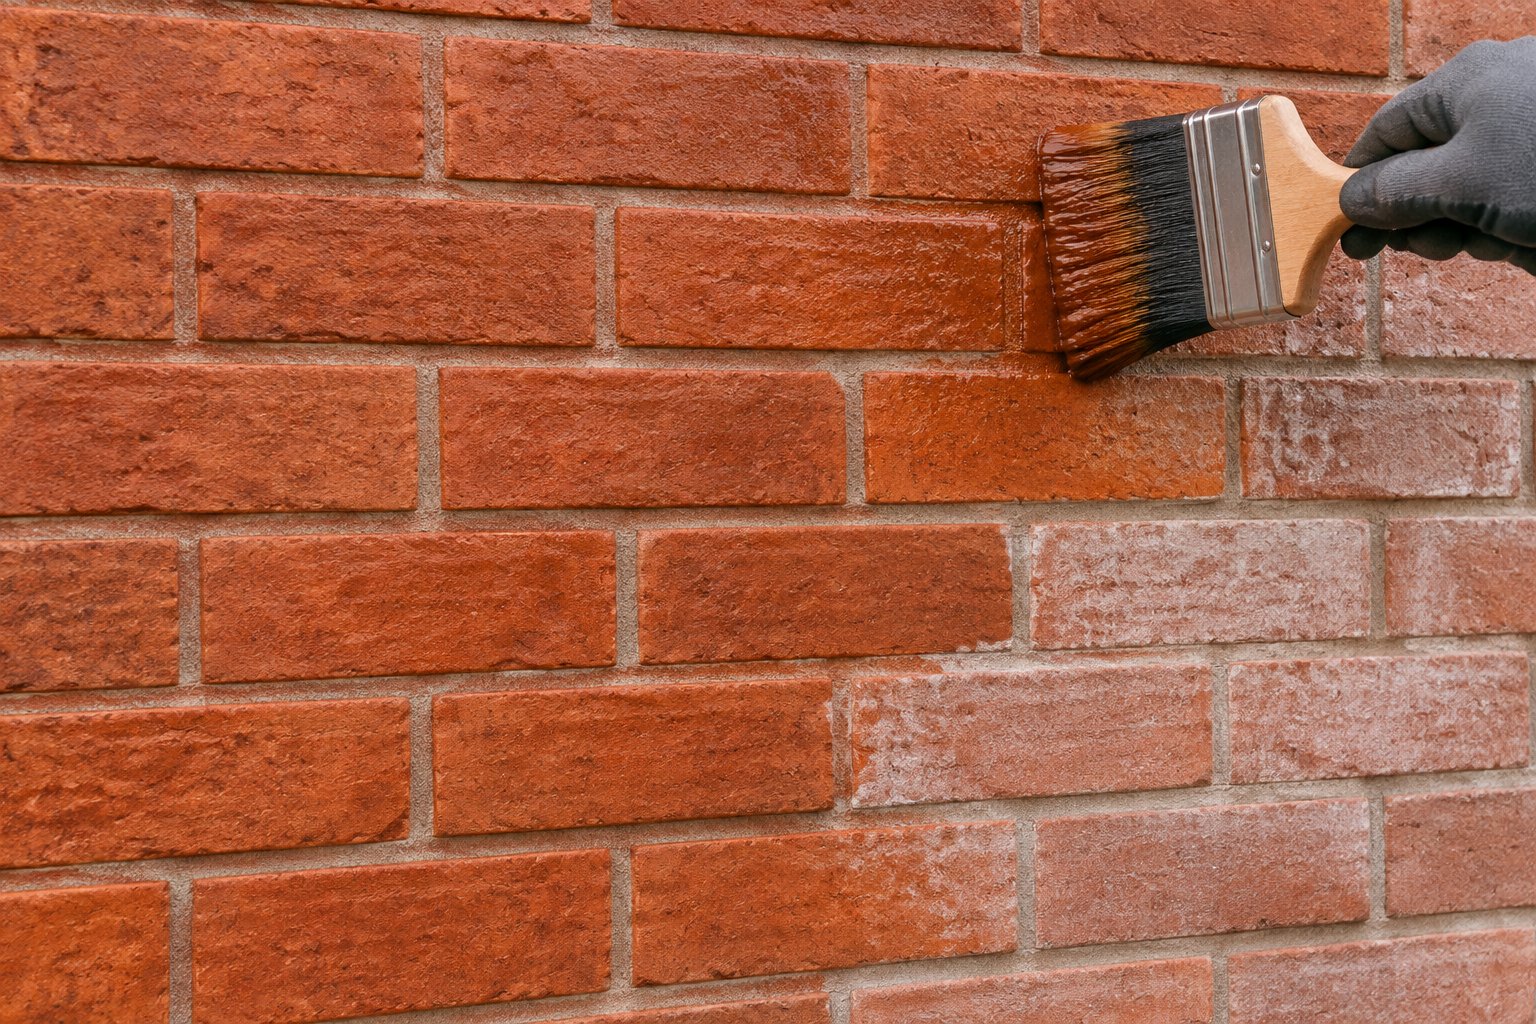
A poultice is a thick paste spread on the wall and covered with fabric or plastic, which keeps the stripper wet against the paint for hours so it works through multiple layers without flooding the brick. Peel the cover back and much of the paint comes with it. Choose a product labeled for masonry; alkaline poultice systems handle oil and latex on brick well, while harsh acids and anything formulated for wood will burn the face and leave pale scars.
Gel strippers suit thinner coats, interior brick and smaller areas like a fireplace surround. Water-based gels cling to vertical surfaces and work without harsh fumes, and citrus-based gels handle light latex. They need the same discipline as a poultice: apply thick, keep covered so they stay wet, test first, and plan the job around the dwell time, which can be long.
A heat gun gets suggested for small areas of non-lead paint. Use it cautiously if at all, because brick cracks when it gets too hot and melted paint smears further into the pores.
Steam helps lift stubborn masonry paint after a gel or poultice has softened it, using heat and low pressure rather than force. The problem is control: too much moisture soaks old brick and traps water inside it, which turns into frost damage the following winter. Steam rigs are specialist equipment and a restoration mason knows how to set heat and pressure for soft historic brick. Hire one rather than renting one.
Abrasives are the last resort and usually the wrong one. Sandblasting, grinding and high-pressure washing tear the fired skin away, after which the brick drinks water, sheds sand and begins to spall, with soft pre-1900 brick suffering worst. Wire wheels and rotary brushes cut into both face and joints. Steel wool leaves metal fragments in the pores that rust and stain. Dry ice blasting is gentler and works on soot, but it does very little against latex. Any abrasive work on historic brick should be a professional's decision after everything gentler has failed.
Working through it
Lay thick plastic at the base of the wall and tape it to the bottom course. Cover timber trim, windows and planting. Outdoors, catch the rinse water and paint sludge rather than letting it reach storm drains or garden beds. Wear what the label calls for, which means chemical-resistant gloves and eye protection at minimum, plus a respirator if the label says so or if lead is anywhere in the picture.
Use only the product that passed your test. Scrape loose paint off first, then spread the stripper with a trowel or the applicator supplied, pushing it into the joints and the texture of the brick. Build it to the thickness on the label, cover as directed, and leave it alone. Several coats of paint often want around 24 hours. Pull it early and nothing lifts; leave it too long and the mortar starts to soften.
When the time is up, peel the cover back slowly and work with a plastic or dull scraper held at a low angle so the blade glides under the paint rather than digging into the brick. Face first, then joints, with a stiff nylon brush for the texture. No brass, no steel bristles on soft brick.
Stubborn areas want a second application, not more force. Scrubbing harder only wears the face away. Mark the spots still holding paint and treat just those, and accept that some will stay in the deepest pores. An old red brick restoration almost always ends with faint traces, and that is the correct outcome rather than a failure.
Some strippers stop working on their own and some need a neutralizing rinse, so read the label and do exactly what it says. Rinse with low-pressure water, working bottom to top on exterior walls so the streaks do not stain dry brick below. Stripper left in the brick causes staining and salt bloom months later, so the rinse is part of the job rather than the tidying up afterwards.
What the wall needs afterwards
Time, mostly. Wet brick looks darker and hides both staining and damage, so give interior brick a week or more and exterior walls several weeks of decent weather before you judge the result.
One hard rule: do not strip exterior brick if a freeze could arrive within about a month. Brick that is still wet when it freezes will spall. In colder states that means planning the work for late spring or summer and accepting the delay.
Stripping usually reveals worn joints and cracked units the paint was hiding. Get a mason who works on old brick to check joint depth, mortar hardness, and anything loose or spalled. Repointing old brick wants a mortar softer than the brick, generally a lime mix, and historic restoration depends on that choice more than any other, because hard cement on soft brick causes spalling within a few freeze cycles.
Some units will be beyond saving. A face that has spalled or been blasted cannot be repaired, so those come out and the replacements have to match on four counts: size, color range, texture and mortar. The right color at the wrong size still reads wrong on a wall. We carry antique brick from structures built roughly 1870 to 1940, with four blends in stock from about $1.70 a brick for St Louis Red up to $2.00 for New Orleans Hard Tan, and how to choose reclaimed bricks covers judging them against an older wall.
Send a photograph taken in daylight with a coin or a tape in the frame, or post us a loose brick, and we will find the closest match in stock, usually inside the week. Standard samples are free to the trade.
On sealing: most stripped brick does not need it. Old brick has to breathe and many sealers trap moisture inside, producing exactly the spalling you just spent weeks avoiding. If you do seal, use a vapor-permeable masonry product, and keep it to interior brick that sheds dust or exterior brick taking heavy splash. The trade-offs are set out in sealing reclaimed brick.
Aim for a sound wall, not a clean one
The brick does not need to look like it came out of a factory. Faint paint in the pores and old soot staining are part of its history, and the best results generally sit around 80 to 90 percent clean with traces left behind.
Read the wall for spalling, soft mortar and lead. Test a hidden patch and judge it dry. Use a poultice or gel, respect the dwell time, and lift with gentle tools. Leave steam to a specialist and keep blasting equipment away from old brick entirely. Then plan for a few replacements, matched properly and set by a mason in a mortar softer than the brick.
Call the New Orleans office on 225-284-7529 or email hays@bourgeoismaterials.com if you want a view on what your wall will need once the paint is off. We would rather talk it through before you start than match bricks you damaged halfway.
Frequently asked questions
Can painted brick be restored to its original appearance?
Close, but rarely all the way. Paint that soaked into porous old brick leaves faint traces even after careful work, and any brick whose face was damaged before or during removal needs replacing with a matched unit.
Can you remove paint without chemicals?
You can, but the alternatives carry more risk. A heat gun handles small areas of non-lead paint, and limewash often comes off with water and a soft brush. Non-chemical abrasive methods damage the face and are best avoided.
Will vinegar work?
Not on dried paint. It is a mild acid and repeated use etches soft brick and weakens lime mortar. A masonry-rated gel or poultice does the job better and is safer for the wall.
What about acetone or penetrating oil sprays?
Acetone softens small spots of fresh spray paint but evaporates far too fast to strip full coats. Penetrating oil sprays are oily by design and leave dark stains in porous brick. For a wall or a fireplace, use a stripper made for masonry.
What matters most when stripping a fireplace indoors?
Test for lead, ventilate properly, and use a low-odor water-based gel or poultice. Cover floors and trim, wear gloves and eye protection, and accept that deep soot staining on an old firebox surround will not lift without damaging the face.
How long does an exterior wall take to dry?
Several weeks of mild dry weather after stripping and rinsing. Thick walls, shade and humidity all stretch that out. Do not start if a freeze could arrive within a month.