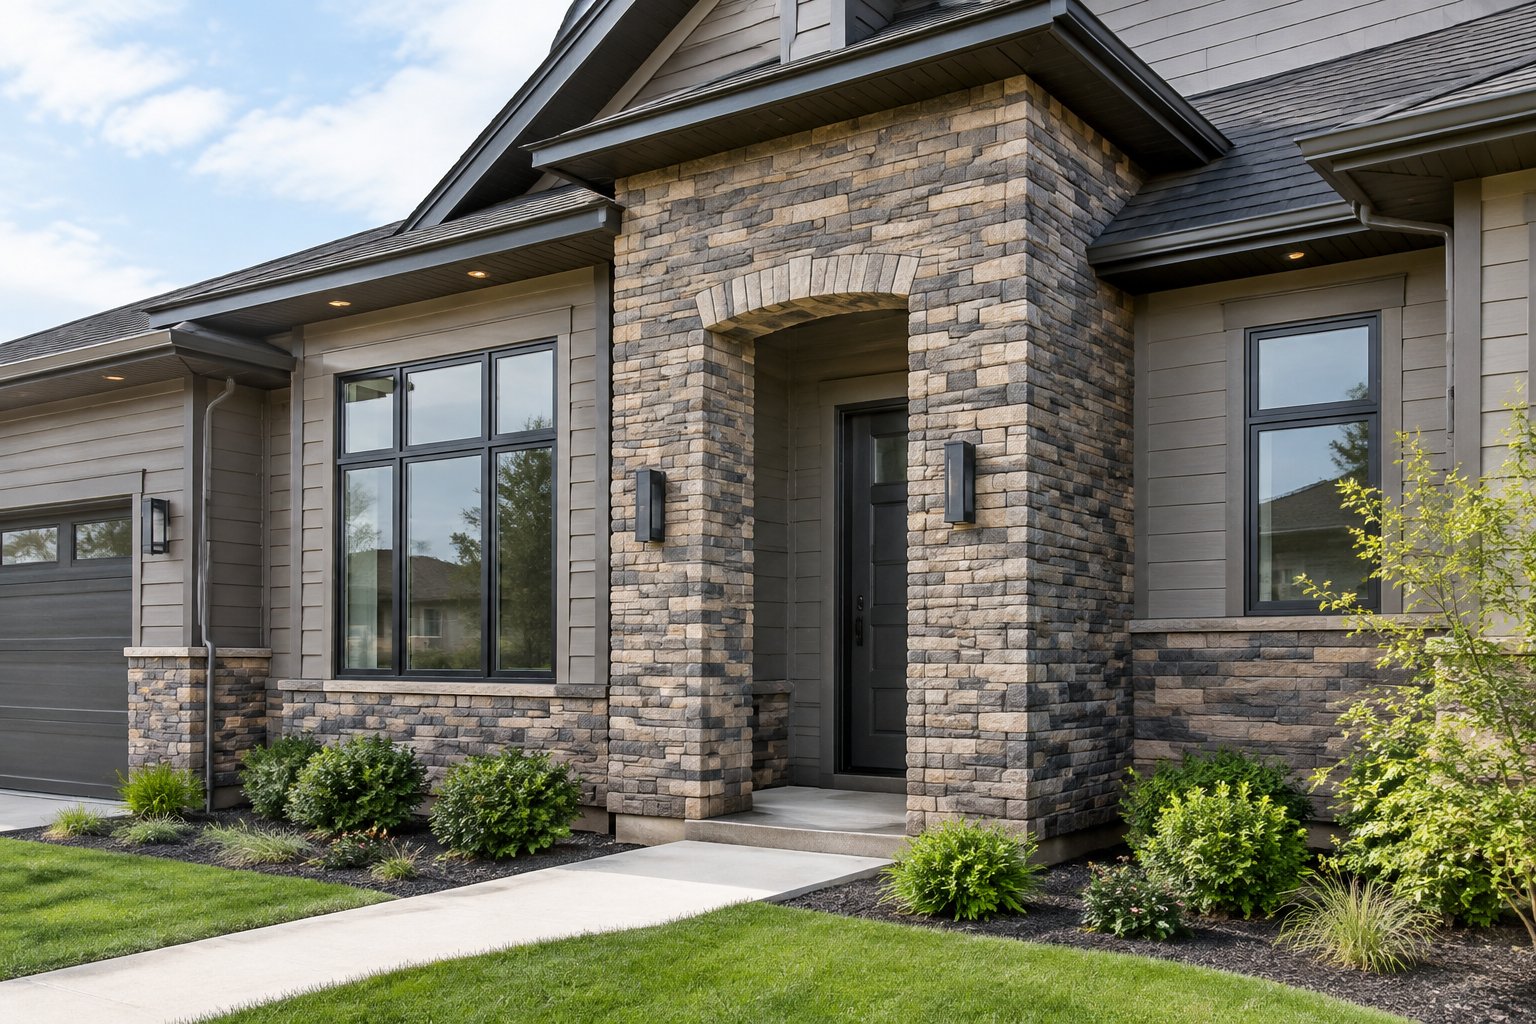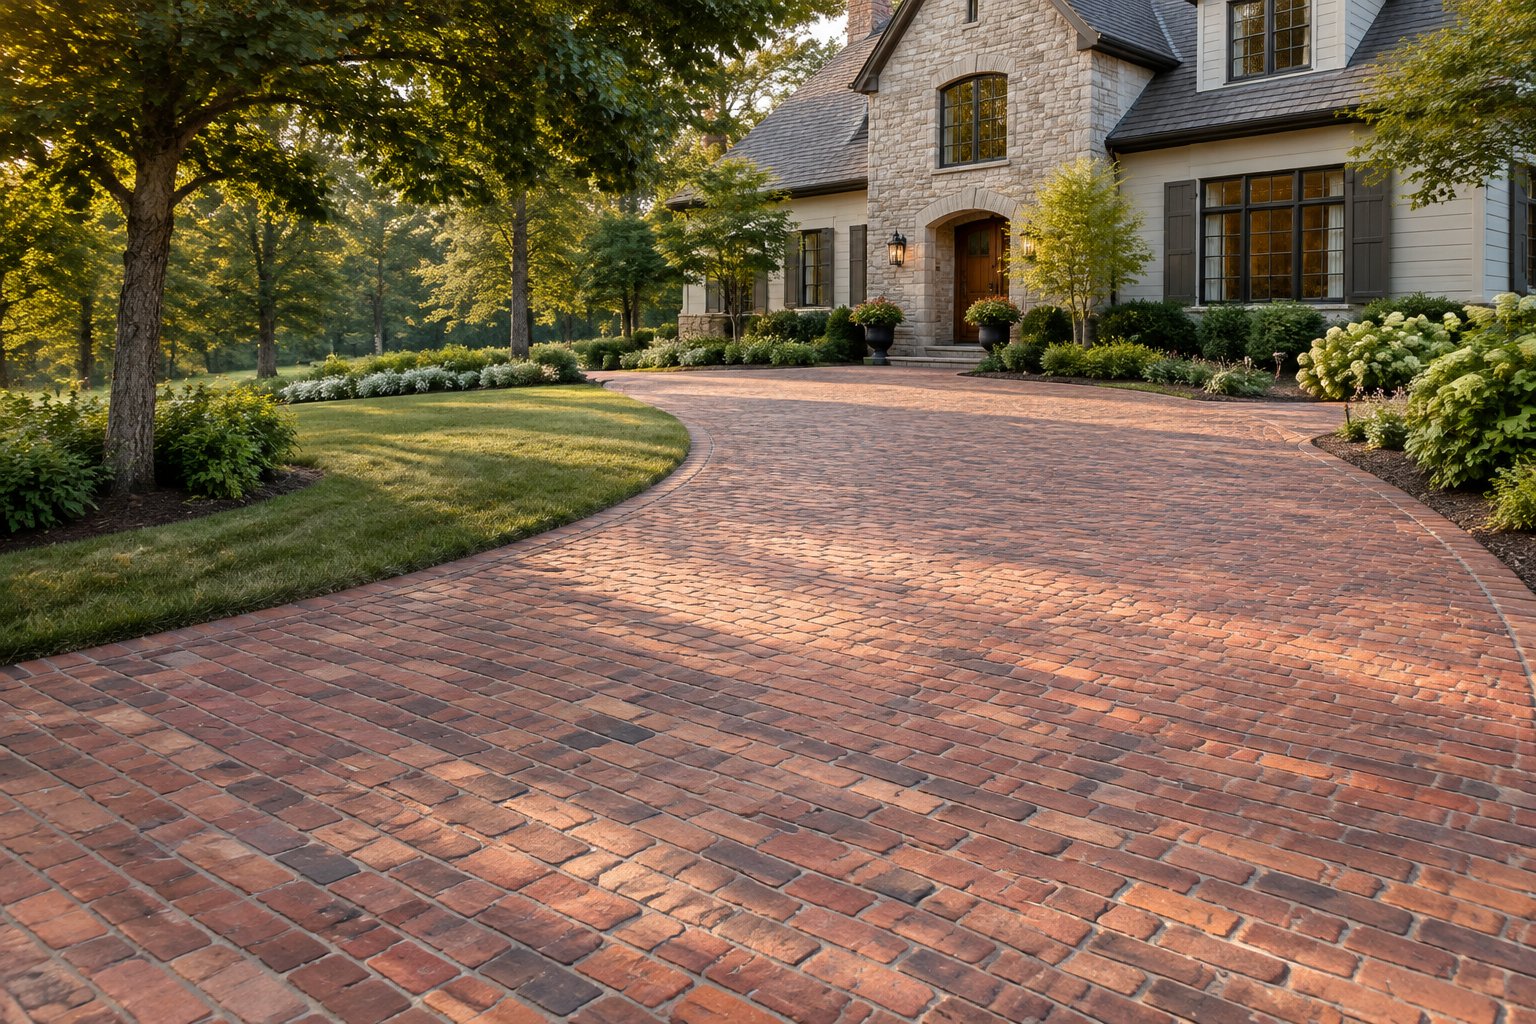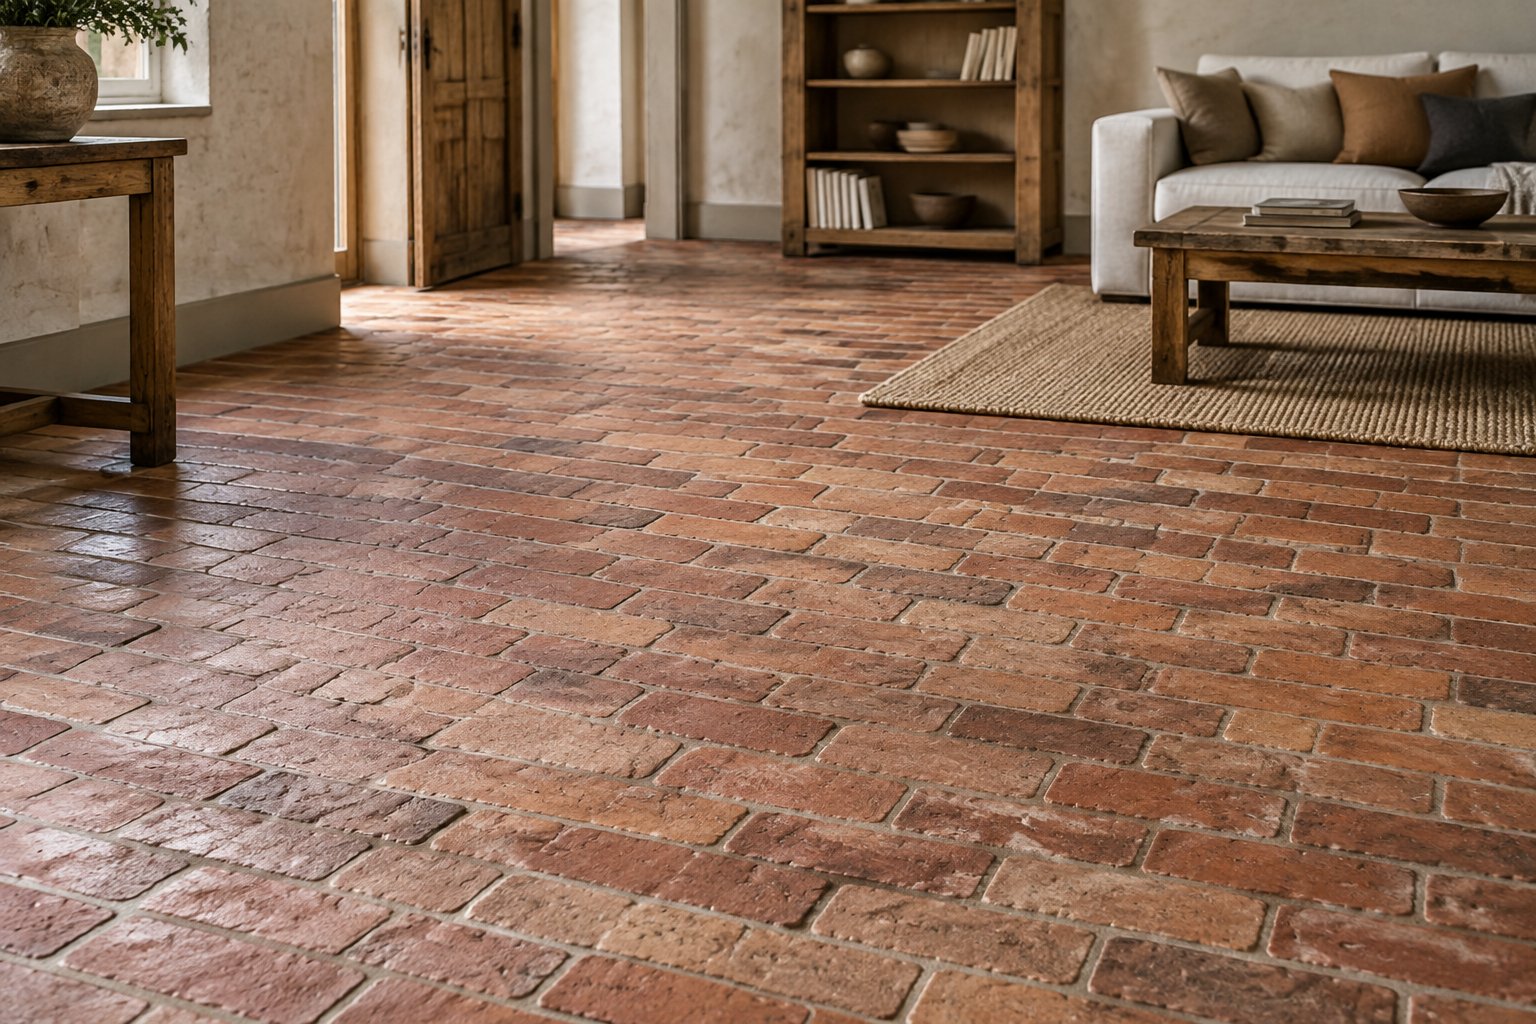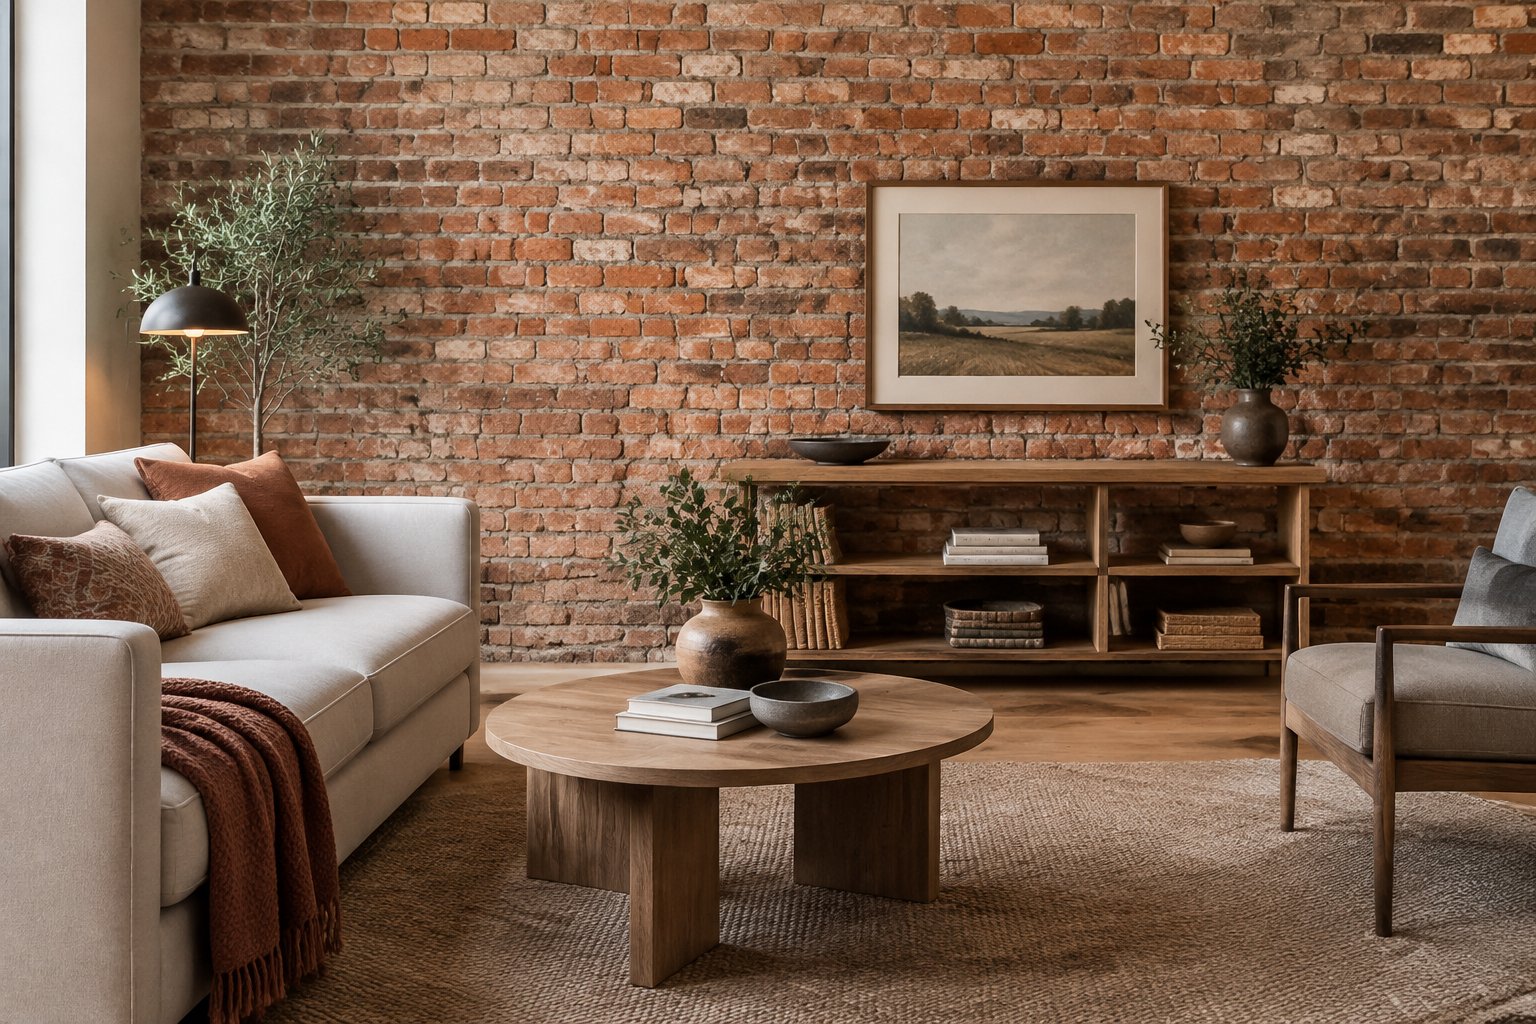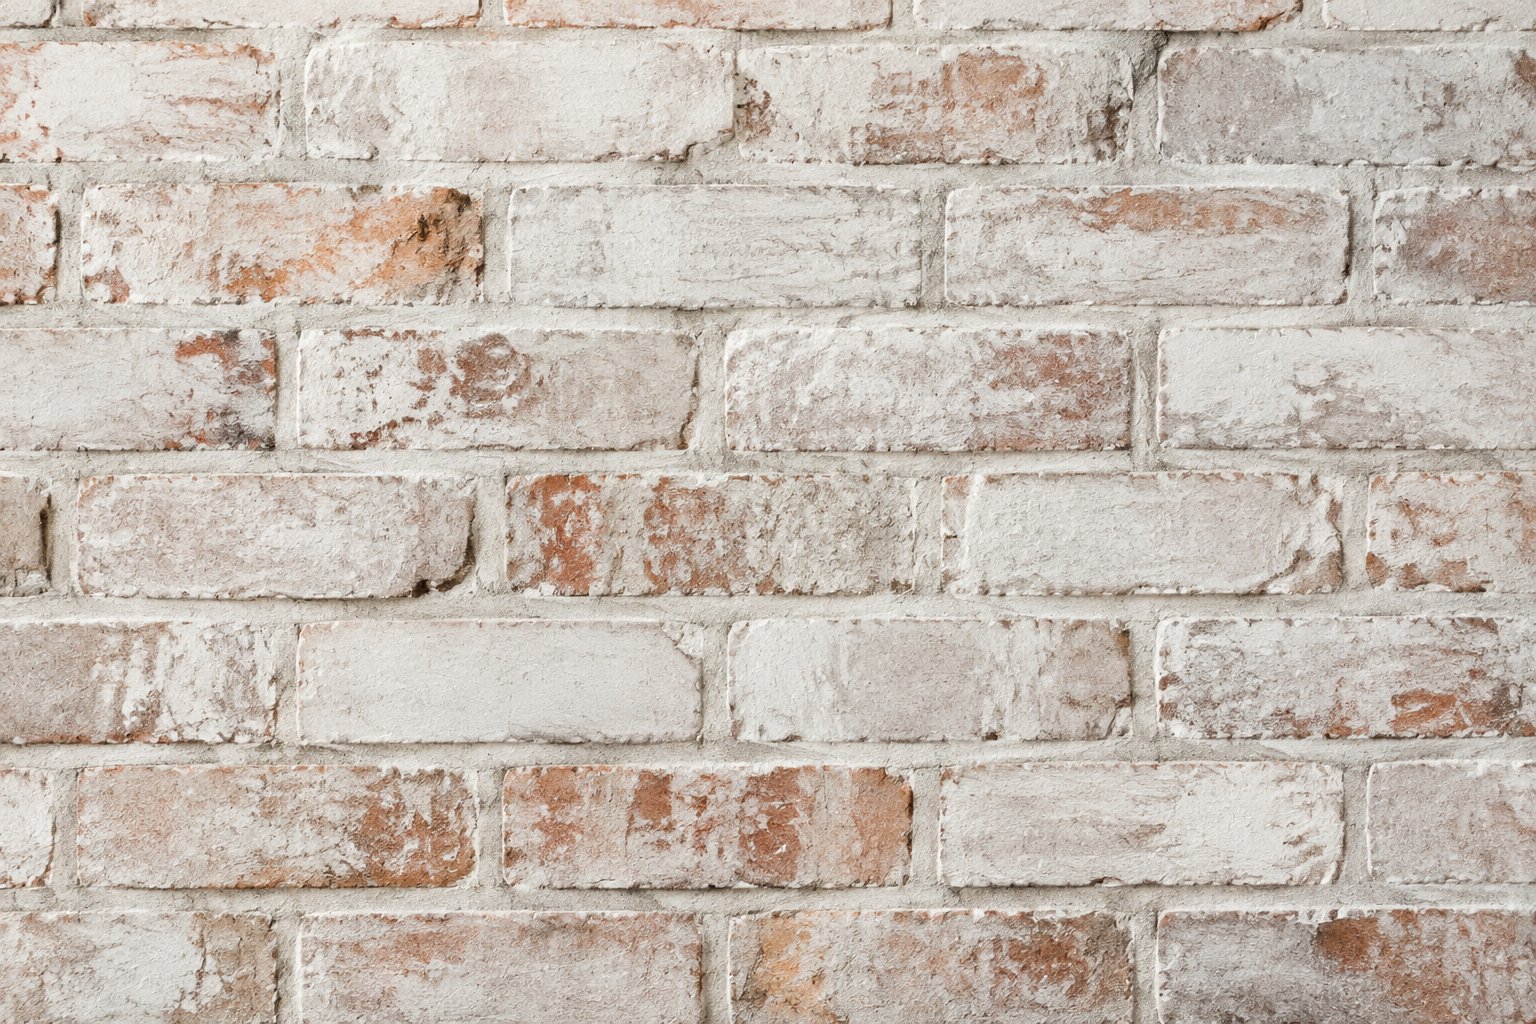
If you want to soften the color of brick without losing its texture, limewash is the finish to reach for. Lime and water, mixed to about the thickness of whole milk, brushed into damp brick in thin coats, left to carbonate back into a mineral layer. Done properly it breathes with the wall, ages slowly, and can be refreshed for the price of a few bags of lime.
Two things make it go wrong. Put it on damp, salty or sealed brick and it will flake, streak, or hide a problem behind a pale face. Put it on handsome old brick and it will flatten the exact color range that made the wall worth keeping.
What it does, and whether your wall can take it
Limewash is slaked lime mixed with water, sometimes with mineral pigment. Brushed onto porous brick it is drawn into the pores of both brick and mortar, and as it dries the lime takes carbon dioxide out of the air and converts back to calcium carbonate, which is limestone. That is carbonation, and it is why the finish ends up inside the surface rather than sitting on top of it.
No film means water vapor can still leave through the brick and the joints. On older masonry laid in lime mortar, where the joint is meant to be the soft sacrificial part of the system, that matters enormously. A breathable wash leaves the system working. Lime is also strongly alkaline, which helps it resist mold and mildew.
The spray test
Spray a little water on the wall. If it soaks in and darkens the brick, the surface will take limewash. If it beads, something is sealing the face and a traditional wash will not bond to it.
Do this on every elevation, because many water repellents are invisible and a previous owner may have treated one wall and not another. If you suspect something has been applied, our piece on sealers that trap moisture in old brick is a useful starting point.
Older, softer brick takes limewash well. Dense modern brick and anything glazed absorb very little, so coverage comes out thin and patchy. Stone depends entirely on the stone and must be sampled. Painted brick is the worst candidate of all, because lime cannot get into pores that paint has already filled.
Against the alternatives
Paint covers brick in a film of latex or acrylic. You get solid color and unlimited shades, and you also get a film that can hold moisture in the wall and is extremely hard to undo.
Whitewash is a loose term that might mean thinned latex, chalk mixed into paint, or actual limewash. The first two sit on the surface while limewash soaks in, so when someone offers you whitewash, ask what is in the bucket.
German smear is mortar, troweled across the face and often overfilling the joints, adding real thickness and texture. It lasts far longer than a wash and is much harder to reverse.
Limewash is the thinnest of the four and the easiest to adjust, which is its main practical advantage. The deeper question is how much of the original wall you want to keep visible, and old brick earns its look over decades, so how patina shapes architectural character is worth reading before you cover any of it.
Preparing the wall
Limewash is a finish, not a repair. Walk the wall first and look for cracked or missing mortar, spalled brick faces, white salt bloom, and damp near gutters, downspouts, sprinklers and the ground line. Every one of those will either show through the finish or push it off.
Fix active moisture before anything else. Efflorescence that keeps returning means water is still moving through the wall, and washing over it just conceals the warning. Have a mason repoint failed joints in something softer than the brick, which on pre-1900 work means lime, because hard cement mortar forces moisture out through the brick face and spalls it. Our old red brick restoration guide covers the order those repairs should happen in.
Brick that has already lost its face cannot be saved and needs replacing. Replacements have to match on size, color range, texture and hardness, because the right color at the wrong size still reads wrong on a wall. Our brick matching works from a daylight photograph with a coin or tape in the frame, or from a loose brick in the post, and standard samples are free to the trade. On new brickwork, let the mortar cure a full month before cleaning or coating anything.
Clean gently. A dry stiff broom for dust and cobwebs, then water, mild detergent and a stiff nylon brush for grime, then rinse. No acid, no wire brushes, no pressure washing, all of which strip the fired skin and hit soft historic brick hardest. Allow 24 to 48 hours of drying after a deep clean.
Lime is caustic. It etches glass, spots timber and burns plants. Outside, sheet up planting beds, windows, doors and paving. Inside, drop cloths and plastic taped right to the edge of the brick.
Materials and tools
There are two routes. You can mix your own from hydrated lime, which is cheap, around $20 to $30 for a 50-pound bag, working out near $1 to $2 a gallon of wash. Never use quicklime for this: it is not hydrated and it causes severe burns.
Or you can buy a pre-mixed masonry limewash formulated for unpainted, unsealed, absorbent brick. It costs considerably more, in the region of $50 to $60 a gallon covering roughly 250 square feet, and what you are paying for is color consistency from bucket to bucket, which is a genuine advantage across a large elevation. Whichever product you choose, follow its own technical data for dilution, weather limits and cure times, because formulations differ.
For tools, a natural-bristle masonry brush, or a four to six inch brush, pushes wash into the pores and joints better than anything else. A sprayer covers large areas fast but produces a flatter result and works the wash in poorly. You will also want buckets, a drill and paddle mixer, a hose with a mist nozzle or a spray bottle, and proper access for anything above ladder height. Goggles, chemical-resistant gloves, long sleeves and a dust mask while handling dry lime.
The sample panel is not optional
Limewash goes on looking almost transparent and dries dramatically lighter, and every brick blend takes it differently. Brush a panel of a few square feet somewhere inconspicuous using the exact dilution, coat count and distressing you intend, then leave it several days before judging it.
Photographs online show you somebody else's wall. The panel is the only true preview of yours. One thin coat on a red brick leaves warm color coming through; three coats take it close to chalky white. Look at it in morning and evening light, and against your roof, trim and door colors. Leave the panel up afterwards as a reference for future touch-ups.
Mixing and applying
For homemade wash, aim for roughly 80 percent water to 20 percent hydrated lime by weight, which puts a full 50-pound bag with about 30 gallons of water. You want the consistency of whole milk. For a sheerer finish that shows more brick, drop the lime toward 15 percent.
Goggles and gloves on, add lime to water slowly while stirring with a paddle mixer, then let it stand, ideally overnight, and stir again. Pre-mixed products almost always need thinning too, so measure it rather than eyeballing it and every bucket will match.
Very thirsty brick drinks the wash and may want a slightly thinner mix or an extra coat. Dense brick needs it thinner still just to get in at all. Mix the whole job in one batch if you possibly can, because small batches are difficult to repeat and show as lap marks. Lime solids sink, so stir every few minutes as you work.
Mist the brick until evenly damp but not running, wait five to ten minutes, then brush. Re-mist each section just ahead of the brush. Limewash cures best when it dries slowly, so pick an overcast, mild day. Direct sun, wind and heat dry it too fast and leave it weak and powdery. Frost and rain stop carbonation outright and can wash fresh lime straight off the wall, so plan for a couple of clear days after each coat and follow the shade round the house.
Start at the top and work down in sections of four to five feet. Load the brush lightly, work the wash into brick and joints with short scrubbing strokes, then lay off with something lighter. Thin coats bond. Thick coats craze and rub off. Always brush back into wash that is still wet, because stopping halfway across an elevation leaves a line you will see forever, so plan your breaks at corners, downspouts and window reveals.
The first coat will look alarmingly sheer. It whitens as it dries. Leave at least 24 hours between coats, longer in cool or damp weather, misting again before each one. One coat is a wash, three to four approaches opaque white.
Distressing and curing
If you want brick showing through, distress while the coat is still workable, usually when it has gone tacky somewhere between ten minutes and an hour after brushing. Mist the face and let some run off, or rub the high spots back with a damp sponge. Work in a random pattern so it reads as weather rather than as a decision. Take off too much and you can brush a little back and blend it.
Then protect it from hard rain and frost for a few days while it carbonates, and mist lightly in hot dry weather to slow the cure. Most products need no sealer at all. If you use one, make it breathable and lime-approved, and wait the two to five days the label asks for.
Indoors there is no weather to fight, so a spray bottle handles the dampening and a fan gives gentle air movement. Limewash has no solvent odor, which makes it pleasant to work with inside, but it will mark clothing and scuff where hands and furniture meet it. Around a fireplace, expect soot staining near the opening which washes poorly, so many people keep the wash lighter at the firebox mouth. If you are still choosing brick for a new surround, reclaimed varieties suited to fireplaces give you warmth and variation with no coating to maintain.
Cost and aging
Materials are cheap and labor is not. Two 50-pound bags of hydrated lime will cover a modest single-story house. DIY totals including brushes, sheeting and access land around $0.45 to $0.80 per square foot. Professional work runs about $1.50 to $5.00 per square foot, roughly $1,500 to $6,700 on a whole house, and the number climbs with height because scaffolding and lifts cost time as well as rental.
Preparation is usually billed separately, and repointing, brick replacement and moisture repairs can easily cost more than the wash itself. Ask any contractor for a written scope naming the product, the dilution, the coat count and who is responsible for masonry repair.
Limewash does not peel, it erodes. Rain, sun and wind wear it thinner each year and more brick shows through, which is why most exterior work wants a refresh coat every five to seven years. Sheltered walls under a deep porch last considerably longer; chimneys and splash zones go first.
Plenty of people like that soft uneven fade and leave it alone. If you want even color, check the wall each spring and touch up the worn areas. Clean marks with a damp cloth and mild soap, and keep pressure washers and acid well away. A refresh coat goes straight over the old one with no sanding or stripping: clean, mist, brush on a thin coat of the same mix. Write your exact dilution down somewhere, because in six years you will not remember it.
Uneven coverage is easy to correct. Brush thin wash over bare patches, or mist and rub back anywhere too heavy while it is fresh. Fresh wash of one or two coats comes off with water and a stiff nylon brush. Older cured wash is harder and wants a mild masonry cleaner made for lime, brushed on and rinsed over several rounds. Low-pressure washing helps on hard modern brick. On soft historic brick, avoid sandblasting and high pressure entirely, because they tear the fired face off and cause damage no finish will hide. Test any removal method somewhere hidden first.
When to leave the brick alone
Limewash is an excellent tool for brick you dislike: a dated orange blend, a wall patched with mismatched repairs, brick that fights a new roof. On those walls it calms everything down and it is money well spent.
On good old brick it works against you. Antique brick carries burnt ends, soft clay tones, lime mortar staining and shifts of color from one unit to the next, and even a sheer wash pulls all of that toward a single chalky tone. If what you admire in limewashed photographs is the sense of age, it is worth asking whether your wall already has it, because a great many people discover that the texture and patina in reclaimed materials was the thing they were chasing all along.
On a new build or an addition you have an option a washed wall cannot give you, which is to start with brick that is already old. Genuine reclaimed brick from structures built roughly 1870 to 1940 brings real weathering, color range and softened arrises with nothing to maintain. We hold four blends in stock, from about $1.70 a brick for St Louis Red to $2.00 for New Orleans Hard Tan, with Soft Red and Old Chicago at about $1.85. For a pale, washed feel without a wash, Hard Tan reads soft and light on an elevation.
One last check before you buy lime. If the building sits in a historic district or is listed, coating unpainted brick is often treated as an alteration requiring approval, and some review boards will not permit it on original masonry at all. Homeowner associations may want sign-off on a color change too. Get the answer in writing first, ask for a test panel if approval comes through, use a compatible lime product, and keep a record of what went on the wall so the next owner knows its history.
If you want a view on whether your brick is worth washing or worth keeping bare, send a photograph to hays@bourgeoismaterials.com or call the New Orleans office on 225-284-7529. We will tell you honestly, including when the answer is to leave it alone and save your money.
Frequently asked questions
Is limewashing brick a good idea?
On porous, unpainted brick whose color you want to soften while keeping the wall breathable, yes. On sealed, glazed or painted brick, on walls with active moisture problems, and on old brick whose natural color you actually like, no.
What are the downsides?
It wears away and needs refresh coats, it rubs off on clothing, and it is hard to scrub clean. The color range is limited and mostly earthy, and getting an even result across a large wall takes careful mixing and steady technique.
How long does it last?
Five to seven years outdoors before it wants refreshing. Sheltered walls hold longer, while chimneys, sills and anything hit by rain or sprinklers fade faster.
Whitewash or limewash?
Limewash for most unpainted brick, because it soaks in and lets the wall breathe, where latex-based whitewash sits on the surface like paint. Paint-based whitewash only makes sense if you need a color lime cannot give you.
Can you limewash over paint?
Traditional limewash will not bond to paint, because the pores are blocked. You would need to remove the paint fully by gentle methods, or use a system whose manufacturer approves a primer for painted masonry.
Can you limewash inside a firebox?
No. The burn chamber should be lined with fire brick and left uncoated. The surround, hearth face and chimney breast are all fine.