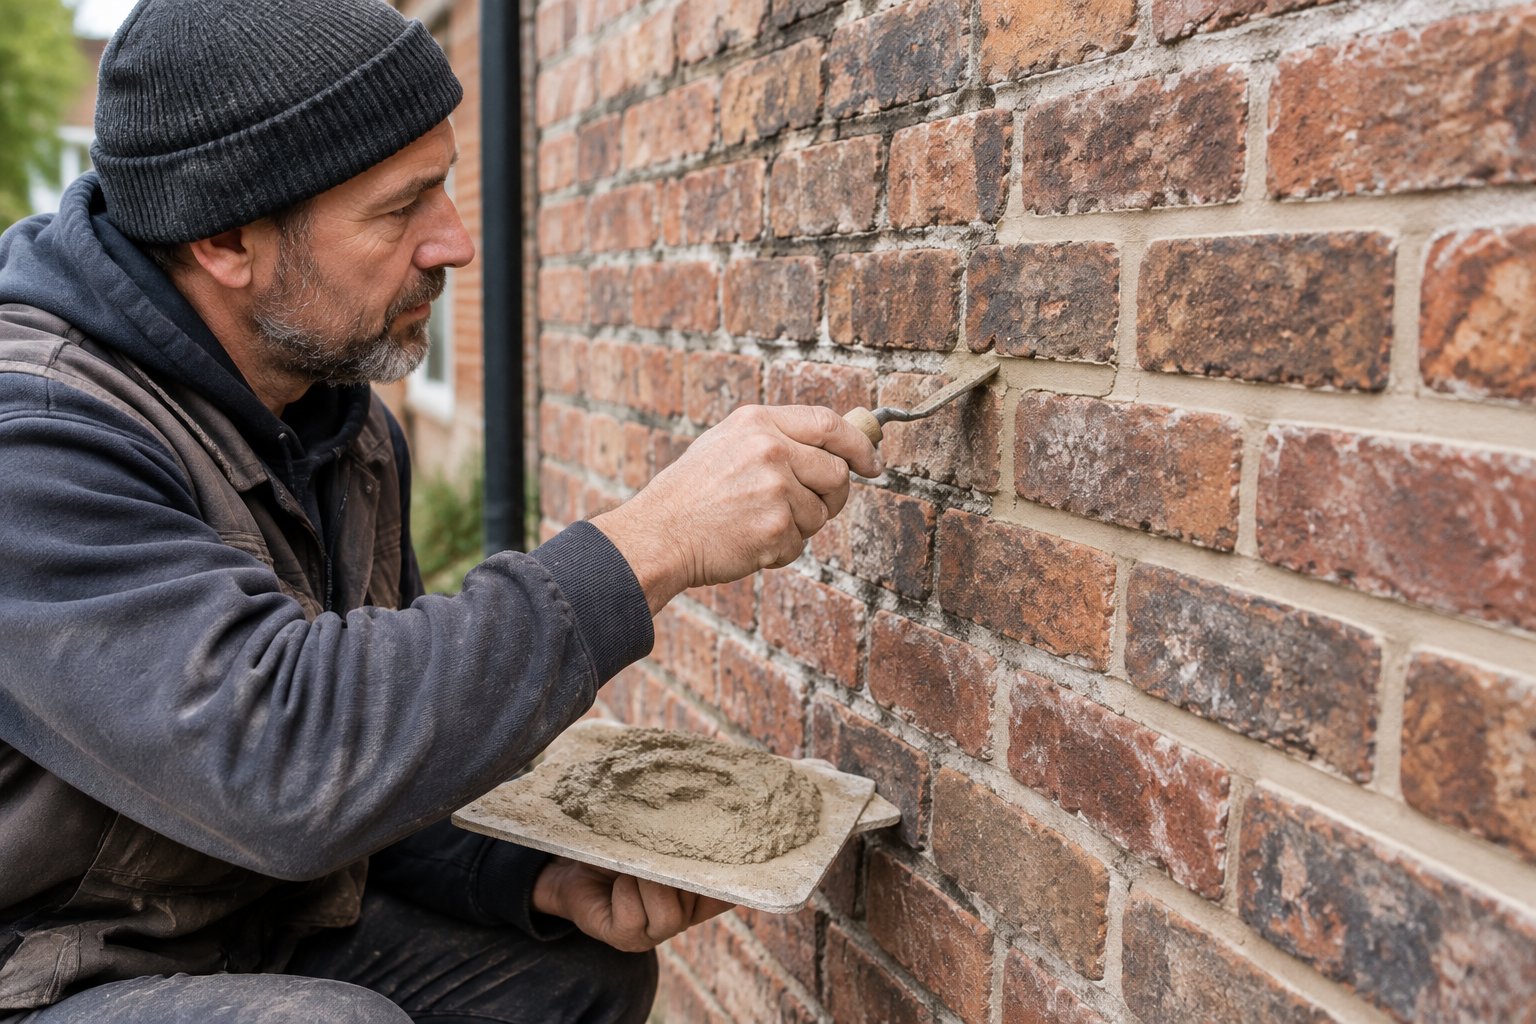
Repointing an old wall comes down to one decision, and most of the damage done to historic brick in this country traces back to getting it wrong. The new mortar has to be softer and more breathable than the brick it sits between. On anything built before about 1930, that usually means lime. Put a hard Portland-rich mix into those joints and it will look sharp for a season, then start taking the faces off the brick a few freezes later.
Repointing itself is simple enough to describe. You cut the failed mortar out of the outer part of the joint and pack fresh mortar back in. The brick on a hundred-year-old wall has already outlived two or three rounds of it. The job is to keep that pattern going.
When a wall actually needs new joints
Not as often as people think. Sound mortar, even weathered and soft and unlovely, is doing its job. Raking out good joints to tidy up the look of a wall strips out material that had nothing wrong with it and chips brick arrises on the way through.
Start with your thumb and a key. Failed mortar goes sandy and scrapes away without much effort. Look for joints that have receded well behind the face of the brick, hairline cracks tracking along the bed joints, and gaps throwing a shadow. The working rule most restoration masons use is that a joint wants repointing once the erosion is deeper than about twice the joint width.
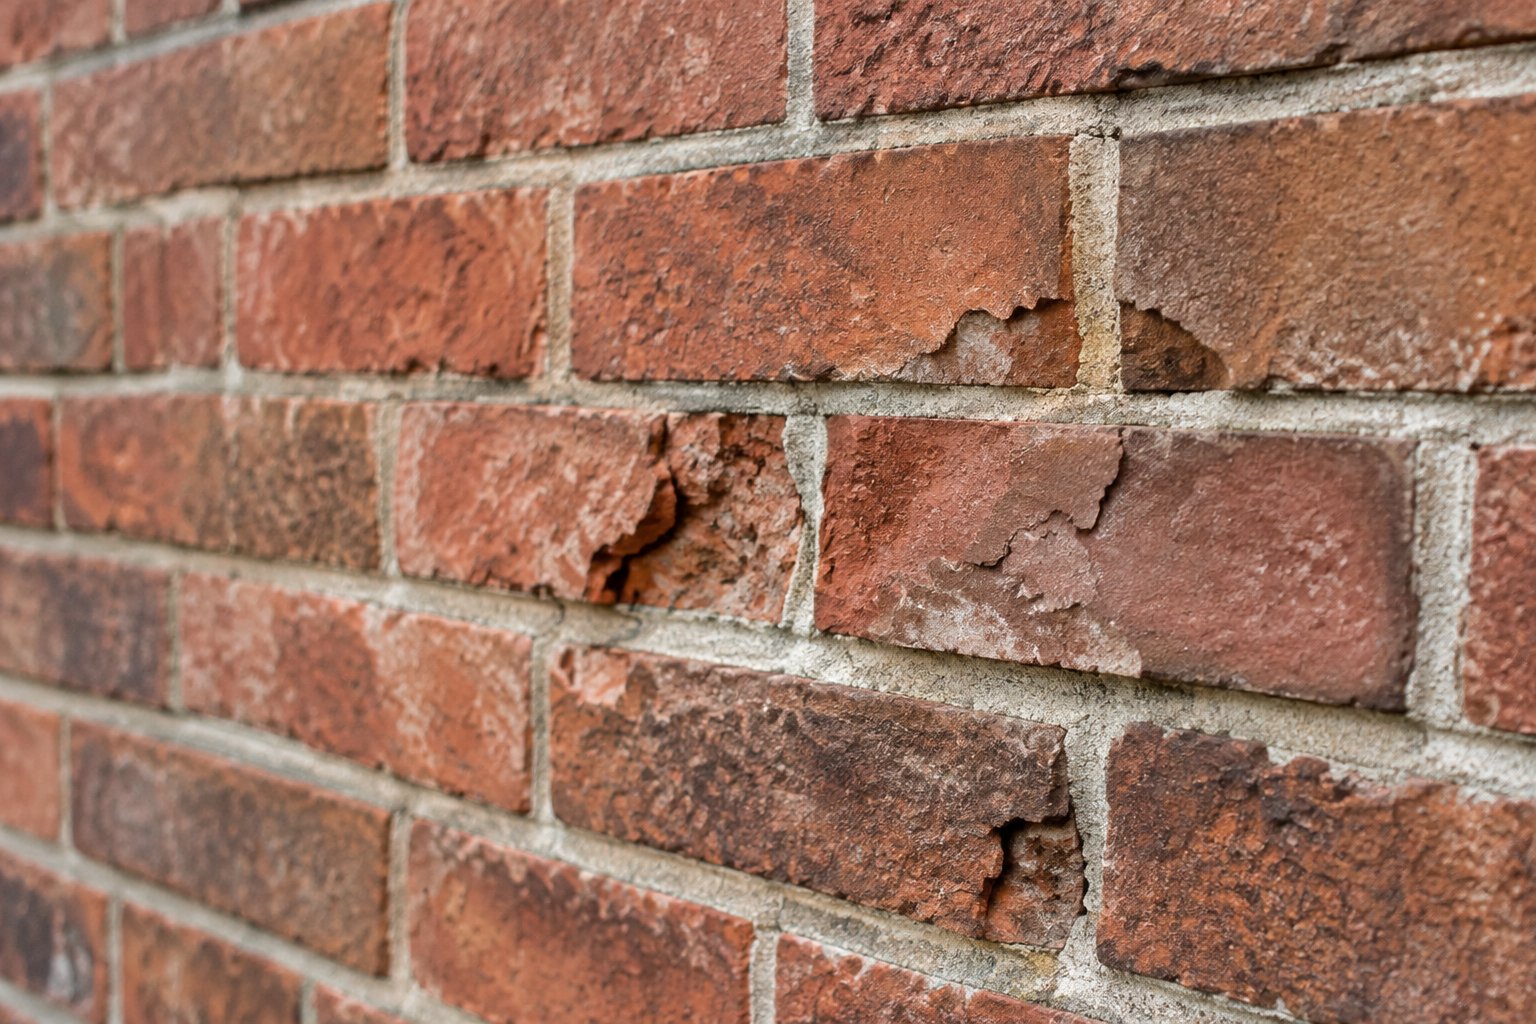
Then read the moisture. Damp patches on the inside face, white salt bloom outside, green growth low down. All of it says water is moving through the masonry and not leaving cleanly. Frost damage concentrates near the ground, under sills and along the tops of garden walls, which is where water sits before it freezes. If you can see flaking or missing brick faces near the bad joints, water is already taking the wrong exit.
One thing before any of it. New mortar will not save a wall that is still getting wet or still moving. Check the gutters, the downspouts, the flashing, the sills and the grading first. Stair-step cracking, bulges, cracks running through bricks rather than around them: that is movement, and it needs an engineer or a restoration mason to diagnose before anyone points anything. Fill those joints and they will open again by spring.
Why mortar compatibility decides everything
The joint is supposed to be the weak link. That is the whole design. Water that gets into a solid masonry wall leaves through the soft, porous mortar, which slowly wears and gets replaced every few decades while the brick carries on. Pre-1900 brick is smaller, softer and more irregular than modern modular brick, and it was laid in lime for exactly this reason.
Swap in a dense cement mortar and the joint stops breathing. The moisture still has to go somewhere, so it goes out through the face of the brick instead. When it freezes, or when it carries dissolved salts, it lifts the fired skin off. That is spalling, and on soft brick it can start inside two or three winters. A spalled brick cannot be repaired. The fired surface was the durable part and it is gone.
Worth saying here: if the plan is to seal the wall afterwards to keep water out, read up on why sealing traps the moisture you just gave an exit to before you buy anything. It is the same mistake wearing a different hat.
Lime or cement
Buildings from before the 1930s almost always want lime. It flexes, it lets vapor through, and it partly heals itself, because free lime can reseal hairline cracks as it carbonates. Natural hydraulic lime sets harder and faster and suits exposed elevations. Non-hydraulic lime putty is softer again and belongs on very soft brick.
The National Park Service puts the standard plainly in Preservation Brief 2: replacement mortar should be softer and more vapor permeable than the masonry units, and no harder than the historic mortar. Some later historic buildings genuinely were built with Portland cement mortar, so the answer comes from the wall in front of you rather than from the date on the deed.
Post-1930s walls with hard modern brick will take a cement-lime mix such as Type N. Type S is a high-strength mortar intended for foundations and retaining walls. It gets specified on 1890s brick constantly, and it should not be.
Matching hardness, sand and color
Mortar covers something like a fifth of a brick wall's surface, which is why matching it matters more than most people expect. A nail or a knife gives you a rough read on hardness. A lab analysis tells you the binder and the aggregate properly, and on a significant building it is money well spent.
color comes from the sand far more than from pigment. Old mortar tends to carry coarse local sand with grains you can see, sometimes shell, sometimes charcoal. Snap a weathered lump in half and look at the fresh break, because the surface has decades of dirt on it. Bagged mixes with fine uniform sand will read as a patch for the next thirty years. Masons who have learned what an old wall tells you before you mix anything check all of this first.
What has to be ready before the first joint comes out
Hand tools, dust control, a sensible weather window and a cured test panel. Each one of those prevents damage you cannot undo.
A plugging chisel or a narrow cold chisel, a joint raker and a light hammer do the removal on soft brick. The chisel works from the middle of the joint outwards and stays off the brick edge. A pointing trowel or tuckpointing iron packs the mortar, a margin trowel handles the head joints, and a jointing tool shapes the finish.
Angle grinders are the argument. A grinder is fast, and on soft historic brick one slip rounds off an arris permanently. Plenty of restoration masons will use one on hard cement mortar in bed joints and nowhere else, and some will not touch head joints with it at all. If a contractor proposes grinding every joint on an old wall, that tells you what you need to know.
Raking mortar throws crystalline silica, which does permanent lung damage. Grinder work needs a shrouded attachment on a vacuum and a properly fitted respirator rated for silica. Hand raking makes less dust but still wants a mask, glasses and gloves, and wet lime is caustic, so keep it off your skin and out of your eyes.
Mortar cures best in steady mild weather, roughly above 40F overnight and below 90F in the day. Frost will wreck fresh lime for weeks after it goes in, so in cold climates that means late spring to early autumn. Hot sun and wind are the opposite problem and leave you with weak, dusty joints. Have the mason build a test panel somewhere out of sight and let it cure for several weeks before anyone judges the color, because wet mortar dries a good deal lighter than it looks going on.
What a proper repair looks like
Rake the joints to a clean square back, roughly two to two and a half times the joint width, and at least back to sound material. On a typical joint that is somewhere around three quarters of an inch. Rake too shallow and you leave a thin skin of new mortar with nothing to grip, and it will pop out. Work in short runs rather than stripping a whole elevation at once.
Brush and flush the dust out, then mist the joints. Dry brick pulls the water straight out of fresh mortar and leaves it powdery. You want damp brick with no standing water, because a soaked wall makes the mortar slump and smear.
Mix stiff, about the consistency of thick oatmeal, in small batches. Fill deep joints in layers of around a quarter inch and let each one firm up to thumbprint hardness before the next goes in. Bed joints first, then heads. Press hard on every pass to drive out the air pockets that would otherwise hold water.
Tool the joint to match the original profile once the mortar firms up. This matters more visually than people expect: a wall reads as much through its joint profile as through its brick color, and old walls show flush, weathered, slightly recessed, struck or beaded joints depending on where and when they were built. Copy whatever is there. Brush the crumbs off with something soft, and on lime work a light stipple with a stiff brush will expose the sand and bring a new joint into line with the weathered ones beside it. Keep acid cleaners away from soft brick entirely.
Then leave it alone and keep it damp. Mist it and cover it with damp burlap for several days, and with lime expect a week or more of protection from sun, wind, rain and frost. The slow cure is where lime gets its strength, so rushing the last step undoes the care taken in all the others.
Replacement brick, and why it needs sorting early
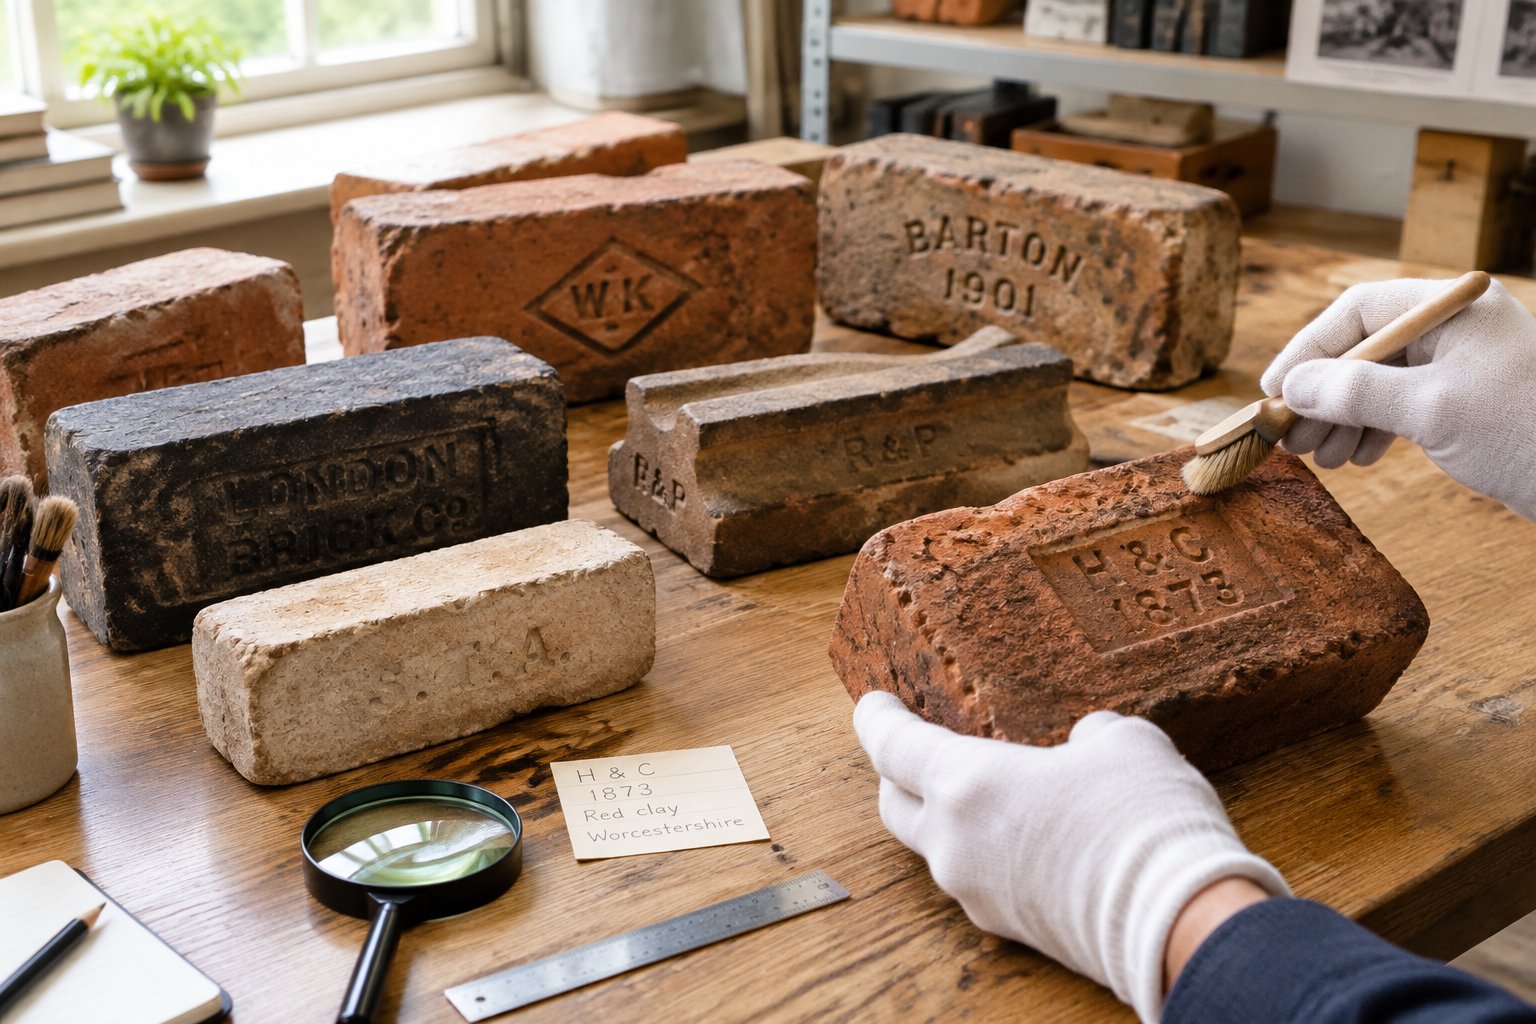
A brick with its face blown off is not coming back, and new joints around it will not help. It gets cut out and replaced. In a historic wall the replacement has to match on four counts: size, color range, texture, and the mortar that will surround it. color alone is not enough, because a correct color at the wrong dimension still reads wrong from across the street. That is why brick matching begins with a tape measure rather than a photograph.
Modern brick is the wrong size and usually the wrong hardness for an old wall. Reclaimed brick out of structures built roughly 1870 to 1940 shares the firing, the wear and the dimensions of the units already in the wall. Our four stocked blends run from about $1.70 a brick for St Louis Red up to about $2.00 for New Orleans Hard Tan, with Soft Red and Old Chicago at about $1.85, and it sits on pallets ready to go rather than on a six to twelve month lead time.
Send us a photograph taken in daylight with a coin or a tape in the frame, or post us a loose brick, and we will find the closest match in stock, usually inside the week. Physical samples go out in about two business days and standard samples are free to the trade.
Scope, cost and what to hand your mason
A low garden wall with a few loose joints is a reasonable weekend job for someone careful. Chimneys, tall elevations, load-bearing walls, anything in a historic district and anything with structural cracking belong with a restoration mason. Ask candidates which mortar they intend to use and why, how they plan to remove joints on soft brick, and to show you cured work where they matched a color.
Published costs run from roughly $3 to $20 per square foot, and the spread is mostly about access and hand work rather than materials. Scaffolding, soft brick that has to be raked by hand, custom color matching, lime with its long cure, and the number of bricks needing replacement all push a quote up the range.
Before you sign anything, write the brief down. Photographs of each elevation with the failed areas marked. The build date and any record of past repairs. The target mortar described properly: binder, sand color and grading, joint profile. The count and type of replacement bricks, with matched samples already in hand. And a test panel with an approval step written into the contract.
We supply the material side of that brief and the written mortar and jointing guidance that goes with the order. We do not carry out repointing or any installation, so your mason does the work on the wall. For the material specification itself our historic restoration page covers what we hold and how it gets documented for a review board, and the guide to judging a sample against your own wall is worth reading before the samples arrive.
Get the mortar right and the brick takes care of itself
Old brick lasts a century because the joints around it are softer, more breathable and easier to replace than the brick is. Repoint only where the mortar has actually failed. Fix the water and the movement first. Rake to the proper depth, match the original hardness, sand, color and profile, and on most early walls reach for lime and accept the slower cure. Replace anything spalled with reclaimed brick of the same size and hardness, and let the mason get on with it.
If you want a hand with the materials, call the New Orleans office on 225-284-7529 or email hays@bourgeoismaterials.com. We will tell you honestly what we can match and what we cannot.
Frequently asked questions
What is the difference between repointing and tuckpointing?
Repointing replaces failed mortar to restore the joint. Tuckpointing is properly a decorative technique using two mortar colors to make joints look finer than they are. In everyday trade use the words have collapsed into each other, so ask your mason exactly what the quote covers.
Can I repoint brick myself?
On small, low, accessible areas with no structural cracking, yes, provided you use hand tools and the right mortar. Chimneys, tall walls, load-bearing sections and historic facades are not DIY. Practice on a patch nobody can see.
What is the best mortar mix for repointing old brickwork?
For most pre-1930s soft brick, a lime-based mortar matched to the original sand and color. Natural hydraulic lime for exposed areas, lime putty for very soft brick. Avoid high-strength mixes such as Type S.
Can new mortar go over old mortar?
No. A skim of new mortar over an old joint has nothing to bond to and will fall out. Mortar grips clean brick, so the failed material has to come out to a sound square back first.
Is there a cheaper alternative to repointing?
The honest one is limiting the work to the areas that have actually failed and fixing the water getting in. Sealers and surface coatings cost less today and frequently accelerate spalling, which costs a great deal more later.
How long should repointed mortar last?
Twenty to thirty years at minimum, and considerably longer in a mild climate. Lime wears slowly and protects the brick while it does. Check the joints every few years and patch small failures before they spread.