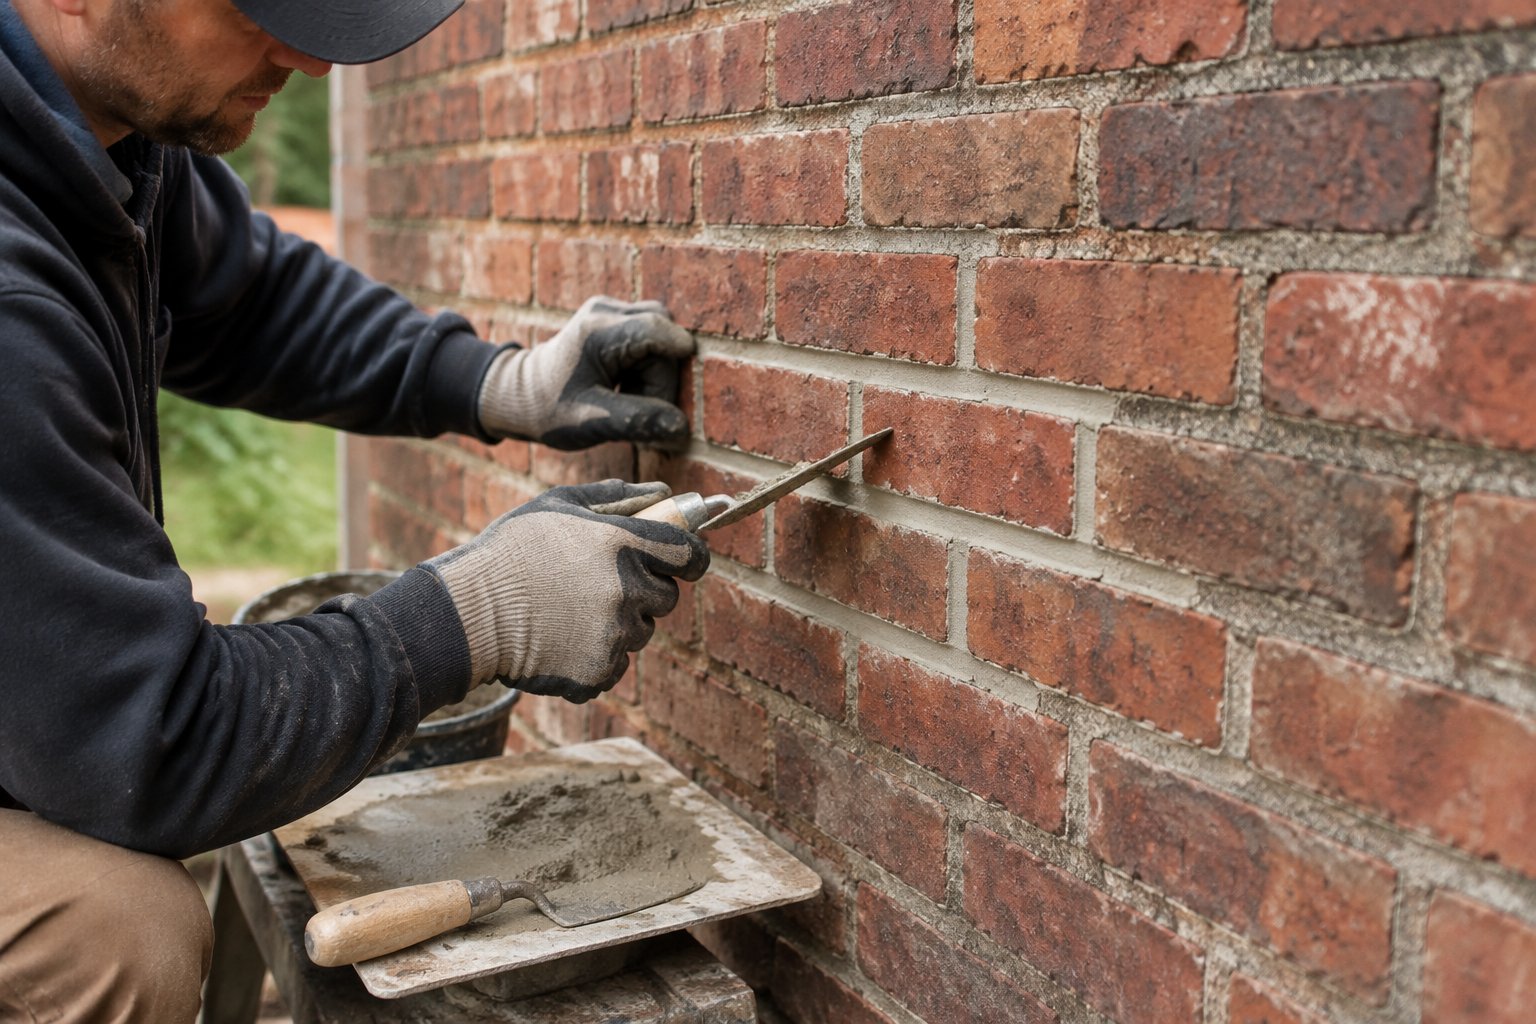
Tuckpointing is the repair of worn mortar joints, and on an older house it lives or dies on which mortar the mason reaches for. Get that wrong and you will have paid somebody to damage your wall.
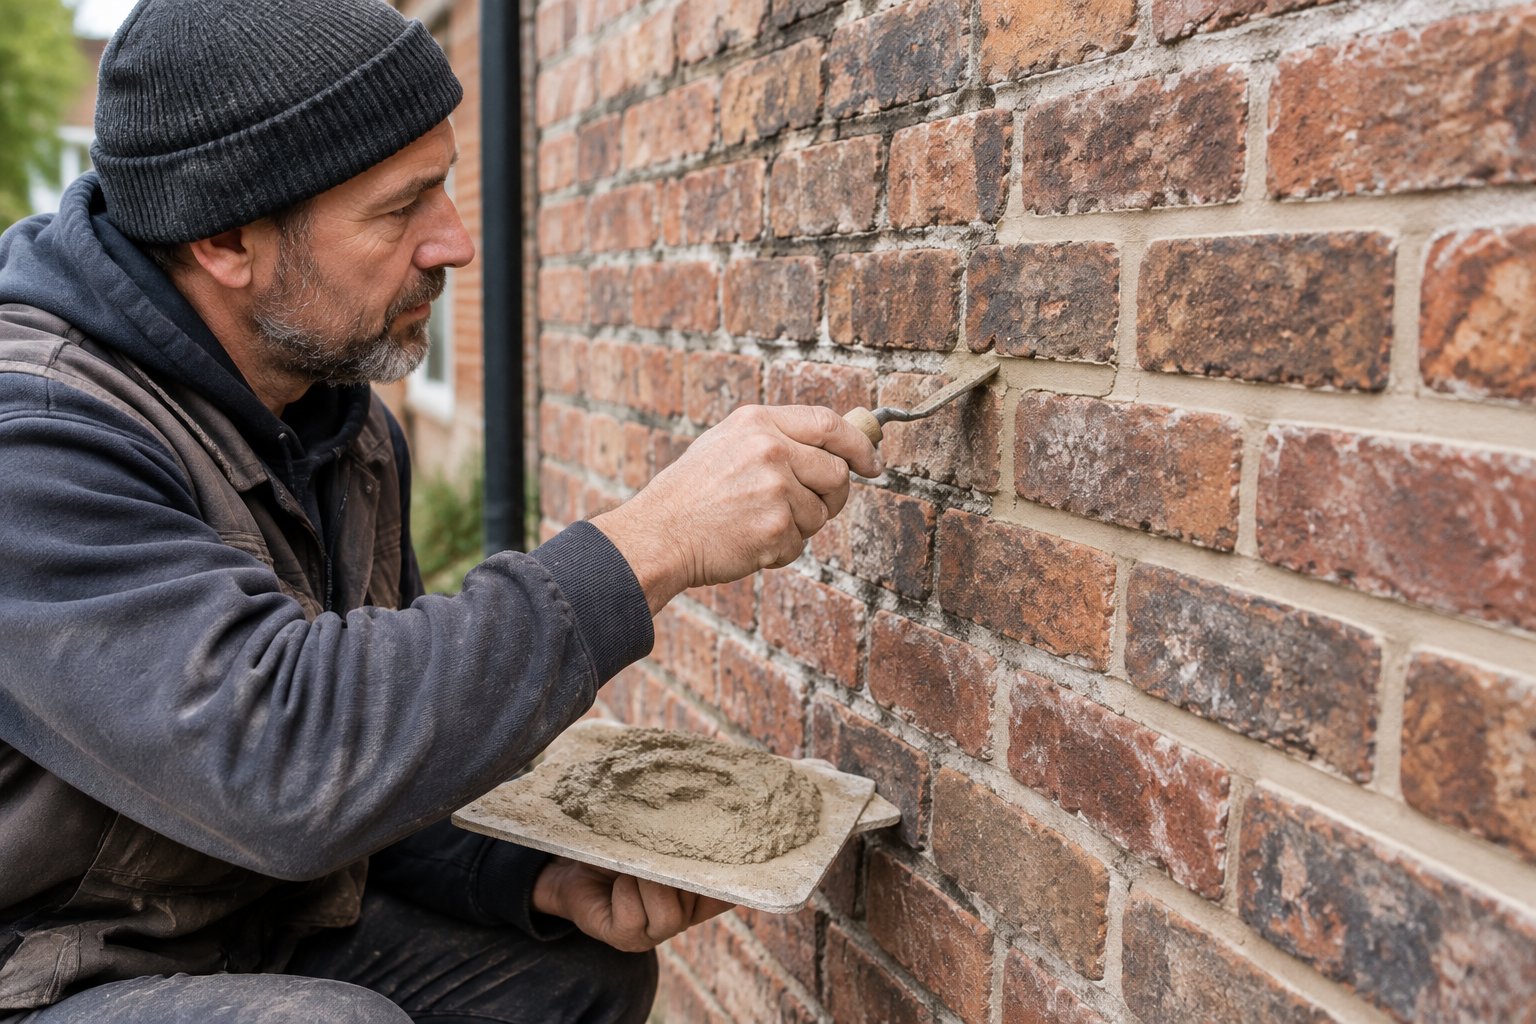
Strictly, the word means something narrower: a two-color finish with a thin raised line of contrasting mortar. In practice almost every contractor in the United States uses it to mean any job where old mortar comes out and new goes in. That ambiguity is worth clearing up before money changes hands.
Brick houses built before the 1930s went up in soft lime mortar, which is designed to wear out so the brick does not have to. Swap it for hard cement, or grind the joints out with a power saw, and the damage moves into the brick. The face cracks, pops off, and does not come back.
You do not need to become a mason to avoid this. You need to know what good work looks like, what belongs in writing, and which answers should make you keep looking.
Tuckpointing, repointing and pointing are three things
Pointing is filling the joints when the wall is first built. Repointing is replacing that mortar later, once it has worn. True tuckpointing is a decorative finish applied on top of a repointed joint.
The classic technique uses two contrasting mortars. The mason fills the joint with a brick-colored mix, cuts a narrow groove down the center, and presses in a thin strip of lime putty, usually white or cream, standing slightly proud of the wall. The effect makes rough, uneven brickwork read as expensive precision work, which is exactly why Victorian builders used it. You still see it on row houses and older commercial fronts. If your wall has those fine raised lines, you need somebody who has done it before, because not many crews have.
A bid that says "tuckpoint east wall" almost certainly means rake out and refill in a single color. That is fine, as long as everyone knows. Ask your mason to describe the finish in plain words: one color or two, which joint profile, fillet or no fillet. Then get that description written into the contract.
Your existing wall settles the question. Find an area sheltered from rain, under the eaves or behind a porch, where the original joints have survived. Note the mortar color, how far it sits back from the brick face, and its shape. Match what is there. Adding a decorative fillet to a wall that never had one is a style change, and leaving fillets off a wall that did have them changes the whole elevation. Photograph those protected joints close up before anyone starts, so you and the mason are aiming at the same thing.
Reading the signs
The clearest signal is mortar you can scratch out with a key, or that turns to sand between your fingers. Alongside that: joints worn back more than about a quarter inch, gaps where mortar has simply dropped out, hairline cracks between brick and mortar, and sandy grit collecting at the base of the wall.
Damage shows first where exposure is worst. Check chimneys, parapets, sills, corners and the lower courses near the ground. Wear confined to one area means a spot repair. The same wear across several elevations means a bigger scope and a bigger conversation.
Some signs are not mortar problems at all. White powdery bloom on the brick is efflorescence, salt carried to the surface by water. Damp patches or peeling plaster inside say the same thing. New mortar will not fix either if the water is arriving from a failed gutter, a cracked flashing or the ground, so deal with the source first or you will be paying for the same work twice. And resist the urge to seal the wall as a shortcut, because a coating traps water inside soft brick, which our piece on whether sealing protects patina or traps moisture goes into properly.
Then there are the signs that mean stop. Bricks that move under your hand, walls that lean or bulge, stair-step cracking running through the units rather than around them. Those point to structural movement, failed wall ties, a rusting steel lintel or foundation trouble, and they want a structural engineer or a restoration specialist before anyone rakes a joint. Rusting lintels over windows are a particularly common culprit that looks like a mortar fault at first glance. Pointing over a moving wall just hides the evidence.
What to specify
Three things decide whether the repair protects the wall or shortens its life.
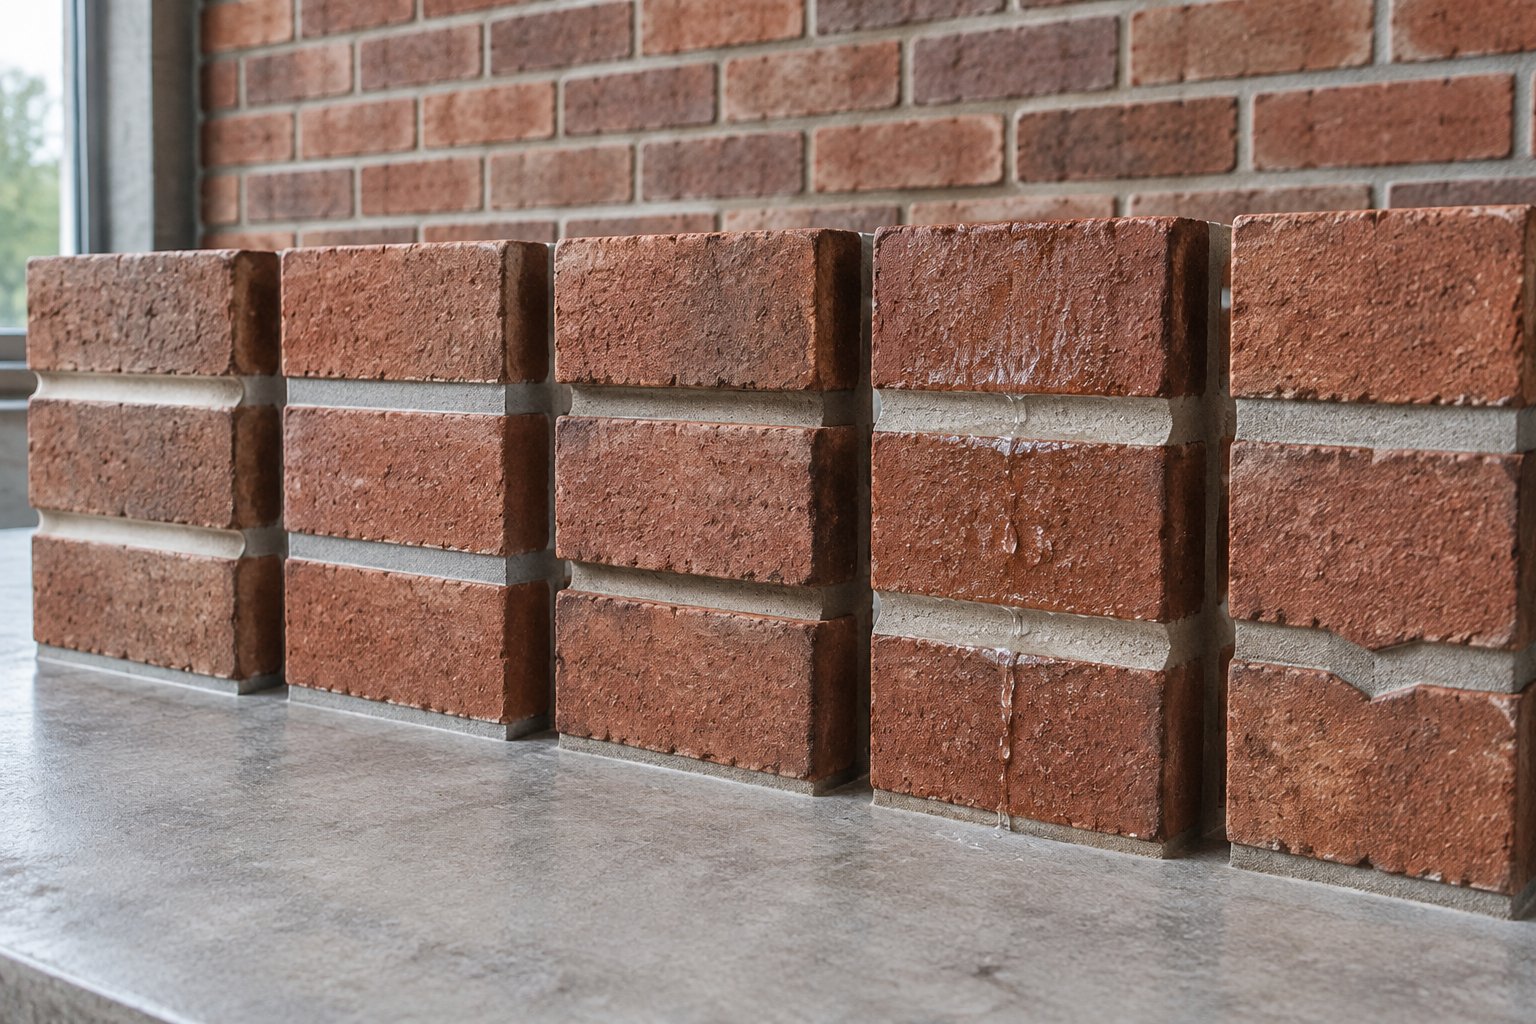
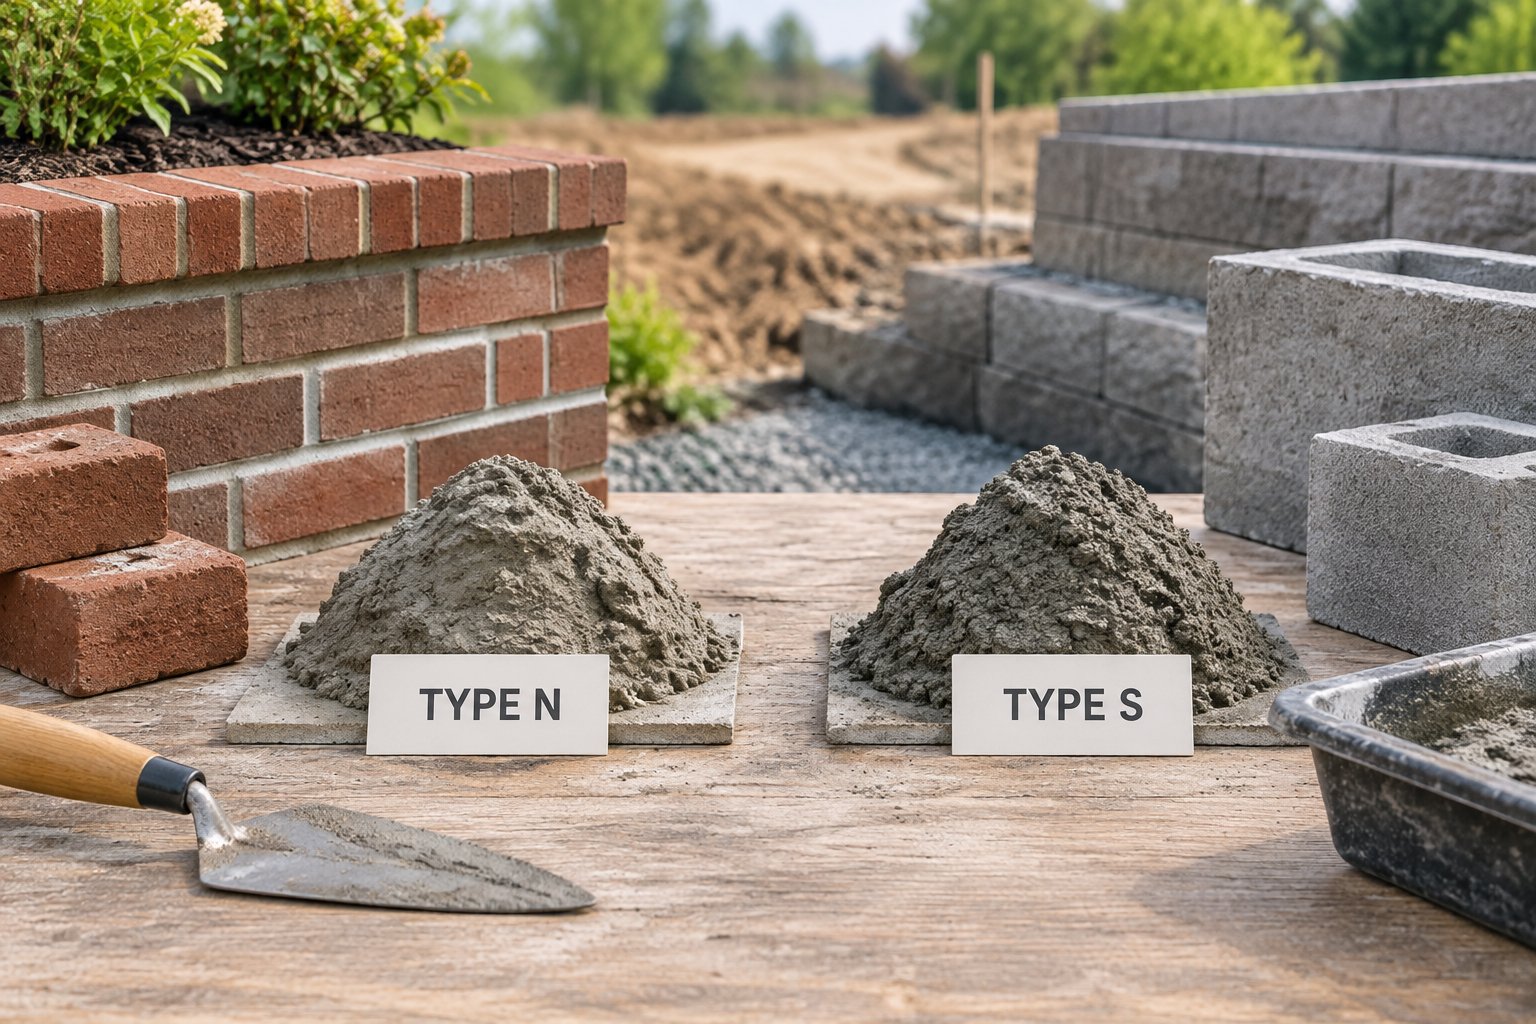
A mortar softer than the brick. Repointing mortar should be softer and more permeable than the units and no harder than the historic mortar. Brick made before 1900 is soft and porous, and in a hard Portland-rich mix the water that used to leave through the joint starts leaving through the brick face instead, taking the fired skin with it. In a freezing climate that can show up within a few winters. Traditional mortar was lime putty and local sand, roughly one part lime to three of sand, and for most pre-1930s walls a lime or strongly lime-rich mix is the right starting point. ASTM E2260 gives masons and architects a framework for testing the old mortar and choosing the new one, and asking whether a contractor works to it is a fast way to sort the field.
A mortar that matches. Sand is most of the volume, so it controls color and texture far more than pigment does. Ask for the sand color and grain size to be matched to the original, then adjust with pigment only if needed, and judge the result on a cured sample rather than a wet one, because mortar dries considerably lighter over several weeks. Joint width matters too: antique brick was laid with wider and less regular joints than modern modular, so a mason squeezing everything to a neat three eighths changes how the wall reads. What an old wall teaches a modern crew is largely about learning to see this before touching anything.
Replacement brick that matches on size first. Cracked and spalled units come out during the work and a modern brick will look wrong next to them. Matching runs on size, color range, texture and hardness, and size is the one people skip. Get the color perfect at the wrong dimension and the patch still shows from the pavement, because the coursing will not line up. Hardness matters as much as looks, since a replacement much harder than its neighbors stresses the softer brick around it. Reclaimed brick from structures built roughly 1870 to 1940 is the closest fit for most older houses, because it was fired and laid the way the original was. There is more in old bricks for restoration.
We supply the matched replacement brick and written mortar guidance, and we do not do the pointing. Send a photograph taken in daylight with a coin or a tape in the frame, or a loose brick, and we will find the closest match in stock, usually inside the week. Our four house blends run from about $1.70 a brick for St Louis Red through $1.85 for Soft Red and Old Chicago to $2.00 for New Orleans Hard Tan, and brick matching is part of how we sell material rather than a separate line on an invoice.
What a good job looks like on site
It starts with a panel. Before the crew touches the whole wall, ask for a few square feet somewhere you can see it, and leave it a fortnight before signing off, because fresh mortar darkens and then lightens as it cures. Compare it against the original joints in daylight. Once approved, that panel is the standard for the rest of the job, so photograph it.
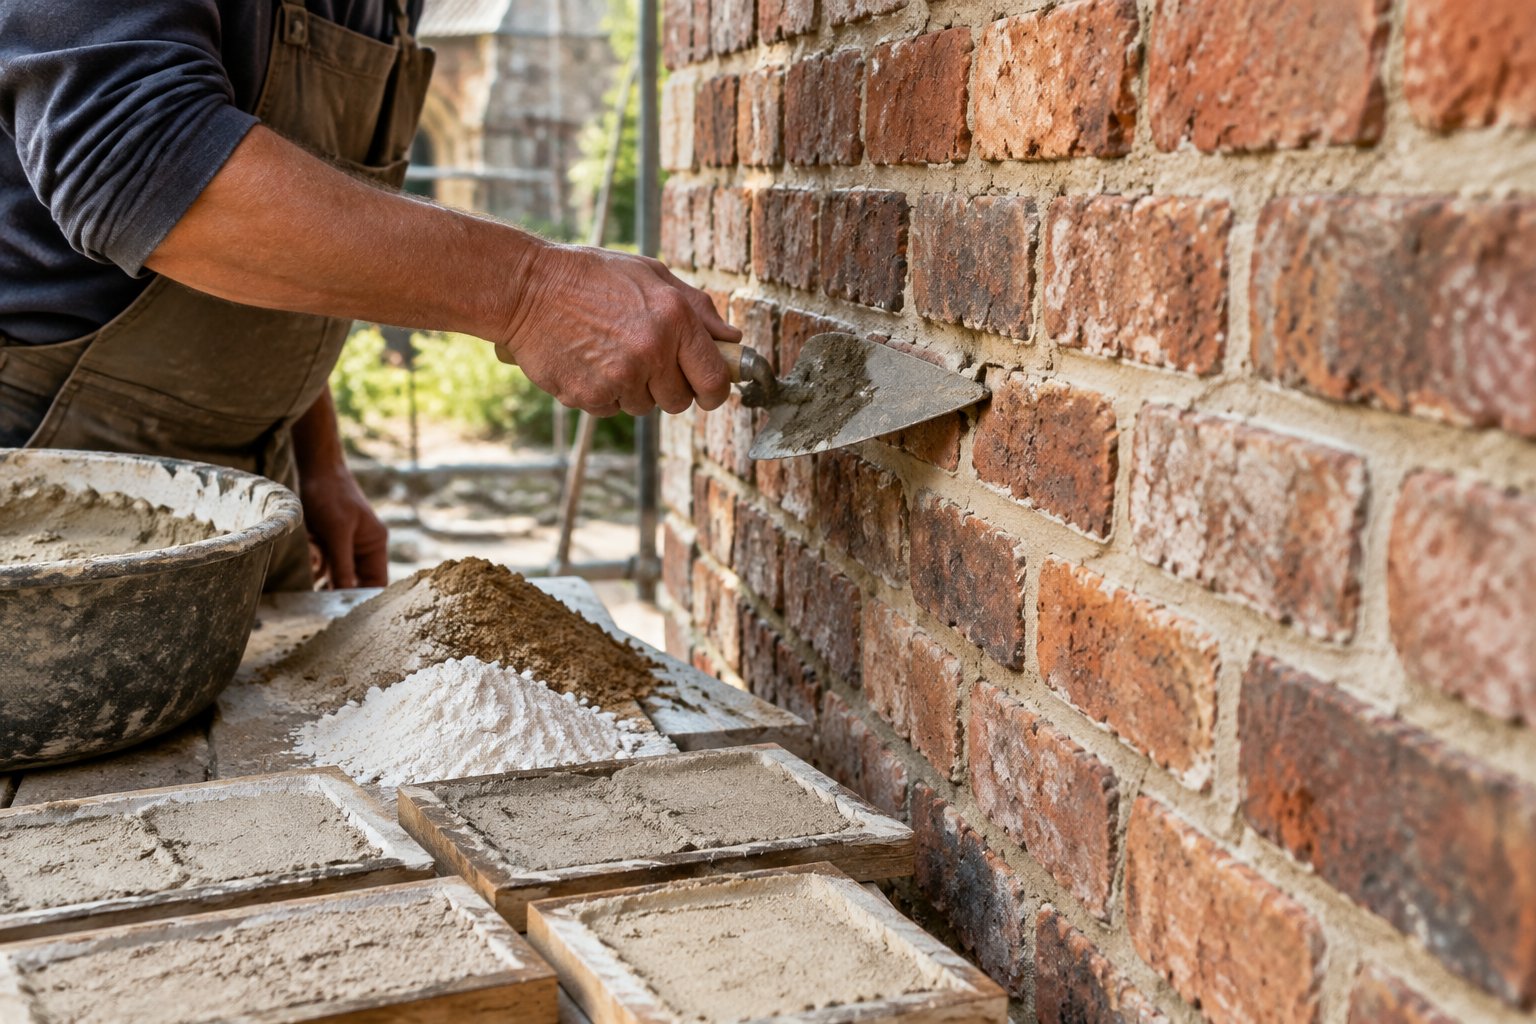
Old mortar comes out to about two to two and a half times the joint width, which lands near three quarters of an inch on a standard joint, and it comes out to sound material. On soft historic brick, a hammer and chisel or hand rakers give the mason control that a power tool does not. An angle grinder is fast, and on narrow joints and vertical heads it will cut the brick, widening the joint and leaving a scar that stays visible for the life of the wall. If a grinder appears at all it belongs on horizontal joints, in an experienced hand, with the edges checked as the work goes. It also throws heavy silica dust, so expect extraction and respirators on a competent site.
Raked joints get brushed or blown clean and then pre-wetted. Dry brick pulls the water straight out of fresh mortar and leaves it weak and dusty. Mortar goes in in thin layers, each pressed firmly before the next, with deep joints built up in stages so nothing is left hollow behind the face.
When the mortar is firm the mason tools it to the agreed profile, and on genuine two-color work this is the moment the groove is cut and the fillet laid in. Excess gets brushed off the brick before it sets, because scrubbing hardened mortar off a soft face does damage. Then the new work needs protecting from sun, wind, rain and frost, and lime in particular wants damp burlap and light misting over several days. Ask how they plan to do that given the season you are building in.
Budget, and the questions that sort good from bad
Most tuckpointing runs somewhere between $5 and $25 per square foot. Work above about eight feet adds twenty to forty percent for access. A whole average house can run from around $10,000 to $50,000. Hand raking, lime mortar, genuine two-color fillets and heavy damage all push toward the top of that range.
When bids differ wildly, compare scope line by line rather than totals: square footage, removal method, mortar type, number of replacement bricks, access, and whether a test panel is included. A cheap bid that skips the panel and grinds every joint is not the same job described twice, it is a different job.
Ask to see walls they have pointed on houses of similar age, ideally a few years old so you can see how the color settled. Ask what mortar they would use on your wall and why, and listen for an answer that refers to the softness of your brick and the original mix rather than to strength. Ask how they will remove the old mortar, how they will control silica dust near windows and planting, what curing protection they plan, and whether there is a written warranty. Someone who welcomes those questions is usually worth hiring.
The red flags are specific. A plan to grind every joint on soft brick. A specification of Type S or straight Portland "because it's stronger". No test panel. An offer to smear new mortar over old joints without raking. A suggestion to seal the brick afterwards. Anyone proposing to pressure wash or sandblast the wall clean, both of which strip the fired skin off soft brick. The same logic runs through specifying vintage brick for period-correct work: compatibility beats strength every time.
On DIY, a small garden wall or a few loose joints on an outbuilding is reasonable ground if you hand rake, use a soft mix and keep the joints damp while they cure. Whole elevations, chimneys, anything at height and anything on a historic facade are not. The usual failures are mismatched color, poorly packed joints and chipped arrises from power tools, and on a front elevation those stay visible for decades and cost more to put right than the original job would have.
Keep the original brick in the wall
That is the whole objective. Soft matched mortar, careful hand removal, clean damp joints, a panel you have approved, and replacement units that fit on size before anything else. Fix the water first and keep coatings off soft brick.
When you need reclaimed brick to go back into the wall, we hold stock on pallets rather than on a six to twelve month lead time. Call the New Orleans office on 225-284-7529 or email hays@bourgeoismaterials.com and we will tell you honestly what we can match.
Frequently asked questions
Why is it called tuckpointing?
From the way the mason tucks a thin line of contrasting lime putty into a groove cut in the fresh mortar, which made rough brick read as finely laid work. The name has since spread to cover any mortar joint repair.
Does tuckpointing stop every leak?
No. It stops water coming through failed joints. Leaks from roofs, gutters, flashing, cracked brick or rising damp each need their own fix, and if you skip that the mortar will fail again.
Can sound joints be left alone?
Yes, and they should be. Joints that are firm, intact and close to the brick face are doing their job. Removing good historic mortar costs money and risks chipping brick for no gain.
How long does new mortar take to cure?
Standard mortar firms in a day or two and reaches full strength at around 28 days. Lime takes longer and wants protection from sun, wind, rain and frost well beyond the point it feels hard.
Do damaged bricks need replacing before the joints are finished?
Yes. Cut them out and replace them as part of the same operation, before the surrounding joints are tooled. A brick that has lost its face cannot be repaired, so match the replacement on size, color range, texture and hardness.