Your wall section is drawn, your mason is pencilled in, and now you have to decide whether salvaged stone will hang on that wall the way the drawings show. Picking a reclaimed stone veneer exterior means choosing a material that has already lived a century on another building. So the checks you run before ordering carry more weight than they would with a fresh pallet from a quarry.
The right reclaimed stone for your exterior is sized for your wall assembly, confirmed for outdoor exposure, and on the yard when your schedule needs it. That last piece matters because salvaged stone is finite. Confirm that hand-selected reclaimed materials are on hand before your schedule depends on them.
In this guide you'll discover how to tell genuine salvaged stone from a reproduction, and how to choose between thin veneer and full-bed stone. You'll also learn what the wall needs behind the stone, how to lay out faces and joints, and what upkeep keeps the patina intact. Old stone is honest about what it is, so you should be honest with it about the wall you're asking it to cover.
Reclaimed Stone Veneer Exterior Projects: What to Verify Before You Buy
Verify three things before you buy: that the stone is truly salvaged, that it is sized as veneer for your wall, and that it can handle outdoor weather. Antique stone looks forgiving in photos. On the wall, a wrong thickness or a soft, porous piece shows up fast.
Good construction teams treat reclaimed stone like any other specified material. They ask for sizes, sample pieces, and a straight answer on quantity.
Is the Material Genuine Reclaimed Stone or a Reproduction?
Genuine reclaimed stone comes off a real building. It carries tool marks, weathered faces, and old mortar ghosts that a factory finish can't copy evenly. Reproductions are new stone tumbled or stained to look old, and the "age" often looks the same on every piece.
Ask the supplier where the load came from and what kind of building it served. Our reclaimed European stone, for example, is Bath stone, French limestone, and salvaged ashlar sourced through established European salvage yards. It is not new stone given a distressed finish, and it starts at $42 per square foot for paving.
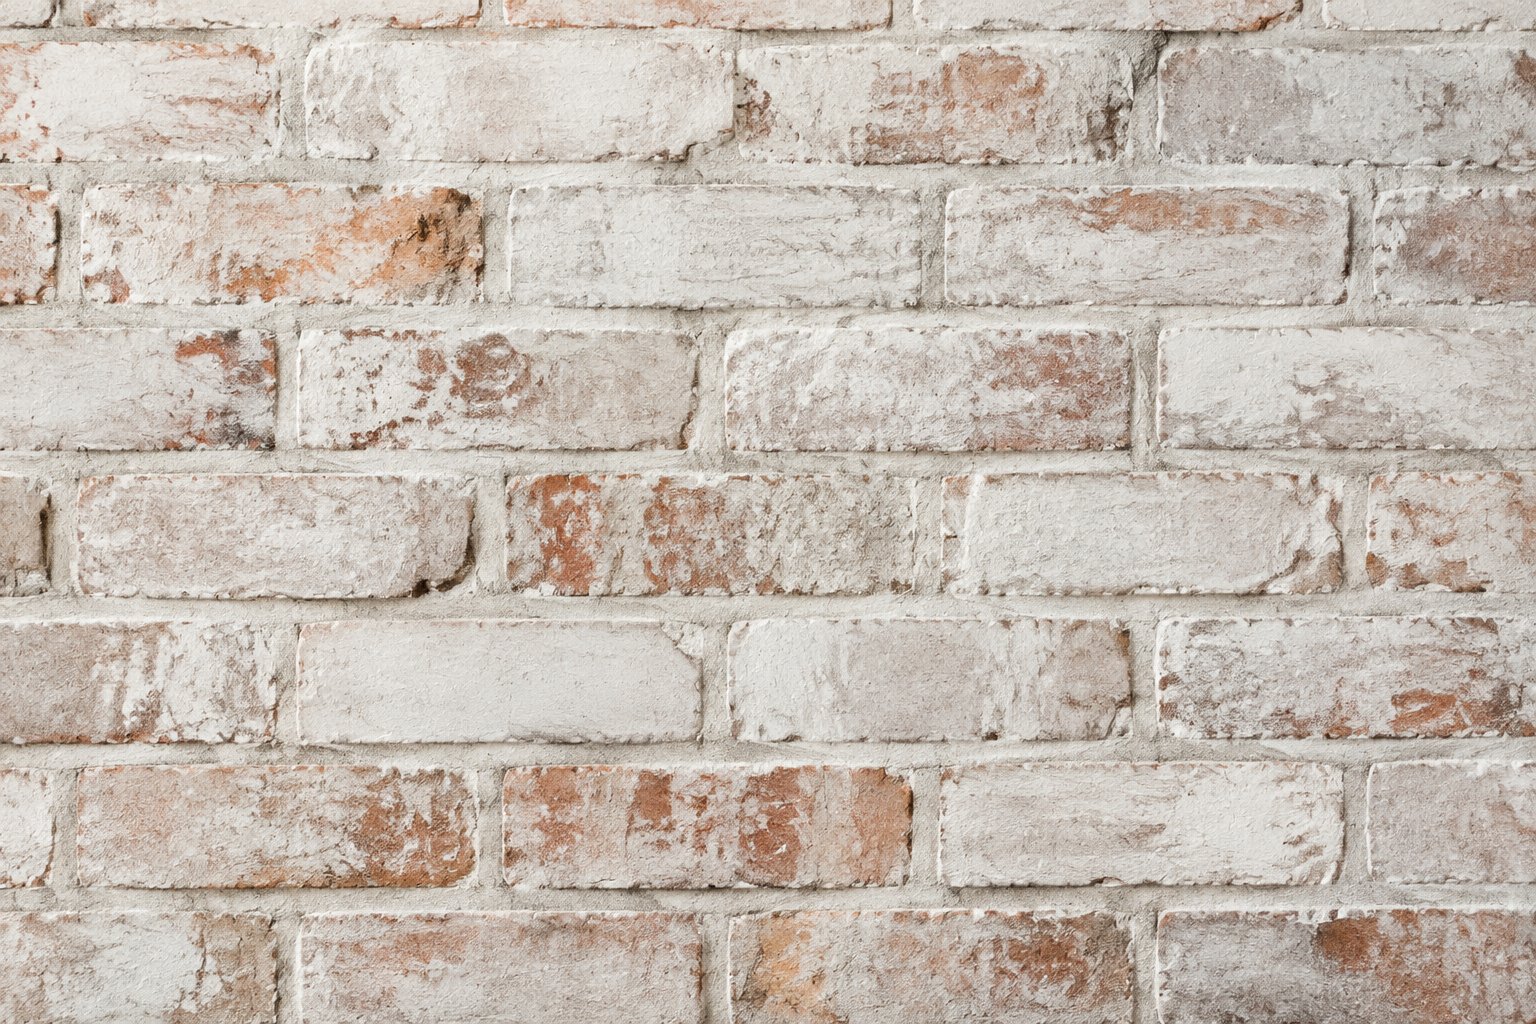
Look closely at a few pieces. Real patina runs into the pores, rust streaks follow mineral veins, and worn edges sit where hands and weather hit them. The same logic applies to brick, which is why the reclaimed brick vs new brick comparison comes down to surface history you can see and touch.
If your project is a landmark or a period house, provenance carries even more weight. Teams doing historic restoration work need stone that matches the era, the geology, and the tooling of the original facade.
What Condition, Dimensions, and Exterior Suitability Can the Supplier Confirm?
A good supplier gives you real numbers: face sizes, bed depth, and a rough count of corner pieces. You also want to know whether the stone spent its first life outside or inside, since interior stone may not be ready for rain.
Ask these questions before you commit:
- What is the typical bed depth, and can it be sawn or split to your target thickness?
- What stone type is it, and how porous is it compared with granite?
- How many square feet are on the yard today, and is more on the way?
- Are there matching corners, sills, or quoins in the same load?
- What share of pieces show cracks, spalls, or soft edges?
Porosity deserves a real answer. Limestone is more porous than granite, so drainage and exposure decide whether it suits a wet, shaded wall. Our specification support team works through those details with architects specifying reclaimed stone before drawings are final.
Once you trust the stone itself, the next choice is how thick it should be on your wall.
Should You Choose Thin Veneer or Full-Bed Stone?
Choose thin veneer when weight, cost, or wall depth is tight. Choose full-bed stone when the wall is built to carry it and you want deep, solid masonry. Thin stone veneer is usually sawn to about 0.75 to 1.5 inches thick. Modern full-bed stone runs about 3 to 6 inches deep.
Reclaimed stone starts out thicker than either. Salvaged building stone from old churches and civic buildings can run 18 inches deep, so it gets split or sawn down to the format you need.
How Do Weight and Wall Design Affect the Choice?
Weight drives the wall design. Full-bed stone needs a ledge or foundation to sit on and metal ties back to the structure. Thin veneer can go on a prepared wall with a mortar bed and a lot less load.
Code limits depend on the veneer system. Under the 2021 International Residential Code, anchored stone veneer over wood or cold-formed steel is limited to the first story above grade. That section also caps anchored veneer at 5 inches thick, with exceptions tied to seismic design category. Those limits apply to anchored stone veneer, not to every thin or adhered system, so check the code section and wall-system specifications for your assembly. Your engineer and local building official have the final word on your site.
Full-bed stone masonry and thin veneer are not interchangeable. You can't swap one for the other late in design without rechecking footings, ties, and wall bracing. Reclaimed granite in a full-bed format is heavy and tough, and that weight has to land somewhere solid.
Thin veneer has long been a common pick for interior work. That includes fireplaces and feature walls, where the stone never sees rain. Its use outside has grown because it cuts shipping weight and labor. See how that format works indoors in these reclaimed stone fireplace ideas.
Can Reclaimed Stone Be Cut Without Losing the Face You Want?
Yes. A good cutter saves the weathered face and saws or splits off the back. The trick is to cut parallel to the face you want to show so the patina stays whole.
Tell your supplier which face matters. Some pieces have two good faces, and a thick block can yield a thin veneer slice plus a usable back. Those backs often go into garden walls or durable landscaping stone, so less of the load goes to waste.
Salvaged block can also be re-cut and dressed to the sizes your drawing calls for. That matters for sills, caps, and corner returns. Leftover flat pieces pair well with reclaimed flagstone or natural stone flags for the terrace at the base of the wall.
Whichever thickness you land on, the wall behind it has to be ready for water.
How Should the Exterior Wall Be Prepared?
Prepare the wall so water that gets behind the stone can drain out, because it will get behind it. Stone and brick are "reservoir" claddings that soak up rain and hold it. Every cladding system leaks to some degree.
That means stone cladding is only as good as the drainage plane, flashing, and support built before the first piece goes up.
Confirm the Substrate, Moisture Management, and Required Support
Start with the substrate. Sheathing must be dry, and a water-resistive barrier goes on before any cladding. For full-bed stone walls, you also need a noncombustible foundation or ledge and corrosion-resistant ties at the spacing your code calls for.
Build in a real gap behind heavy masonry. The Department of Energy calls for a drainage plane behind cladding in areas with more than 20 inches of annual rain. It recommends a 1-inch air gap behind brick or stone over permeable sheathing. Keep that gap clear of mortar droppings, or water will wick straight across.
Key details to check on the drawings:
- Base flashing and weep openings at the bottom of the wall
- Head and sill flashing at every window and door
- Barrier laps where higher layers overlap lower ones
- Kick-out flashing where a roof edge meets the stone
Roof-to-wall joints are a classic leak point. If the house carries reclaimed slate roofing, the step flashing and counterflashing need to tie into the wall barrier. These sustainable roofing tips cover how old slate and new flashing work together.
Coordinate the Wall Assembly with a Qualified Mason
Bring your mason in before framing is locked. A mason who has set salvaged stone knows how mixed bed depths affect tie placement and how much sorting time the pile will need.
Walk the mason through the stone type, the target thickness, and the flashing plan together. Ask how they handle uneven backs on thin veneer and whether they want the stone pre-sorted by size. Old stone takes more hand work than new cut stone, so labor planning needs that time built in.
With the wall ready, you can turn to how the stone will read once it is on the house.
How Do Layout and Joints Preserve the Stone's Character?
Layout and joints decide whether salvaged stone looks like it grew on the building or got stuck on it. The stone brings its own color and texture. Your job is to spread that variation evenly and pick a joint that lets it show.
Mock Up Color, Stone Faces, and Corners Before Installation
Build a sample panel before you set the wall. Lay out a few square feet on the ground with real stone and real mortar. Then look at it in morning and afternoon light.
Pull stone from several pallets at once so no single batch clusters in one spot. Mark your best corner pieces early. Corners are where people judge a veneer, and real L-shaped returns look far better than two flat pieces butted together.
The same eye works for brick. Blending reclaimed clay bricks or antique brick trim into stone takes the sorting habits in this guide on how to choose reclaimed bricks. Standard reclaimed brick runs about 8 inches long, so plan brick bands to course out with the stone heights.
Choose a Pattern and Mortar Joint That Suit the Architecture
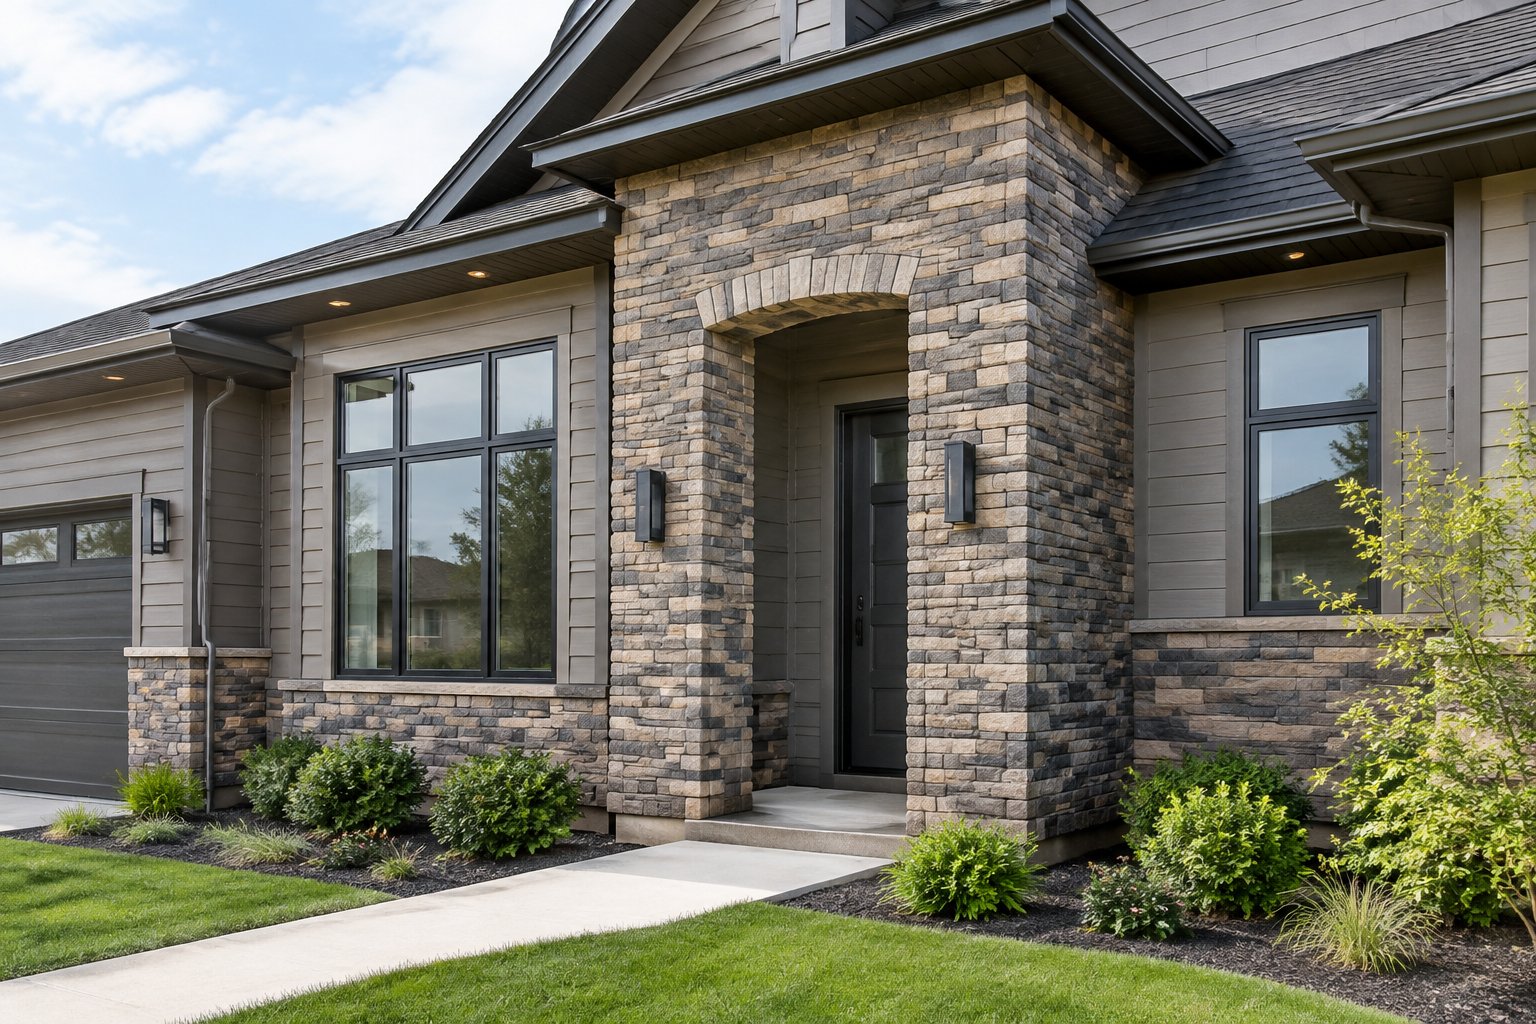
Match the pattern to the house. Rough rubble suits farmhouse and French country styles. Squared ashlar with level courses suits formal Georgian or civic looks.
Keep mortar color close to the stone's lighter tones, and avoid bright white or gray that fights the patina. A slightly recessed or brushed joint shadows the stone's edges. A full flush joint smears across the faces and hides the texture you paid for.
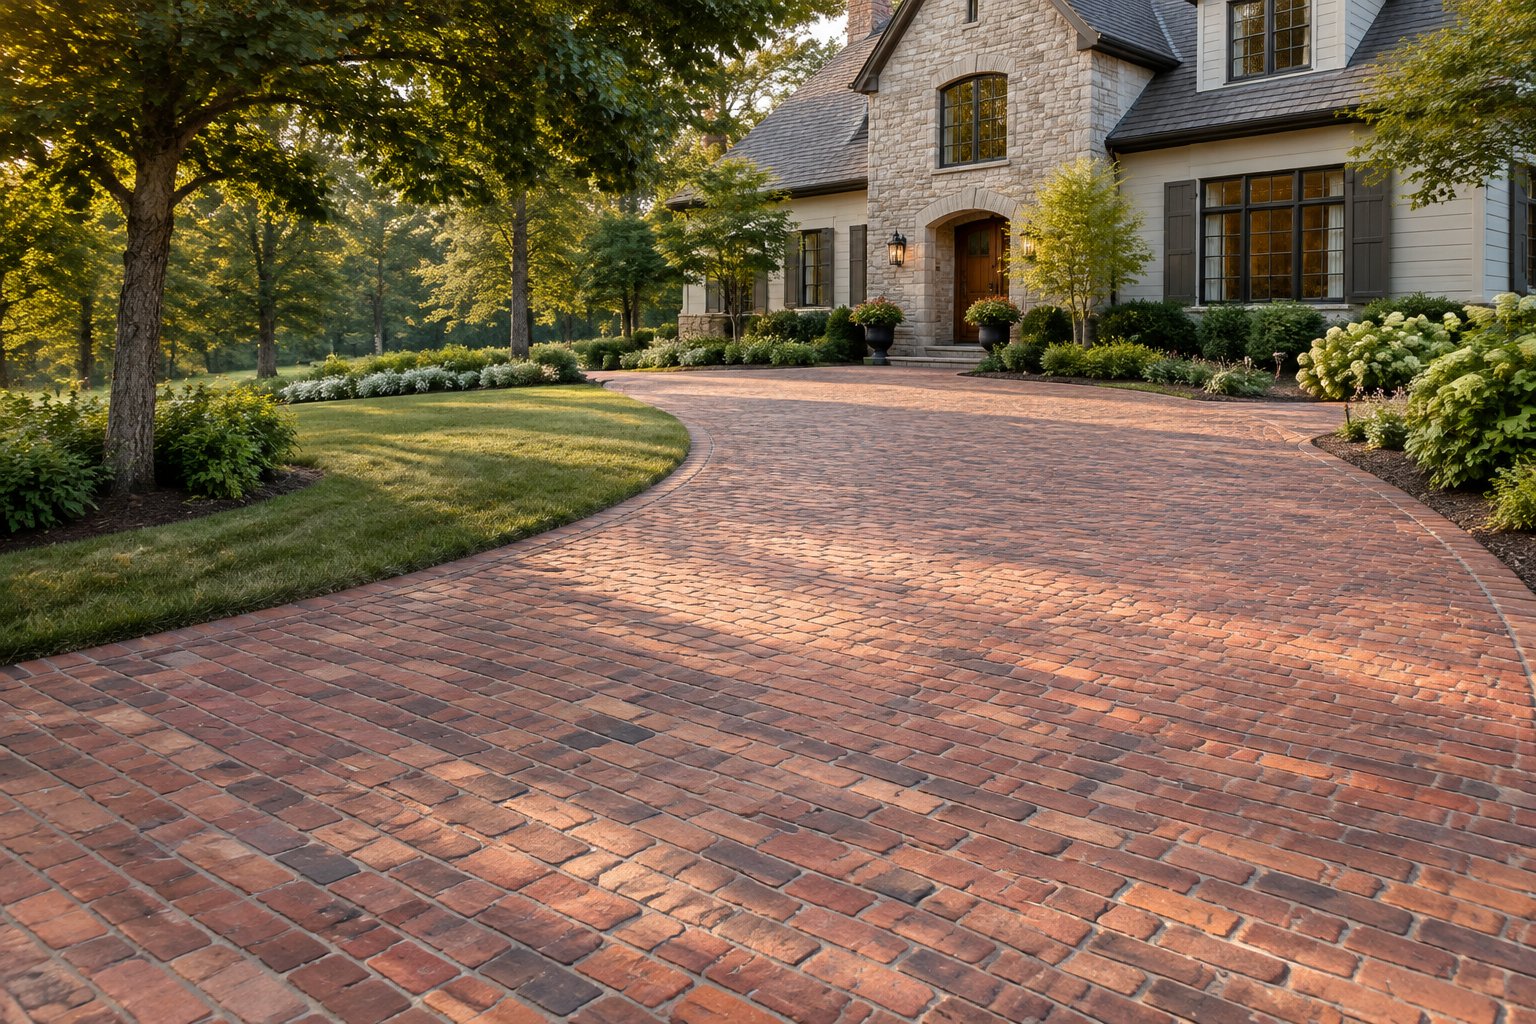
Plan how the facade meets the ground, too. Stone that flows into reclaimed brick pavers at the entry reads as one design. Ideas for reclaimed brick patios and walkways, a herringbone brick patio, and red brick paving show how to carry that tone out into the yard.
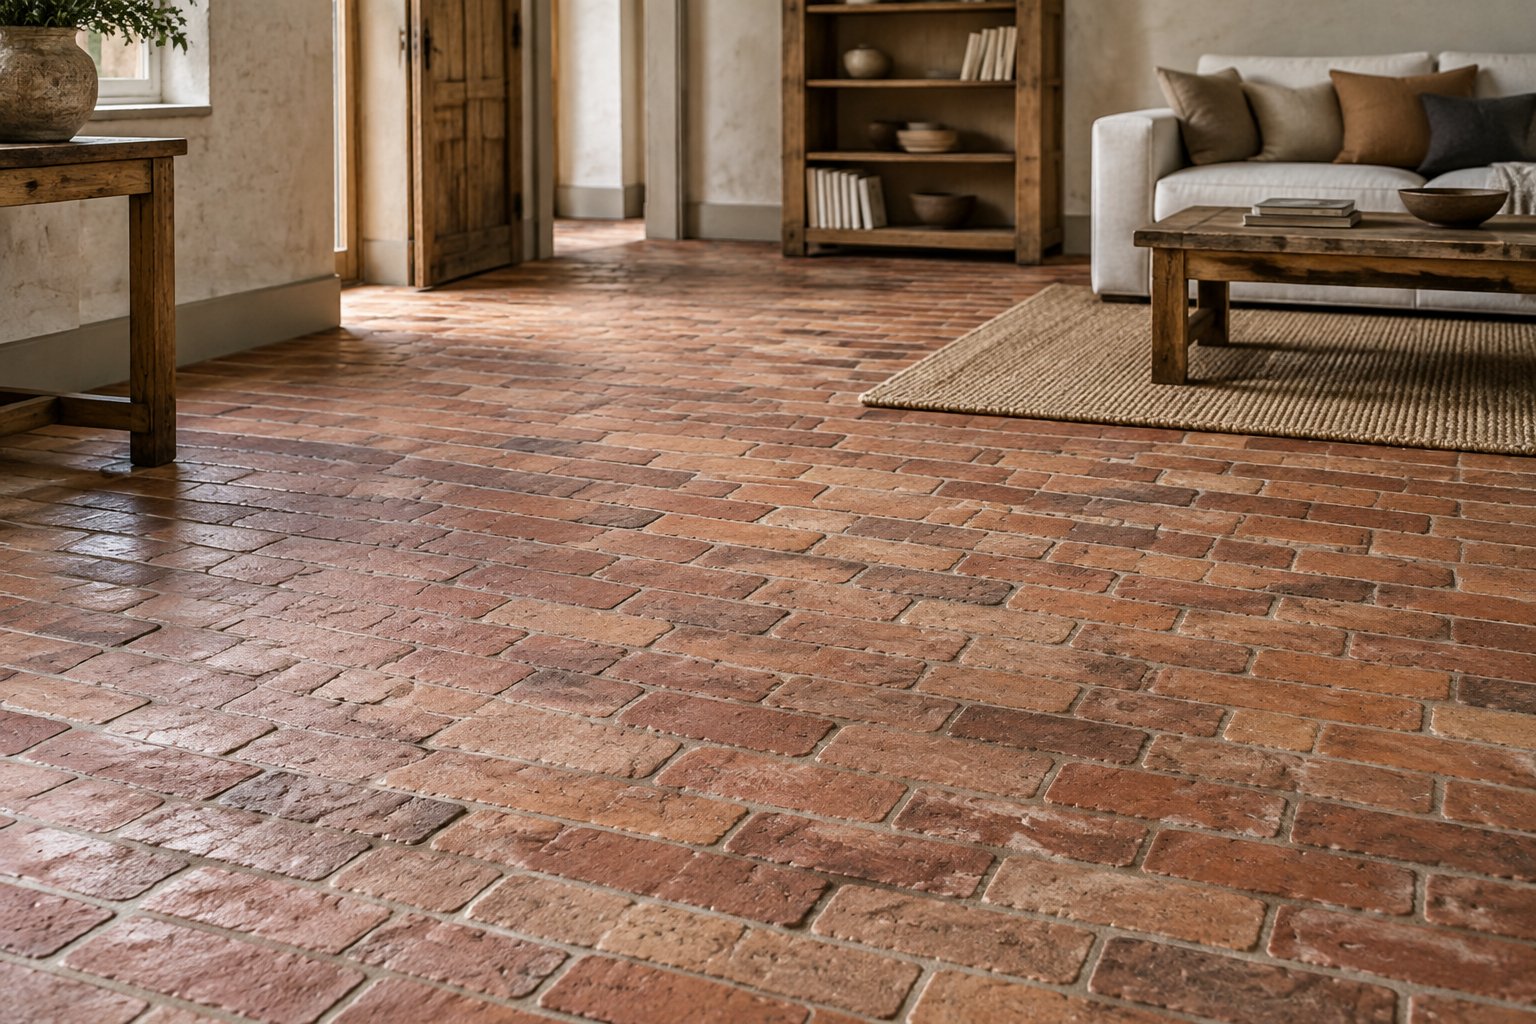
Some clients carry the look inside with reclaimed brick flooring in the entry hall. This piece on antique brick floors covers sizing and finish. For outdoor ground surfaces, see these notes on salvaged paver options.
Once the look is set, the practical work shifts to getting the right amount of stone to the site in the right order.
What Should You Plan for Installation and Upkeep?
Plan for exact quantities, freight, and a set installation order up front, then plan light, gentle care for the years after. Salvaged stone supply is finite, so running short mid-wall is the most costly mistake on these jobs.
Confirm Quantities, Current Stock, Freight, and Installation Sequence
Order 10 to 15 percent over your measured square footage for cutting waste and sorting. Count corners by linear foot of corner height, separate from flat stone. Confirm the full amount is on hand before your mason starts.
Freight is quoted on weight, destination, and delivery needs. All material ships on pallets by freight carrier, and delivery is curbside unless you arrange otherwise. Inspect every pallet on arrival and note any damage with the driver before you sign.
For in-stock material, a truck can be on the road within 48 hours of a paid invoice. Container sourcing for European stone runs 8 to 14 weeks, so start early if your load has to come across the water. Our custom sourcing service tracks down specific pieces. For brick trim, this list of used brick for sale shows what moves fast.
Set the installation order with your mason: base flashing, then corners, then field stone, then sills and caps. Set stone on dry days, since rain delays add labor cost on exterior masonry.
Inspect Joints and Drainage Without Scrubbing Away the Patina
Check the wall once a year. Look for cracked joints, blocked weeps, and white salt deposits that point to trapped water. Repoint with a mortar softer than the stone so the joint fails before the stone does.
Clean gently and only when needed. The National Park Service warns in its masonry cleaning brief that acidic cleaners etch limestone and marble. It recommends the gentlest means possible, starting with low-pressure water and a soft bristle brush.
Skip pressure washers and sealers that trap moisture. The same care applies to reclaimed pavers outdoors. Moss and lichen are part of the patina, so remove them only where they hold water against a joint.
All of this ties back to one decision you make early: picking stone that suits both your wall and your calendar.
Choose Stone That Fits the Wall and the Project Schedule
Pick reclaimed stone that is truly salvaged and sized for your wall assembly, then back it with a drained, flashed wall. Mock it up, joint it to show the faces, and clean it gently. Get those steps right and the stone does the rest.
Lock in quantity and stock before your mason's start date, because salvaged loads are finite. Reusing old stone also keeps durable material in service, one of the benefits of reclaimed brick and other eco-friendly building materials.
When you're ready, call New Orleans Brick & Stone at 225-284-7529 or 817-909-4104 and find out what is in stock. You'll talk with someone who knows these materials, not a chatbot or a queue. If your project has a deadline, our family yard can walk you through inventory and get stone moving before the end of the week.
Frequently Asked Questions
Is Reclaimed Stone Veneer Suitable for Every Exterior Wall?
No. It suits walls with a proper drainage gap, flashing, and support sized for the stone's weight. Porous stones like limestone need extra care on wet, shaded walls. For anchored stone veneer over wood framing, the IRC also limits height and thickness; other veneer systems follow their own code sections and specifications.
What Is the Difference Between Thin Stone Veneer and Full-Bed Stone?
Thin veneer is usually sawn to about 0.75 to 1.5 inches and set in a mortar bed. Full-bed stone runs about 3 to 6 inches deep and needs a ledge plus metal ties. The two need different wall designs, so decide early.
How Much Does Reclaimed Stone Veneer for an Exterior Cost?
Pricing depends on the stone, the format, and how much cutting it needs, with block and trim priced per piece. Freight is quoted separately by weight and destination. For comparison, manufactured stone veneer siding runs about $13 to $22 per square foot installed, and our guide to reclaimed brick cost explains what drives salvaged pricing.
Can Reclaimed European Stone Be Used on an Exterior Facade?
Yes, with the right stone and detailing. Bath stone and French limestone have faced buildings for centuries, but they are more porous than granite. Match the stone to your exposure and build in good drainage.
What Should I Ask a Supplier Before Ordering Reclaimed Stone Veneer?
Ask where the stone came from, what thickness it comes in, and how many square feet are on hand today. Ask about matching corners and trim, freight costs, and lead time for anything not in stock. A good supplier answers plainly and tells you what isn't findable in your timeframe.